The first time I bit into a properly made brioche bun, I understood why French bakers have perfected this enriched bread over centuries. The incredibly soft, pillowy texture combined with that subtle sweetness and rich buttery flavor creates something that transcends ordinary bread rolls. After years of experimenting with different techniques and ratios, I’ve finally mastered the art of creating bakery-quality brioche buns at home.
These aren’t your typical dinner rolls – they’re luxurious, slightly sweet, and possess an almost cake-like tenderness thanks to the generous amounts of eggs and butter. Whether you’re planning an elegant dinner party or simply want to elevate your weekend burger game, these golden beauties will transform any meal into something special.
Why These Brioche Buns Will Change Your Baking Game
Bakery-Quality Results at Home
This recipe delivers the same professional texture and flavor you’d find at high-end bakeries. Moreover, the technique breaks down the traditionally intimidating brioche-making process into manageable steps that even intermediate bakers can master successfully.
Versatile Culinary Foundation
These buns work equally well for sophisticated dinner parties and casual family meals. Additionally, their subtle sweetness makes them perfect for both savory applications like gourmet burgers and sweet uses like French toast or bread pudding.
Make-Ahead Friendly
The dough actually improves with time, making these buns ideal for meal planning. Furthermore, you can shape them the night before and let them rise slowly in the refrigerator for even better flavor development.
Impressive Yet Achievable
While brioche has a reputation for being difficult, this recipe guides you through each step with clear instructions and helpful timing cues. The result is bread that looks and tastes incredibly sophisticated despite using simple, accessible ingredients.
Essential Ingredients
Main Dough Components
- ⅓ cup whole milk – warmed to 105-110°F for optimal yeast activation
- 1 tablespoon instant yeast – provides the rise and subtle tangy flavor
- 3½ cups all-purpose flour – divided for gradual incorporation
- 1 tablespoon honey – adds complexity and helps with browning
- 1 tablespoon packed brown sugar – contributes to the signature sweetness
- 1 teaspoon salt – enhances all flavors and controls yeast activity
- 4 large eggs – creates the rich, tender crumb structure
- 1 teaspoon vanilla extract – adds aromatic depth
- 1 cup unsalted butter – softened to room temperature for easy incorporation
Essential Egg Wash
- 1 large egg yolk – creates that beautiful golden shine
- 1 tablespoon water – helps the wash spread evenly
Temperature Tips
Room temperature ingredients are crucial for successful brioche. Additionally, the butter should be soft enough to easily press with your finger but not melted or greasy.
Perfect Pairing Ideas
These versatile buns complement everything from casual pulled pork sandwiches to elegant salmon burgers. They also make extraordinary breakfast sandwiches or can be served alongside soups and salads for a touch of French sophistication.
Step-by-Step Instructions
Building the Foundation
Begin by combining the warm milk and yeast in your stand mixer bowl, allowing them to sit for 10 minutes until the mixture becomes foamy and fragrant. This proofing step ensures your yeast is active and ready to create the perfect rise.
Creating the Base Dough
Add the flour, brown sugar, honey, and salt to the yeast mixture. Using your dough hook, knead these ingredients until they form a rough dough. Next, incorporate the eggs one at a time, ensuring each is fully absorbed before adding the next.
Developing Gluten Structure
Add the vanilla extract, then continue kneading for 8 minutes until the dough begins pulling away from the bowl sides. The mixture will seem very sticky initially, but resist adding too much flour – this stickiness is necessary for the tender final texture.
The Butter Integration Process
This step requires patience but creates the signature brioche texture. Add one-third of the softened butter, kneading until completely incorporated. Allow the mixer to rest for 10 minutes, then repeat this process twice more with the remaining butter portions.
First Rise Preparation
Form the finished dough into a smooth ball and place it in a well-greased large bowl. Cover with greased plastic wrap to prevent sticking, then let rise in a warm, draft-free location for 1.5 to 2 hours until doubled in size.
Shaping the Buns
Line three baking sheets with parchment paper. Gently deflate the risen dough and divide it into 16 equal portions using a kitchen scale for the most uniform results. Shape each portion into a smooth ball by gathering the edges and pinching them together at the bottom.
Final Rise and Preparation
Place the shaped buns 4 inches apart on your prepared baking sheets. Cover with lightly oiled plastic wrap and allow them to rise for at least one hour until noticeably puffy. Meanwhile, preheat your oven to 350°F.
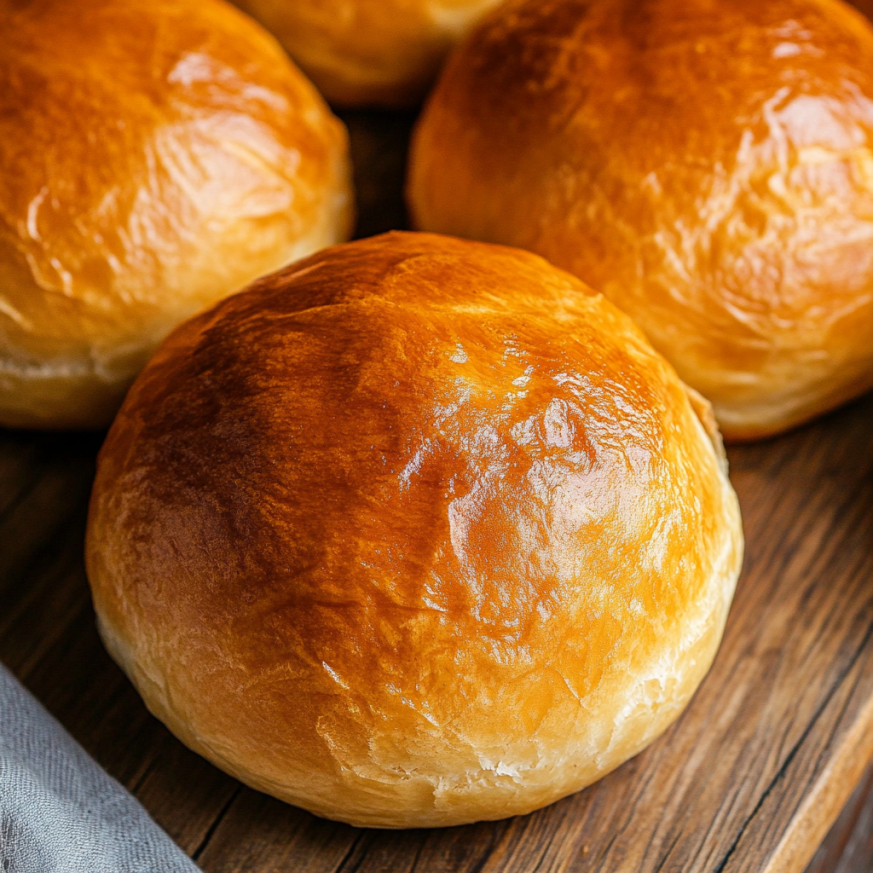
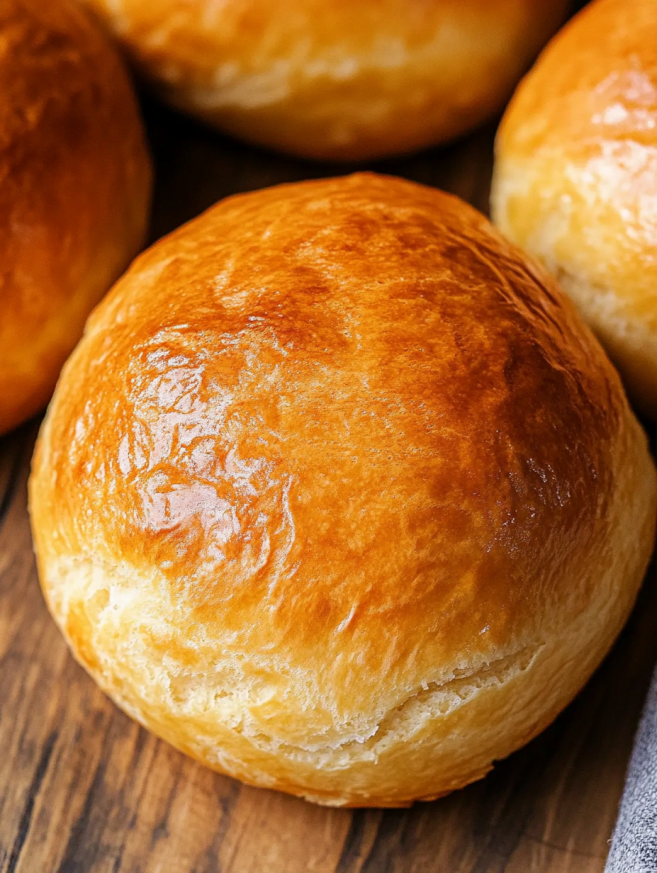
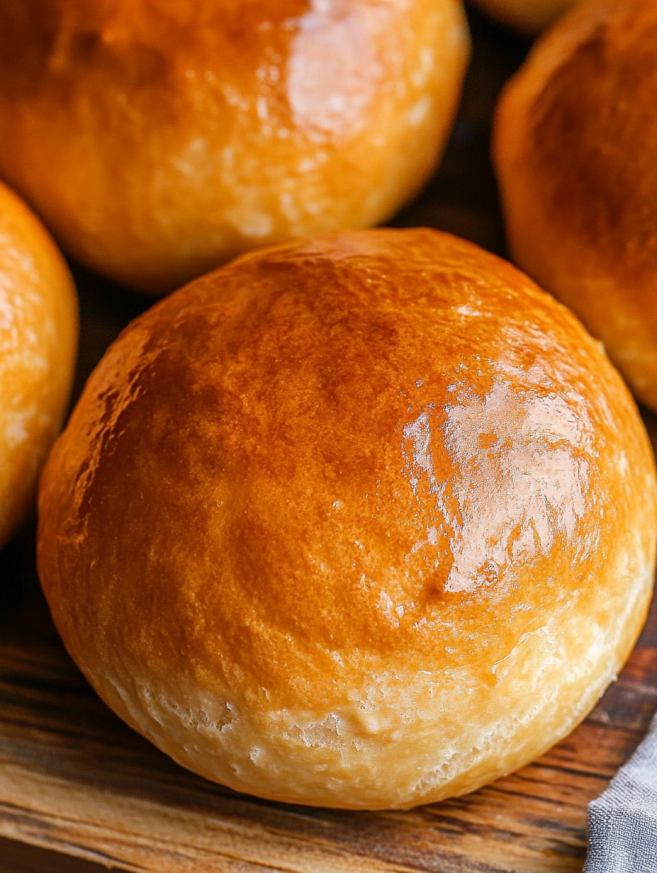
The Golden Finish
Whisk together the egg yolk and cold water to create a smooth egg wash. Brush this mixture evenly over each bun, ensuring complete coverage for uniform browning. Bake for 20-25 minutes until they achieve a beautiful golden-brown color.
Serving Suggestions
Elegant Dinner Applications
Serve these warm brioche buns alongside roasted meats, sophisticated salads, or creamy soups for an upscale dining experience. Their rich flavor complements both simple and complex dishes without overwhelming delicate flavors.
Gourmet Sandwich Base
Transform ordinary sandwiches into gourmet creations by using these buns for everything from classic hamburgers to elevated chicken salad sandwiches. The sturdy yet tender texture holds up beautifully to generous fillings.
Breakfast and Brunch Ideas
Slice day-old brioche buns for the most incredible French toast you’ve ever tasted. Alternatively, use them for breakfast sandwiches that will make your morning feel like a special occasion.
Creative Recipe Variations
Herb-Infused Version
Incorporate 2 tablespoons of finely chopped fresh herbs like rosemary, thyme, or chives into the dough during the final kneading stage. This creates savory buns perfect for dinner parties or special occasions.
Sweet Breakfast Style
Add 2 teaspoons of cinnamon and increase the brown sugar to 2 tablespoons for buns that work beautifully for breakfast sandwiches or French toast. Consider adding a handful of raisins for extra sweetness and texture.
Sesame or Poppy Seed Topped
Before baking, sprinkle sesame seeds, poppy seeds, or everything bagel seasoning over the egg-washed buns. This adds visual appeal and complementary flavors for sandwich applications.
Mini Brioche Rolls
Divide the dough into 24 portions instead of 16 to create smaller, cocktail-sized rolls perfect for sliders or elegant appetizers. Reduce the baking time to 15-18 minutes for these smaller versions.
Make-Ahead Tips
Overnight Rising Method
After shaping the buns, you can refrigerate them overnight for their final rise. This slow fermentation actually improves the flavor while fitting better into busy schedules. Allow extra time for them to come to room temperature before baking.
Freezing Strategies
Freeze shaped, unbaked buns on baking sheets until solid, then transfer to freezer bags for up to 3 months. Thaw overnight in the refrigerator, then proceed with the final rise and baking as directed.
Dough Storage Options
The enriched dough can be refrigerated for up to 24 hours after the first rise. This extended fermentation develops more complex flavors while making the dough easier to handle and shape.
Important Notes
Stand Mixer Necessity
While technically possible by hand, brioche dough requires extensive kneading to properly develop gluten and incorporate the butter. A stand mixer with dough hook makes this process much more manageable and consistent.
Temperature Control Matters
Maintaining proper temperatures throughout the process ensures success. Additionally, if your kitchen is particularly warm, consider shorter rising times to prevent over-proofing.
Butter Quality Impact
Using high-quality European-style butter with higher fat content will noticeably improve the final flavor and texture. The investment in premium butter pays off significantly in these rich, butter-forward buns.
Frequently Asked Questions
Why is my brioche dough so sticky? Brioche dough is naturally very sticky due to the high egg and butter content. Resist adding too much flour, as this will make the final buns heavy. The stickiness will decrease as gluten develops during kneading, and proper technique helps manage the texture.
Can I make brioche without a stand mixer? While challenging, it’s possible to make brioche by hand, though it requires significant arm strength and patience. The mixing and kneading process will take considerably longer, and achieving the proper gluten development can be difficult without mechanical assistance.
How do I know when the butter is properly incorporated? The dough should be smooth and cohesive when the butter is fully incorporated. Additionally, you shouldn’t see any streaks of butter, and the dough should have a silky appearance rather than looking greasy or separated.
What’s the best way to store finished brioche buns? Store cooled brioche buns in an airtight container at room temperature for up to 3 days. For longer storage, freeze them for up to 3 months. Thaw at room temperature and warm slightly in the oven to restore their soft texture.
Can I use active dry yeast instead of instant yeast? Yes, but you’ll need to dissolve active dry yeast in the warm milk for 5-10 minutes before proceeding. Use the same amount, but expect slightly different timing for the rising phases as active dry yeast works more slowly.
Why didn’t my buns rise properly? Common causes include expired yeast, milk that was too hot (killing the yeast), or a too-cool environment for rising. Additionally, over-flour can inhibit proper rise, so measure ingredients carefully and trust the process even when the dough seems sticky.
How can I tell when the buns are properly baked? Properly baked brioche buns will be golden brown all over and will sound hollow when tapped on the bottom. An instant-read thermometer inserted into the center should read 190°F for perfectly baked results.
Can I make the dough ahead and bake later? Absolutely! You can prepare the dough through the first rise, then refrigerate it for up to 24 hours before shaping and completing the final rise. This actually improves the flavor through extended fermentation.
Recipe Summary:
- Yield: 16 servings
- Prep Time: 3 hours
- Cook Time: 20 minutes
- Total Time: 3 hours 20 minutes
- Course: Bread
- Cuisine: French
Nutrition per serving: 234 calories, 23g carbohydrates, 5g protein, 13g fat
Recipe adapted from King Arthur Flour


