Prep Time: 5 minutes | Cook Time: 5-7 minutes | Total Time: 52 minutes (including setting time) | Yield: About 16 squares
I still remember the first time I watched Paula Deen make this legendary fudge on television, and I couldn’t believe something so decadent could come together so quickly. Within minutes, she had transformed basic pantry ingredients into glossy, rich fudge that looked like it came from an expensive candy shop. That very evening, I rushed to my kitchen to try it myself, and I’ve been making it ever since for every holiday, bake sale, and “I need chocolate now” emergency.
What makes this recipe truly special isn’t just its incredible speed – it’s how it consistently delivers professional-quality results without any of the fussiness typically associated with candy making. There’s no candy thermometer required, no complicated techniques to master, and absolutely no chance of crystallization ruining your batch.
Why This Recipe Will Become Your Go-To Sweet Treat
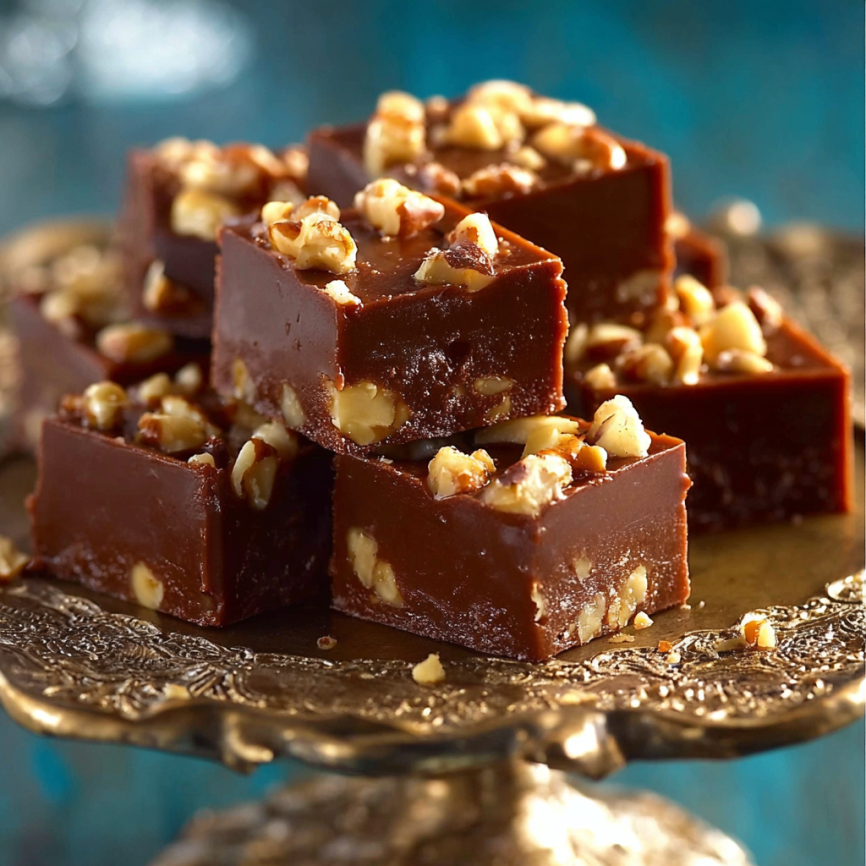
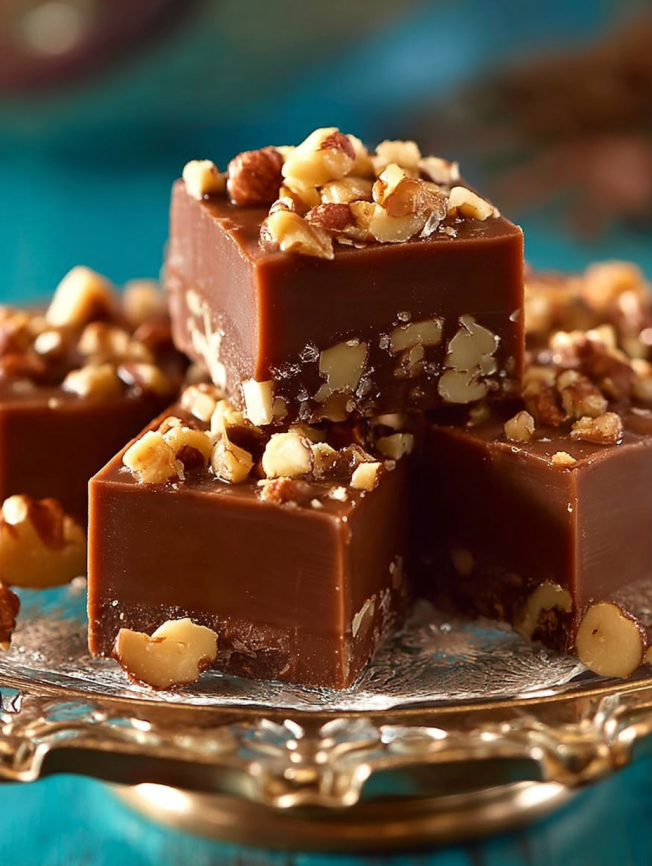
Paula Deen’s 5 Minute Fudge solves every home baker’s dilemma: how to create impressive, gift-worthy confections without spending hours in the kitchen or mastering complicated candy-making techniques. This recipe delivers rich, creamy fudge with that perfect balance of sweet chocolate and crunchy pecans that makes it absolutely irresistible.
Unlike traditional fudge recipes that require precise temperature control and perfect timing, this version uses marshmallows as a foolproof setting agent. The marshmallows not only help the fudge achieve the perfect texture but also add a subtle vanilla sweetness that complements the chocolate beautifully.
Additionally, this recipe is incredibly forgiving – even novice cooks can achieve perfect results every single time. The ingredient list consists of common pantry staples, making it possible to whip up a batch whenever the craving strikes or unexpected guests arrive.
Essential Ingredients
Main Components
- 1⅓ cups granulated sugar
- ⅔ cup evaporated milk (not regular milk or heavy cream)
- 1 tablespoon unsalted butter
- ½ teaspoon salt (enhances the chocolate flavor)
- 1 (6 oz) package semi-sweet chocolate chips
- 16 large marshmallows (the secret to perfect texture)
- 1 teaspoon pure vanilla extract
- 1 cup chopped pecans (toasted for extra flavor)
Gifting and Serving Ideas
This fudge makes beautiful gifts when cut into squares and arranged in decorative tins or boxes lined with parchment paper. Consider wrapping individual pieces in colorful cellophane for party favors, or arrange them on elegant platters for holiday entertaining alongside other homemade confections.
Step-by-Step Instructions
Preparing Your Workspace
Begin by lining an 8×8-inch square pan with parchment paper, leaving some overhang for easy removal later. Alternatively, you can lightly grease the pan with butter, though parchment makes cleanup much easier and prevents sticking completely.
Have all your ingredients measured and ready before you start cooking, as this recipe moves quickly once you begin. This preparation technique, called mise en place, ensures smooth execution and prevents any scrambling for ingredients mid-process.
Creating the Base
In a medium, heavy-bottomed saucepan, combine the sugar, evaporated milk, butter, and salt. The heavy bottom is important because it distributes heat evenly and prevents hot spots that could cause the mixture to scorch.
Place the saucepan over medium heat and stir constantly with a wooden spoon or heat-resistant spatula. Constant stirring is crucial during this stage to prevent the sugar from crystallizing or the mixture from burning on the bottom of the pan.
Achieving the Perfect Boil
Continue stirring and bring the mixture to a rolling boil – this means the bubbles should be large and vigorous, and they shouldn’t stop bubbling when you stir. This stage typically takes 3-4 minutes, depending on your stove and pan.
Once you achieve a rolling boil, continue cooking while stirring for exactly 1 minute. This timing is important for achieving the proper consistency, so watch your clock carefully during this crucial step.
Adding the Magic Ingredients
Remove the saucepan from heat immediately after the 1-minute boil, then quickly add the chocolate chips and marshmallows. The residual heat will begin melting these ingredients immediately, so start stirring right away.
Stir vigorously until both the chocolate chips and marshmallows are completely melted and the mixture becomes smooth and glossy. This usually takes 2-3 minutes of continuous stirring. The mixture should be completely smooth with no visible lumps.
Final Touches
Once the mixture is smooth, stir in the vanilla extract and chopped pecans. The vanilla adds depth and rounds out the chocolate flavor, while the pecans provide delightful texture and nutty richness that complements the sweet base perfectly.
Work quickly during this step, as the fudge will begin to set as it cools. Make sure the pecans are evenly distributed throughout the mixture for consistent texture in every piece.
Setting and Cutting
Pour the hot fudge mixture into your prepared pan, spreading it evenly with a spatula to ensure uniform thickness. Don’t worry about making it perfectly smooth – the rustic appearance adds to its homemade charm.
Allow the fudge to cool completely at room temperature for about 45 minutes, or refrigerate for 20-30 minutes to speed up the setting process. The fudge is ready to cut when it feels firm to the touch and doesn’t leave an indentation when pressed gently.
Serving and Storage Tips
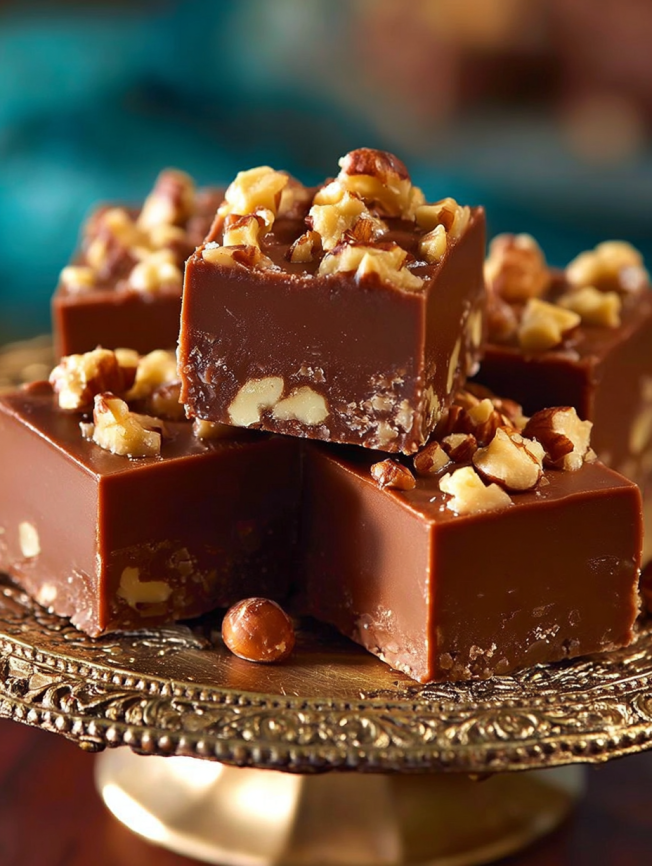
Cut the cooled fudge into squares using a sharp knife, wiping the blade clean between cuts for neat edges. For perfectly uniform pieces, score the surface lightly before making your final cuts.
Store the finished fudge in an airtight container at room temperature for up to one week, or refrigerate for up to two weeks. Layer the pieces between sheets of wax paper or parchment to prevent sticking.
Creative Variations
Nutty Alternatives
While pecans are traditional, this recipe works beautifully with walnuts, almonds, or even toasted coconut. Toast your nuts lightly in a dry skillet before adding them to enhance their flavor and add extra crunch.
Flavor Twist Options
Try adding different extracts like almond, rum, or mint instead of vanilla for unique flavor profiles. Start with ½ teaspoon and adjust to taste, as some extracts are more potent than vanilla.
Mix-In Madness
Consider stirring in mini marshmallows, dried fruit, or even crushed cookies for interesting texture variations. Add these extras along with the pecans for best distribution.
Chocolate Variations
Experiment with different types of chocolate chips – dark chocolate creates a more sophisticated flavor, while milk chocolate appeals to those who prefer sweeter treats. White chocolate chips can create a beautiful marbled effect when only partially mixed in.
Make-Ahead Tips
This fudge is actually perfect for making ahead, as the flavors develop and improve after 24 hours. The texture also becomes more settled and easier to cut cleanly after resting overnight.
For holiday gift-giving, make several batches up to two weeks in advance and store them in airtight containers. The fudge freezes beautifully for up to three months when wrapped tightly in plastic wrap and stored in freezer bags.
When gifting, cut the fudge into pieces and arrange in decorative boxes or tins lined with parchment paper. Include a note about storage – room temperature for immediate consumption or refrigerated for longer keeping.
Essential Tips for Success
The key to perfect fudge lies in using the correct type of milk – evaporated milk is essential and cannot be substituted with regular milk, half-and-half, or heavy cream. Evaporated milk has the right consistency and sugar content to create the proper texture.
Don’t rush the boiling step – achieving a true rolling boil is crucial for the fudge to set properly. If the mixture doesn’t boil vigorously enough, the fudge may remain too soft and never achieve the proper texture.
Temperature matters when adding the chocolate and marshmallows. The mixture should be hot enough to melt them completely but not so hot that it causes the chocolate to seize or become grainy.
Troubleshooting Common Issues
If your fudge turns out too soft, it usually means the mixture didn’t boil long enough or vigorously enough. Next time, ensure you achieve a true rolling boil and maintain it for the full minute while stirring constantly.
Grainy fudge typically results from sugar crystallization, which can happen if the mixture is stirred too aggressively during the initial heating phase or if any sugar crystals form on the sides of the pan. Gentle, consistent stirring is key.
If the fudge seems too hard, you may have boiled it too long or at too high a temperature. The mixture should boil vigorously but not violently – adjust your heat as needed to maintain the proper boiling action.
Frequently Asked Questions
Can I make this fudge without nuts? Absolutely! Simply omit the pecans for a smooth, classic chocolate fudge. You might want to add an extra ½ teaspoon of vanilla extract to enhance the flavor when nuts are omitted.
What if I don’t have evaporated milk? Evaporated milk is really essential for this recipe’s success, but in a pinch, you can make a substitute by simmering 1¼ cups whole milk until it reduces to ⅔ cup. However, the texture may be slightly different.
Can I double this recipe? Yes, but use a larger, heavier saucepan and be extra careful about achieving the proper boil. You may need to extend the boiling time slightly, and the mixture will take longer to melt the chocolate and marshmallows.
Why did my fudge turn out grainy? Graininess usually results from sugar crystallization, which can happen if the mixture is stirred too vigorously during heating or if sugar crystals form on the pan sides. Try brushing down the sides with a wet pastry brush next time.
Can I use mini marshmallows instead of large ones? Yes, use about 1½ cups of mini marshmallows to equal 16 large marshmallows. They’ll actually melt faster, so watch carefully and stir continuously once they’re added.
How do I know if my fudge is set properly? Properly set fudge should feel firm to the touch and not leave an indentation when pressed gently. It should cut cleanly with a sharp knife without being crumbly or sticky.


Every sentence feels like a carefully chosen stone on a path of wisdom — sturdy, beautiful, and meaningful.
Thank you so much for your kind words! I’m really glad the writing resonated with you in that way — it means a lot to know it came across as meaningful and well-crafted.