The first time I served these at a family gathering, my teenage nephew stopped mid-conversation and stared at his plate in amazement. “Wait,” he said, “are these onion rings AND mozzarella sticks at the same time?” That’s exactly what they are – and that’s exactly why they’ve become my go-to appetizer for anyone who loves comfort food with a creative twist.
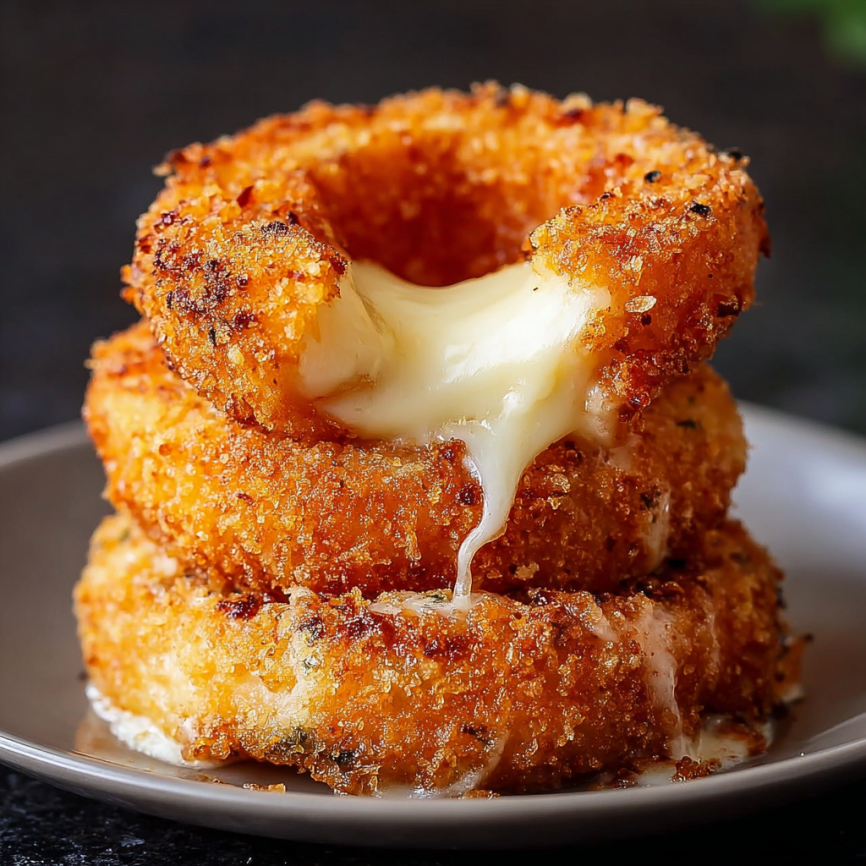
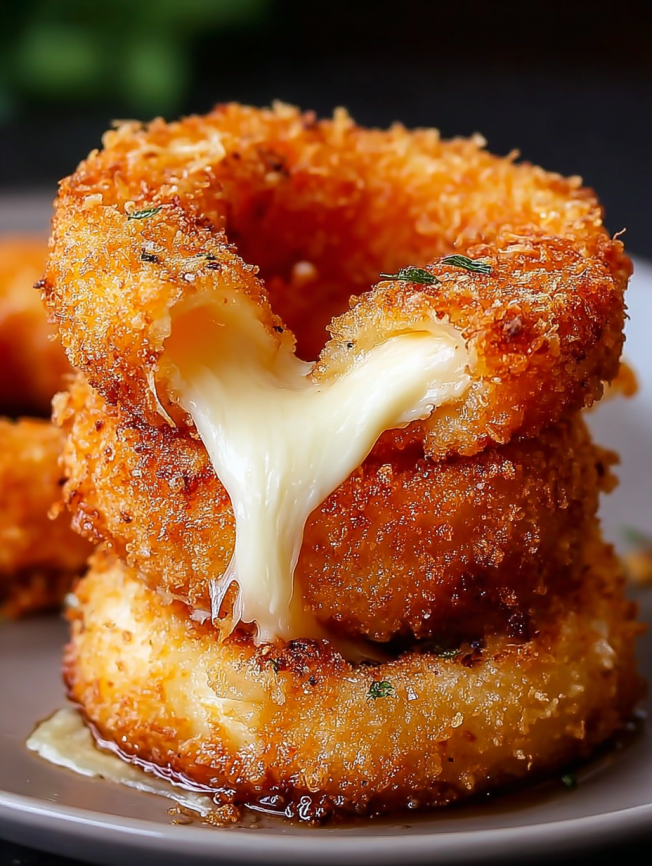
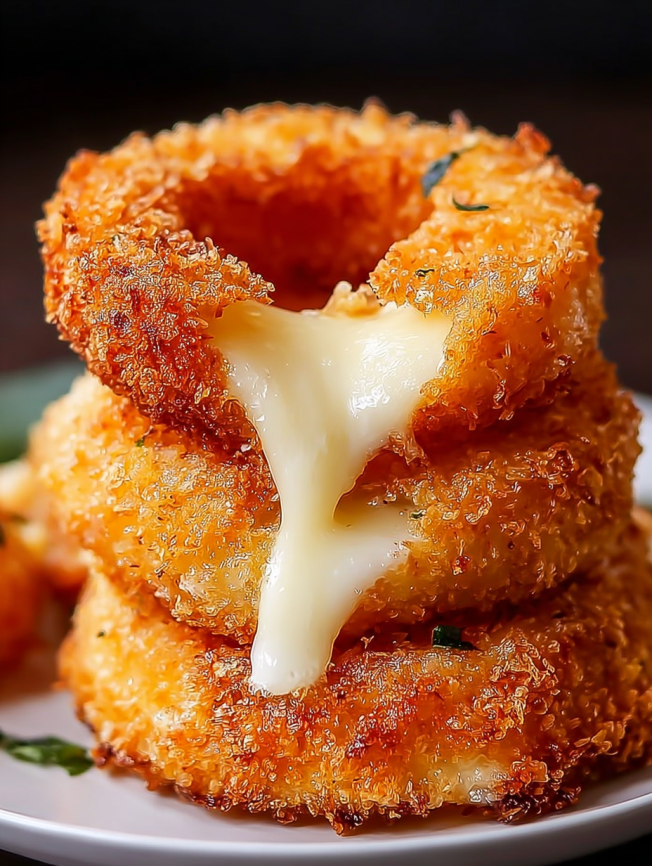
There’s something magical about the moment you bite into one of these golden beauties. The crispy exterior gives way to sweet, caramelized onion wrapped around stretchy, melted mozzarella. Meanwhile, every bite delivers that perfect combination of textures and flavors that makes both onion rings and mozzarella sticks so irresistible.
Why These Will Become Your New Favorite Appetizer
Two Classics in One: Instead of choosing between onion rings or mozzarella sticks, you get both beloved appetizers combined into one incredible bite. Furthermore, they offer the best elements of each – the sweet onion flavor and the gooey cheese satisfaction.
Impressive Yet Achievable: While these look like restaurant-quality appetizers, they’re surprisingly manageable to make at home. Additionally, the technique is straightforward once you understand the assembly process.
Perfect for Sharing: These onion rings create an instant conversation starter at any gathering. Consequently, they’re ideal for parties, game day, or family dinners where you want something special that brings people together.
Customizable Base: The basic concept works with different cheese varieties and seasonings. Therefore, you can adapt them to suit various taste preferences and dietary needs.
Essential Ingredients Breakdown
Main Components
- 2 large white onions – Choose firm, fresh onions with tight layers that won’t fall apart during preparation
- 3 slices mozzarella cheese – Use quality whole milk mozzarella for the best melt and stretch
Breading Station
- 250 g plain flour – All-purpose flour creates the foundation for proper coating adhesion
- 5 large eggs, beaten – Room temperature eggs blend more easily and coat more evenly
- 230 g breadcrumbs – Panko breadcrumbs provide extra crispiness, though regular breadcrumbs work well too
For Frying
- Vegetable oil for deep frying – Choose neutral oils like canola or vegetable oil with high smoke points
Serving Accompaniments
- Marinara sauce for dipping – Homemade or quality store-bought both work beautifully
Perfect Pairings
Serve these alongside fresh marinara, ranch dressing, or spicy aioli. Moreover, they complement other appetizers like jalapeño poppers or loaded nachos for a complete comfort food spread.
Step-by-Step Preparation Guide
Assembly Phase
Step 1: Prepare the Onions Peel both large onions and slice them into rings approximately 1 centimeter thick. Gently separate the rings, keeping them organized by size. You’ll want to match smaller rings with larger ones for the stuffing process.
Step 2: Create the Cheese-Stuffed Rings Cut the mozzarella slices into strips about 1 centimeter wide. Take a smaller onion ring and place it inside a larger ring, creating a gap between them. Fill this gap generously with mozzarella strips, adding extra cheese for maximum melted goodness. The cheese should fill the space completely without overpacking.
Step 3: Initial Freezing Arrange all assembled rings on a tray and place in the freezer for exactly 1 hour. This crucial step helps maintain the structure during breading and prevents cheese leakage during frying.
Breading Process
Step 4: Set Up Your Breading Station Prepare three shallow bowls: one with flour, one with beaten eggs, and one with breadcrumbs. Having everything ready before you start breading ensures a smooth, efficient process.
Step 5: Double-Coat for Extra Crunch Remove the frozen rings from the freezer. Working with one ring at a time, coat thoroughly in flour, ensuring all surfaces are covered. Next, dip completely in beaten egg, allowing excess to drip off. Finally, roll in breadcrumbs, pressing gently to help them adhere.
For an extra-crispy exterior, repeat the egg and breadcrumb steps once more. Return each breaded ring to the freezer until ready to fry.
Frying to Golden Perfection
Step 6: Heat the Oil Heat vegetable oil in a deep, heavy-bottomed pot to exactly 175°C (347°F). Use a thermometer for accuracy, as proper temperature is crucial for achieving golden results without overcooking.
Step 7: Fry in Batches Working in small batches to avoid overcrowding, carefully lower the breaded rings into the hot oil. Fry for 2-3 minutes, turning occasionally with a slotted spoon, until they achieve a beautiful golden-brown color.
Watch carefully to prevent over-frying, which can cause the cheese to leak out and create a mess in your oil.
Step 8: Drain and Serve Remove the rings with a slotted spoon and place on paper towels to drain excess oil. Serve immediately while the cheese is still stretchy and the coating is at its crispiest.
Creative Serving Suggestions
Classic Presentation
Arrange the rings on a large platter around small bowls of warm marinara sauce. Garnish with fresh basil leaves and a light dusting of grated Parmesan cheese for an elegant touch.
Game Day Style
Serve on individual plates with different dipping sauces – marinara, ranch, spicy aioli, and honey mustard. This variety ensures everyone finds their perfect flavor combination.
Family Dinner Addition
Present these as a special side dish alongside grilled chicken or steak. They add a fun, indulgent element that transforms an ordinary meal into something memorable.
Delicious Variations to Explore
Spicy Jalapeño Version
Add finely diced jalapeños to the mozzarella filling for a kick of heat. The mild heat pairs beautifully with the sweet onion and rich cheese.
Italian Herb Enhancement
Mix dried Italian herbs (basil, oregano, thyme) into the breadcrumbs for extra flavor depth. Additionally, serve with pesto instead of marinara for a fresh twist.
Different Cheese Options
Experiment with other melting cheeses like provolone, pepper jack, or a blend of mozzarella and cheddar. Each brings its own unique flavor profile to the dish.
Baked Alternative
For a lighter version, bake at 200°C (400°F) for 15-20 minutes, turning once halfway through. While not as crispy as fried, they’re still delicious and healthier.
Make-Ahead Strategies
Advance Assembly
You can assemble and bread these rings up to 24 hours in advance. Store them covered in the freezer and fry directly from frozen when ready to serve.
Freezer Storage
Completely assembled and breaded rings freeze beautifully for up to three months. Package them in single layers with parchment paper between layers to prevent sticking.
Partial Preparation
Slice onions and cheese strips the day before, storing them separately in the refrigerator. This cuts down significantly on prep time when you’re ready to assemble.
Professional Tips for Success
Temperature Control: Maintaining proper oil temperature is crucial. Too hot, and the outside burns before the cheese melts. Too cool, and the coating becomes greasy instead of crispy.
Freezing is Essential: Don’t skip the freezing steps. This technique prevents the cheese from melting out during frying and helps maintain the ring structure.
Size Matching: Choose onion rings that nest together well. The gap between rings should be substantial enough to hold cheese but not so large that the structure becomes unstable.
Fresh Oil: Use clean oil for the best flavor and appearance. Old or reused oil can impart off-flavors and prevent proper browning.
Required Equipment
- Sharp chef’s knife for clean onion slicing
- Large cutting board with ample workspace
- Three shallow bowls for breading station
- Large freezer-safe tray
- Deep, heavy-bottomed pot or electric fryer
- Reliable cooking thermometer
- Long-handled slotted spoon
- Paper towels for draining
- Tongs for safe handling
Dietary Information
Allergen Alerts: Contains dairy (mozzarella cheese), eggs, and wheat (flour and breadcrumbs). Those with gluten sensitivities can substitute gluten-free flour and breadcrumbs.
Vegetarian-Friendly: This recipe is suitable for vegetarians who consume dairy and eggs.
Nutritional Benefits: Each serving provides approximately 410 calories with a good balance of protein (16g) from the cheese and eggs, plus satisfying carbohydrates (39g) from the coating.
Frequently Asked Questions
Can I prepare these without a deep fryer? Absolutely! A heavy-bottomed pot with at least 3 inches of oil works perfectly. Just ensure you have a reliable thermometer to monitor temperature accurately.
What’s the best way to prevent cheese leakage during frying? Proper freezing is key – freeze for the full hour after assembly and again after breading. Additionally, don’t overfill with cheese, and ensure your oil temperature is exactly right.
Can I use different types of onions? White onions work best due to their mild flavor and sturdy structure. Yellow onions are acceptable, but avoid red onions as they can be too sharp and may fall apart more easily.
How do I know when they’re perfectly cooked? Look for a deep golden-brown color and listen for the sizzling to moderate slightly. The coating should be crispy, and the cheese should be melted but not leaking out.
What if I don’t have panko breadcrumbs? Regular breadcrumbs work fine, though the texture will be slightly less crispy. You can also make your own by pulsing day-old bread in a food processor.
Can these be reheated successfully? While best served immediately, you can reheat them in a 180°C oven for 5-7 minutes. Avoid microwaving, as this makes the coating soggy and the cheese rubbery.
How much oil do I need for frying? You’ll need enough oil to submerge the rings completely – typically 6-8 cups depending on your pot size. The oil should be at least 3 inches deep for proper frying.
What’s the ideal serving temperature? Serve these as hot as safely possible. The contrast between the crispy exterior and molten cheese interior is most pronounced when they’re fresh from the oil and properly drained.


