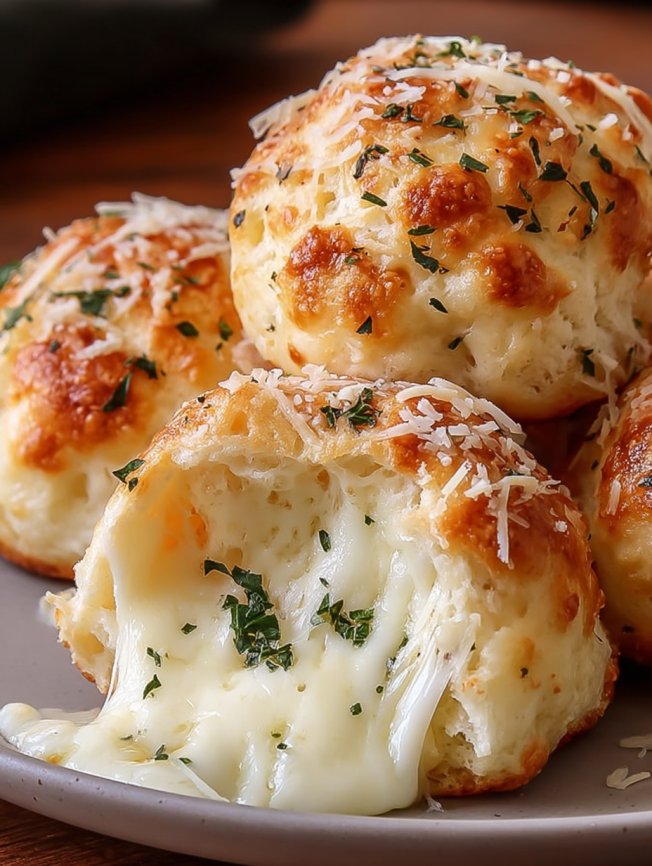
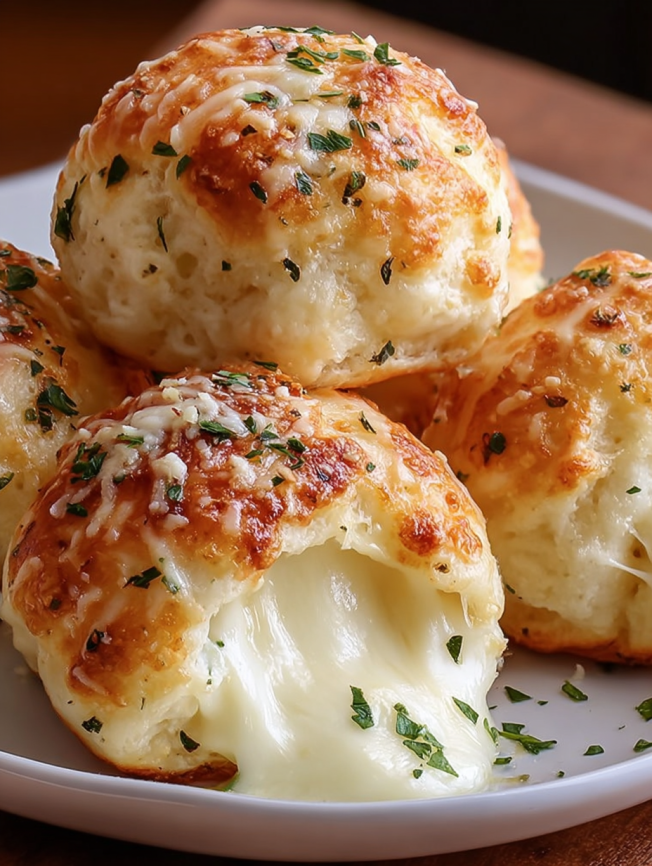
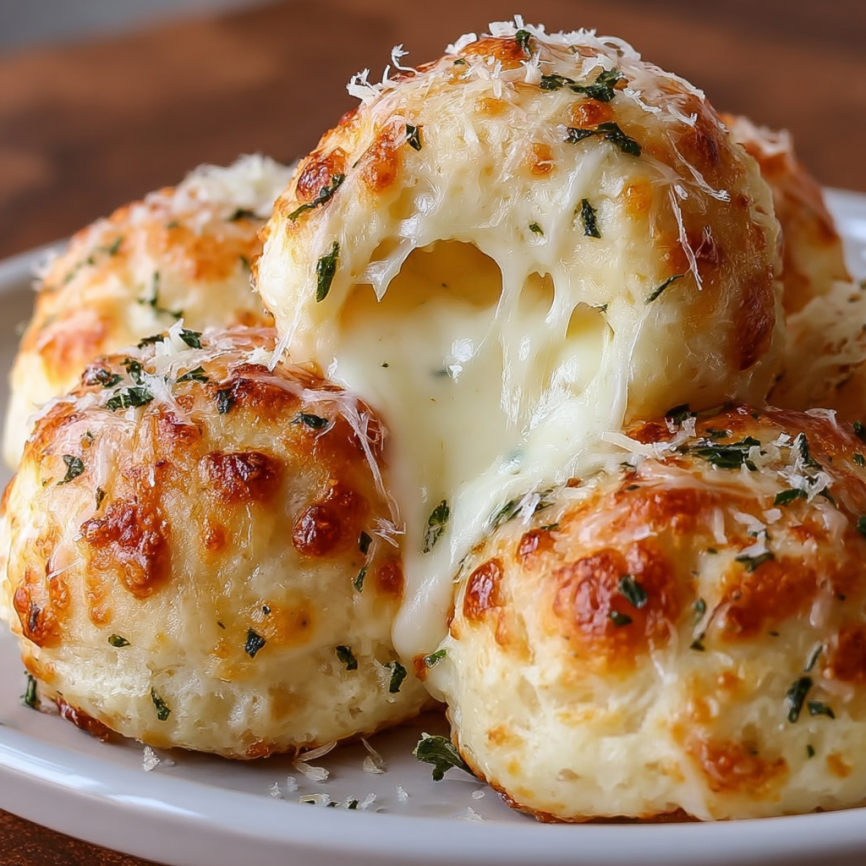
It was a chaotic Tuesday evening when I discovered the magic of these biscuit bombs. My kids were starving, I had unexpected guests arriving, and my refrigerator looked embarrassingly empty. Then I spotted a lone can of biscuit dough and some mozzarella cheese, and desperation sparked creativity. Thirty minutes later, I was pulling golden, cheese-filled bombs from the oven while everyone gathered around the kitchen island, practically drooling.
The beauty of these biscuit bombs lies in their simplicity and speed. Each bite delivers a perfect contrast of flaky, buttery exterior and molten cheese center. Furthermore, they require minimal ingredients and virtually no advanced cooking skills, making them accessible to anyone who craves homemade comfort food without the time investment.
Why These Will Become Your Go-To Emergency Appetizer
Lightning-Fast Preparation: From start to finish, these bombs take just 30 minutes, making them perfect for unexpected guests or sudden snack attacks. Additionally, most of the ingredients are pantry staples you likely already have on hand.
Foolproof Success: Using refrigerated biscuit dough eliminates the guesswork of homemade dough while still delivering impressive results. Consequently, even novice cooks can achieve bakery-quality results every single time.
Crowd-Pleasing Appeal: The combination of cheese, garlic, and herbs creates a flavor profile that appeals to all ages and preferences. Moreover, the individual serving size makes them perfect for parties or family gatherings.
Versatile Foundation: This basic recipe serves as a canvas for endless variations, allowing you to customize flavors based on what you have available or personal preferences.
Simple Ingredient Breakdown
Core Components
- 1 can refrigerated biscuit dough – Choose the flaky layers variety for best texture and appearance
- 16 cubes mozzarella cheese, 1-inch each – Use whole milk mozzarella for optimal melting and stretch
Flavor Enhancement
- 4 tablespoons melted butter – Creates the rich, golden coating that makes these irresistible
- 1 teaspoon garlic powder – Adds aromatic depth without the prep work of fresh garlic
- 1 teaspoon Italian seasoning – Provides herb complexity with oregano, basil, and thyme notes
- 2 tablespoons grated Parmesan cheese – Contributes sharp, nutty flavor and helps create a golden crust
Fresh Finishing Touch
- Fresh parsley, chopped – Adds color and a bright, fresh note that balances the rich flavors
Perfect Accompaniments
Serve these bombs with warm marinara sauce, garlic aioli, or ranch dressing for dipping. They also pair beautifully with a simple Caesar salad or tomato soup for a complete meal.
Quick and Easy Preparation Steps
Setup Phase
Step 1: Prepare Your Workspace Preheat your oven to 190°C (375°F) and line a large baking sheet with parchment paper. Having everything ready before you start assembly ensures a smooth, efficient process.
Step 2: Prepare the Cheese Cut your mozzarella into 16 evenly-sized cubes, roughly 1-inch each. Consistency in size ensures even melting and prevents some bombs from being overstuffed while others lack sufficient cheese.
Assembly Process
Step 3: Shape the Bombs Separate the biscuit dough into individual pieces. On a lightly floured surface, gently flatten each piece into a rough circle about 3 inches in diameter. Place one cheese cube in the center of each circle.
Carefully bring the edges of the dough up and around the cheese, pinching firmly to create a tight seal. Roll gently between your palms to form smooth, round balls. Proper sealing prevents cheese leakage during baking.
Step 4: Create the Coating In a small bowl, whisk together the melted butter, garlic powder, and Italian seasoning until well combined. This aromatic mixture will coat each bomb and create that golden, flavorful exterior.
Coating and Baking
Step 5: Coat Each Bomb Dip each sealed dough ball into the seasoned butter mixture, rolling to ensure complete coverage. The butter mixture should coat all surfaces evenly for consistent flavor and browning.
Place the coated bombs on your prepared baking sheet, leaving about 2 inches between each one to allow for expansion during baking.
Step 6: Add Final Touches Sprinkle each bomb generously with grated Parmesan cheese. This creates an additional layer of flavor and helps achieve that beautiful golden-brown finish.
Step 7: Bake to Perfection Bake for 10-15 minutes, or until the bombs are golden brown and sound hollow when gently tapped. The exact timing depends on your oven and the size of your bombs, so watch carefully during the final few minutes.
Step 8: Garnish and Serve Remove from the oven and immediately garnish with freshly chopped parsley. Serve warm while the cheese is still molten and stretchy for the ultimate gooey experience.

Creative Serving Suggestions
Game Day Presentation
Arrange the warm bombs on a rustic wooden board alongside small bowls of different dipping sauces – marinara, ranch, and spicy aioli. Add some fresh herbs and cherry tomatoes for color and freshness.
Family Dinner Addition
Serve these as a special side dish alongside grilled chicken or pasta. They add an indulgent element that transforms an ordinary meal into something memorable.
Party Appetizer Style
Present on individual small plates with toothpicks and napkins. This elegant presentation works well for more formal gatherings while maintaining the comfort food appeal.
Delicious Variations to Explore
Pizza Bomb Upgrade
Add a small piece of pepperoni or salami along with the mozzarella for a pizza-inspired version. Serve with warm marinara sauce for the complete pizza experience.
Jalapeño Popper Twist
Mix cream cheese with finely diced jalapeños and use this mixture instead of plain mozzarella. Top with extra Parmesan and serve with cool ranch dressing.
Herb-Loaded Version
Add fresh chopped herbs like basil, oregano, or thyme directly to the butter mixture. This creates a more complex flavor profile that herb lovers will adore.
Bacon-Enhanced Option
Wrap each cheese cube with a small piece of cooked bacon before encasing in dough. The smoky bacon flavor complements the cheese beautifully.
Make-Ahead Strategies
Assembly Advance
You can assemble these bombs completely and store them covered in the refrigerator for up to 4 hours before baking. Simply add 2-3 extra minutes to the baking time if starting from cold.
Freezer Preparation
Assembled, unbaked bombs freeze beautifully for up to one month. Freeze on a tray first, then transfer to freezer bags. Bake directly from frozen, adding 5-7 extra minutes to the cooking time.
Butter Mixture Prep
The seasoned butter mixture can be prepared up to 2 days in advance and stored in the refrigerator. Simply reheat gently before using to ensure easy coating.
Essential Tips for Perfect Results
Sealing is Everything: Take extra care when pinching the dough edges together. Any gaps will allow cheese to leak out, creating a mess and potentially burning on your baking sheet.
Temperature Accuracy: Don’t skip preheating your oven completely. Proper temperature ensures even cooking and that beautiful golden color we’re after.
Size Consistency: Try to make all bombs roughly the same size so they bake evenly. Uneven sizes lead to some being overcooked while others remain underdone.
Fresh Parsley Matters: Don’t skip the fresh parsley garnish – it adds a bright note that balances the rich, cheesy flavors perfectly.
Required Equipment
- Standard home oven
- Large baking sheet
- Parchment paper for easy cleanup
- Small mixing bowl for butter mixture
- Wire whisk for combining ingredients
- Sharp knife for cutting cheese
- Measuring spoons and cups
Dietary Information
Allergen Alerts: Contains dairy (mozzarella and Parmesan cheese, butter) and gluten (biscuit dough). Those with gluten sensitivities can substitute gluten-free biscuit dough.
Vegetarian-Friendly: This recipe is perfect for vegetarians who consume dairy products.
Nutritional Profile: Each serving provides approximately 350 calories, making them a satisfying snack or appetizer that won’t spoil dinner.

Frequently Asked Questions
Can I use homemade biscuit dough instead of canned? Absolutely! Homemade biscuit dough works wonderfully, though it will add preparation time. Use any basic biscuit recipe and follow the same assembly instructions.
What if I don’t have Italian seasoning? You can create your own blend using equal parts dried oregano, basil, and thyme. Alternatively, use any herb blend you prefer or simply increase the garlic powder.
How do I prevent the cheese from leaking out? Proper sealing is crucial – pinch the dough edges firmly and ensure no cheese is visible. Also, avoid overstuffing each bomb with too much cheese.
Can I prepare these ahead for a party? Yes! Assemble completely and refrigerate for up to 4 hours before baking. They’re best served fresh from the oven while the cheese is still molten.
What’s the best type of mozzarella to use? Whole milk mozzarella provides the best melting properties and flavor. Avoid part-skim varieties, as they don’t melt as smoothly and can become rubbery.
How do I know when they’re perfectly done? Look for a deep golden-brown color and listen for a hollow sound when gently tapped. The bombs should feel firm but not hard when touched.
Can these be reheated successfully? While best served immediately, you can reheat them in a 180°C oven for 5-7 minutes. Avoid microwaving, as this makes the exterior chewy and the cheese rubbery.
What dipping sauces work best? Classic marinara sauce is always a winner, but ranch dressing, garlic aioli, or even honey mustard provide delicious alternatives. Offer multiple options to please different preferences.


