Prep Time: 5 minutes | Total Time: 5 minutes | Servings: 8 people
There’s something magical about creating an indulgent dessert that feels like it took hours to prepare, yet comes together in just minutes. This 3-ingredient chocolate mousse has become my go-to dessert when I need something impressive but don’t have time for elaborate preparations. What started as an experiment in my kitchen has turned into a family favorite that satisfies every chocolate craving while keeping things surprisingly healthy.
Why You’ll Fall in Love with This Recipe
Simple Yet Sophisticated
Unlike traditional mousses that require careful tempering of eggs and precise timing, this version eliminates all the fuss. With just three main ingredients, you can create a dessert that rivals any restaurant-quality mousse. The beauty lies in its simplicity – no complicated techniques or specialty equipment needed.
Health-Conscious Indulgence
This mousse proves that you don’t have to sacrifice flavor for nutrition. By using coconut cream as the base, you’re getting healthy fats and avoiding dairy altogether. Meanwhile, the low-carb profile makes it perfect for those following keto, paleo, or simply watching their sugar intake.
Versatile and Customizable
Whether you’re hosting a dinner party or treating yourself to a midweek dessert, this mousse adapts to any occasion. The recipe serves as an excellent foundation for countless variations, allowing you to experiment with different flavors and toppings.
Essential Ingredients
Main Components
- 27 fl oz full-fat coconut cream or coconut milk – The star ingredient that creates the rich, creamy texture
- 2 tablespoons confectioners sweetener – Provides sweetness without the carbs (or use regular icing sugar if not counting carbs)
- 3 tablespoons unsweetened cocoa powder – Delivers that deep chocolate flavor we all crave
Optional Enhancements
- 1 pinch salt (about 1/4 teaspoon) – Enhances the chocolate flavor and adds depth
- 1 oz 70% dark chocolate, shaved – For extra richness and texture
- Additional chocolate shavings for garnish – Creates an elegant presentation
Serving Suggestions
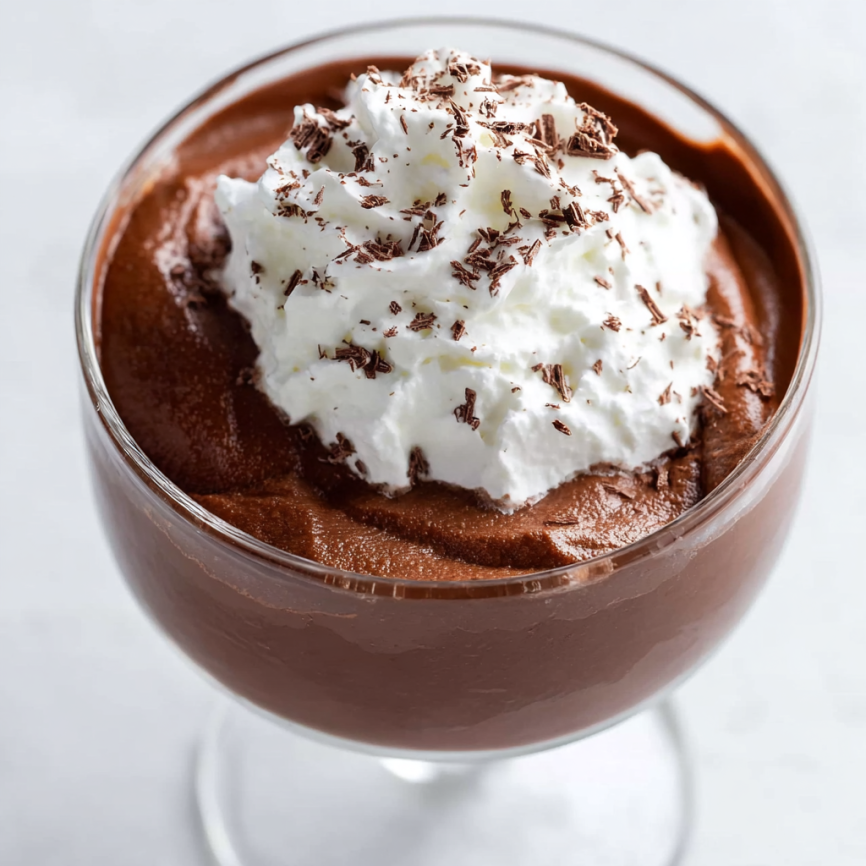
Consider pairing your mousse with fresh berries, a dollop of whipped cream, or a sprinkle of toasted coconut flakes. For special occasions, serve in elegant glasses with a mint sprig garnish.

Step-by-Step Instructions
Preparing the Coconut Base
Begin by placing your sealed cans of coconut cream in the refrigerator overnight. This crucial step allows the cream to separate and solidify, creating the perfect base for your mousse. When ready to use, avoid shaking the cans – instead, open them carefully and scoop out only the thick cream that has risen to the top.
Transfer this solid cream to a mixing bowl, then discard the liquid portion at the bottom of the cans. Alternatively, save this coconut water for smoothies or other recipes to avoid waste.
Creating the Whipped Base
Add your chosen sweetener to the coconut cream and beat on high speed using a hand mixer. This process takes approximately 1-2 minutes until the mixture becomes thick and creamy. The transformation is quite remarkable – you’ll see the cream develop a light, airy texture similar to traditional whipped cream.
Set aside about 4 tablespoons of this plain whipped cream for serving. This reserved portion will create a beautiful contrast when dolloped on top of the finished mousse.
Incorporating the Chocolate
Gently fold the cocoa powder and salt into the remaining whipped cream. Beat or whisk the mixture again until it’s completely smooth and well combined. The consistency should be thick and luxurious, with no lumps of cocoa powder visible.
If you’re using shaved chocolate, fold it in at this stage. Depending on your coconut cream’s quality, the mousse may set almost immediately once the cocoa is incorporated. However, if it seems too soft, simply refrigerate until it reaches your desired consistency.
Serving and Presentation
Immediate Serving
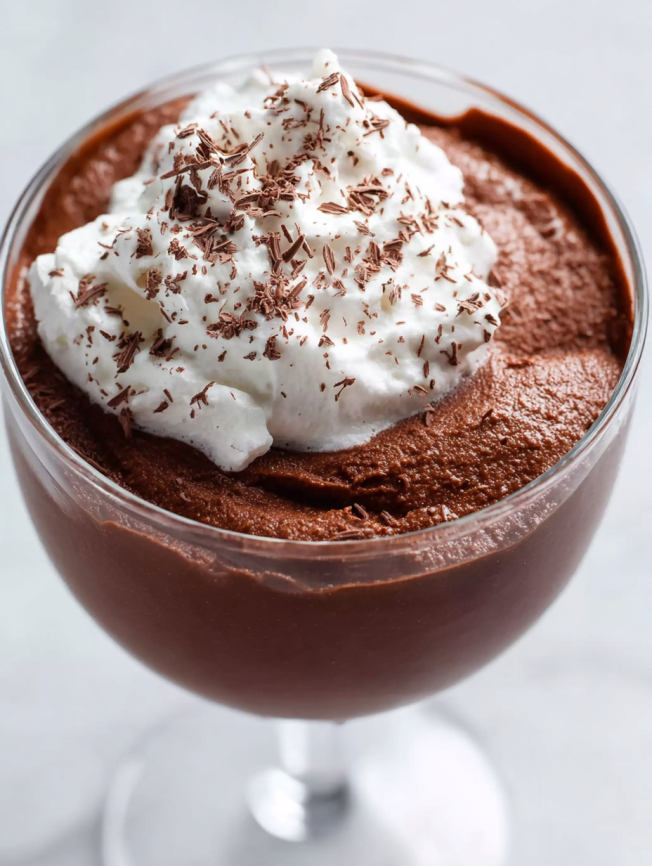
This mousse can be enjoyed right away for a softer, more flowing texture. Spoon it into individual serving glasses or bowls, then top with the reserved plain whipped cream and chocolate shavings for an elegant presentation.
Chilled Serving
For a firmer texture that holds its shape better, refrigerate the mousse for at least 30 minutes before serving. This allows the coconut cream to set further, creating a more traditional mousse consistency.
Recipe Variations
Flavor Adaptations
Mint Chocolate Mousse: Add 1/2 teaspoon peppermint extract along with the cocoa powder for a refreshing twist.
Mocha Mousse: Incorporate 1 tablespoon of instant coffee powder with the cocoa for coffee lovers.
Orange Chocolate Mousse: Add the zest of one orange and a few drops of orange extract for a citrusy variation.
Texture Modifications
Extra Rich Version: Increase the chocolate content by adding 2 oz of melted dark chocolate, cooled to room temperature.
Lighter Version: Use only 2 tablespoons of cocoa powder for a milder chocolate flavor.
Make-Ahead Tips
Advance Preparation
This mousse actually improves with time, making it an excellent make-ahead dessert. Prepare it up to 2 days in advance and store covered in the refrigerator. The flavors will meld together beautifully, creating an even more cohesive taste.
Storage Guidelines
Store individual portions in airtight containers or cover your serving bowl with plastic wrap. The mousse will maintain its quality for up to 4 days in the refrigerator.
Freezing Options
While not traditional, this mousse can be frozen for up to one month. Thaw slowly in the refrigerator and give it a gentle stir before serving to restore its creamy texture.
Important Notes
Coconut Cream Selection
The success of this recipe heavily depends on using full-fat coconut cream or milk. Light or reduced-fat versions simply won’t provide the necessary fat content to create the proper texture. The fat is essential for achieving that rich, creamy consistency that makes this mousse so satisfying.
Temperature Considerations
Always ensure your coconut cream is well-chilled before beginning. Room temperature cream won’t whip properly and may result in a runny mousse that won’t set.
Sweetener Flexibility
Feel free to adjust the sweetener amount based on your taste preferences. Start with less and add more gradually – you can always increase sweetness, but you can’t take it away.
Frequently Asked Questions
Can I use regular coconut milk instead of coconut cream? Yes, but make sure it’s full-fat coconut milk and follow the same overnight chilling process. Coconut cream will give you a richer, thicker result, but quality full-fat coconut milk works well too.
What if my coconut cream doesn’t separate properly? Some brands don’t separate as well as others. Try refrigerating for 24 hours instead of overnight, or look for brands specifically labeled as “coconut cream” rather than “coconut milk.”
Can I make this mousse without a hand mixer? Absolutely! A whisk will work, though it requires more effort and time. The key is to whip vigorously until you achieve that light, airy texture.
How can I make this mousse sweeter without adding carbs? Experiment with different sugar-free sweeteners like stevia, erythritol, or monk fruit. Each has a different sweetness level, so adjust accordingly.
Why does my mousse taste too coconutty? Some people are more sensitive to coconut flavor. Try using refined coconut oil-based cream or add a bit more cocoa powder to balance the flavors.
Can I add protein powder to make this more nutritious? Yes, but add it gradually and choose a flavor that complements chocolate. Vanilla or chocolate protein powder works best, but you may need to adjust the liquid content slightly.
Nutrition Information (Per Serving):
- Calories: 21kcal
- Carbohydrates: 6g
- Protein: 1g
- Fat: 1g
- Fiber: 1g
- Sugar: 1g
This nutritional profile makes it an excellent choice for those following low-carb, keto, or simply health-conscious eating plans while still satisfying dessert cravings.


