Total Time: 50 minutes | Yield: About 20 pieces | Diet: Vegetarian
Last December, I found myself in a familiar pre-holiday panic: I needed homemade gifts for my coworkers, but time was running short. That’s when I discovered the magic of mint chocolate bark – a confection so elegant that people assume it came from an expensive chocolatier, yet simple enough to make while dinner is cooking. The combination of rich dark chocolate, creamy white chocolate, and refreshing mint creates a flavor profile that’s both sophisticated and nostalgic.
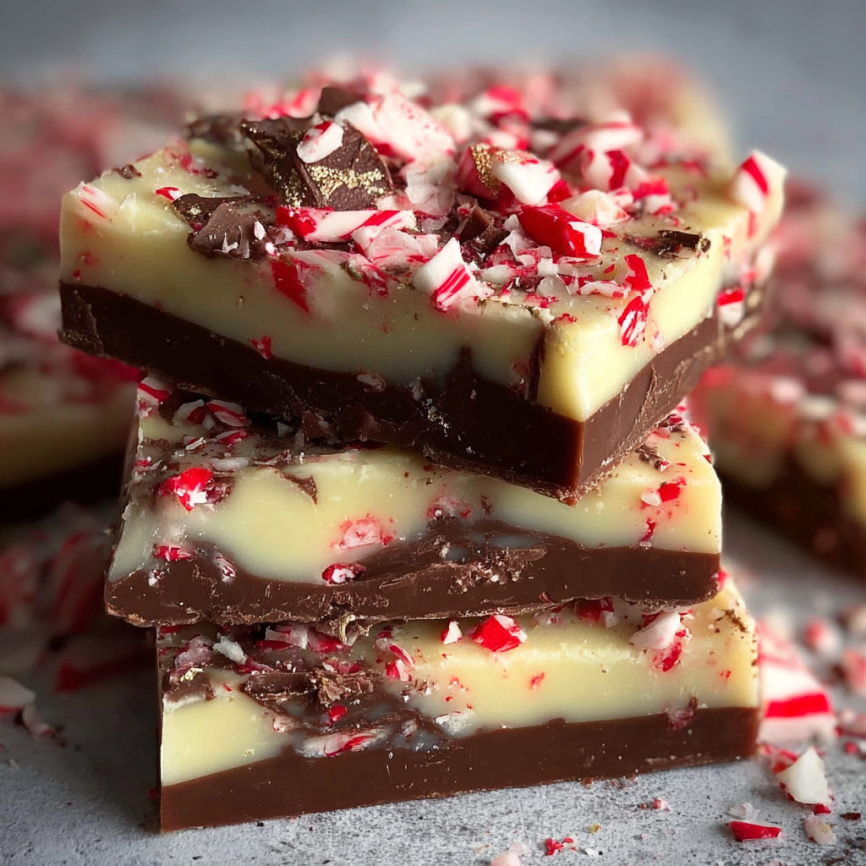
What started as a desperate last-minute gift solution has become one of my most requested treats. Friends now specifically ask me to bring “that amazing mint chocolate” to every gathering. The beauty lies not just in its stunning appearance – those marbled layers topped with crushed peppermint candies look like edible art – but in how effortlessly it comes together. Even novice candy makers can achieve professional-looking results with this foolproof recipe.
5 Reasons to Love This Mint Chocolate Bark
1. Ridiculously Easy to Make
This recipe requires no special equipment, candy thermometers, or advanced techniques. All you need is a double boiler (or microwave), a baking sheet, and basic mixing skills. The entire process takes less than an hour, including chilling time, making it perfect for busy schedules or last-minute entertaining needs.
2. Impressive Visual Appeal
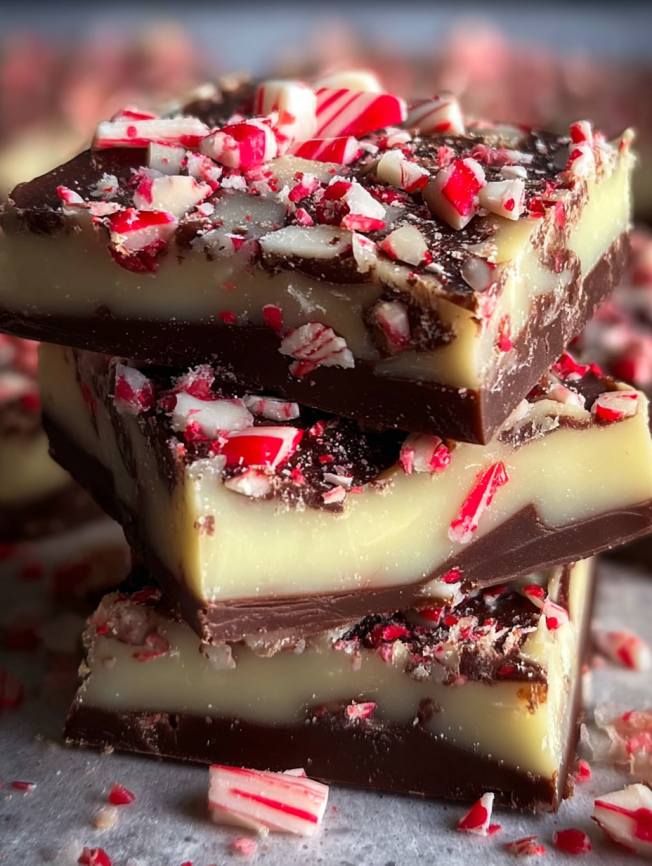
The striking contrast between dark and white chocolate creates a marbled masterpiece that looks professionally crafted. When topped with colorful peppermint candy pieces, each square becomes a small work of art. Furthermore, the bark breaks naturally into irregular pieces that have a rustic, artisanal charm.
3. Perfect Balance of Flavors
The bitterness of dark chocolate pairs beautifully with the sweetness of white chocolate, while the mint extract adds a refreshing coolness that prevents the treat from being overly rich. Additionally, the peppermint candy pieces provide delightful textural contrast and bursts of intense mint flavor.
4. Ideal for Gift-Giving
This bark stores exceptionally well and looks stunning when packaged in clear bags or decorative boxes. It’s naturally portion-controlled, travels well, and appeals to a wide range of taste preferences. Moreover, you can easily double or triple the recipe to make large batches for holiday giving.
5. Customizable and Versatile
While the classic mint version is perfection, this recipe serves as an excellent base for countless variations. You can experiment with different chocolate combinations, extracts, or toppings to create unique flavor profiles for any season or occasion.
Ingredients
Essential Components
- 200g dark chocolate (70% cocoa works best)
- 200g high-quality white chocolate
- 1/2 cup peppermint candies, roughly chopped
- 1 teaspoon pure mint extract
Equipment Needed
- Large baking sheet
- Parchment paper or silicone mat
- Double boiler or microwave-safe bowls
- Rubber spatula
- Sharp knife for chopping
Optional Garnishes
- Crushed candy canes for extra color
- Sea salt flakes for gourmet touch
- Chopped pistachios for added crunch
- Edible silver leaf for special occasions
Step-by-Step Instructions
Preparation Phase
- Line your baking sheet with parchment paper, ensuring it extends slightly over the edges for easy removal later. This preparation step prevents sticking and makes cleanup effortless.
- Chop the peppermint candies into small, uniform pieces using a sharp knife. Alternatively, place them in a sealed plastic bag and gently crush with a rolling pin for more controlled sizing.
Creating the Base Layer
- Melt the dark chocolate using a double boiler over gently simmering water, stirring frequently until smooth and glossy. If using a microwave, heat in 30-second intervals, stirring between each session to prevent burning.
- Pour and spread the dark chocolate onto the prepared baking sheet, using a spatula to create an even layer approximately 1/4 inch thick. Work quickly but carefully to achieve uniform coverage.
- Chill the base layer in the refrigerator for exactly 15 minutes. This timing is crucial – too short and the white chocolate will sink through, too long and the layers won’t adhere properly.
Adding the Top Layer
- Melt the white chocolate using the same method as the dark chocolate. Once smooth, immediately stir in the mint extract, ensuring even distribution throughout the mixture.
- Layer the white chocolate over the slightly set dark chocolate, working quickly to maintain the white chocolate’s workability. Use gentle, sweeping motions to create natural marbling effects.
- Sprinkle the chopped peppermint candies evenly over the surface while the white chocolate is still soft. Press gently to ensure they adhere but don’t sink completely into the chocolate.
Final Setting
- Refrigerate for 30 minutes until both layers are completely firm. The bark should feel solid when lightly touched and have no give when pressed.
- Cut into serving pieces using a sharp knife, wiping the blade clean between cuts for neat edges. Break into irregular pieces for a more rustic appearance if preferred.
Serving Suggestions
Presentation Ideas
This bark shines when presented on a simple white plate or elegant serving tray that showcases its beautiful marbled appearance. For special occasions, arrange pieces in paper candy cups or place them in decorative boxes lined with tissue paper. The contrast between the dark and white chocolate creates its own visual appeal, requiring minimal additional decoration.
Portion Control
Each piece should be roughly bite-sized to allow the flavors to develop fully on the palate. Cut the bark into 1-2 inch squares for individual servings, or break it into larger irregular pieces for a more casual presentation style.
Recipe Variations
Chocolate Combinations
Milk Chocolate Version: Replace dark chocolate with milk chocolate for a sweeter, more mellow flavor profile that appeals especially to children and those who prefer less intense chocolate.
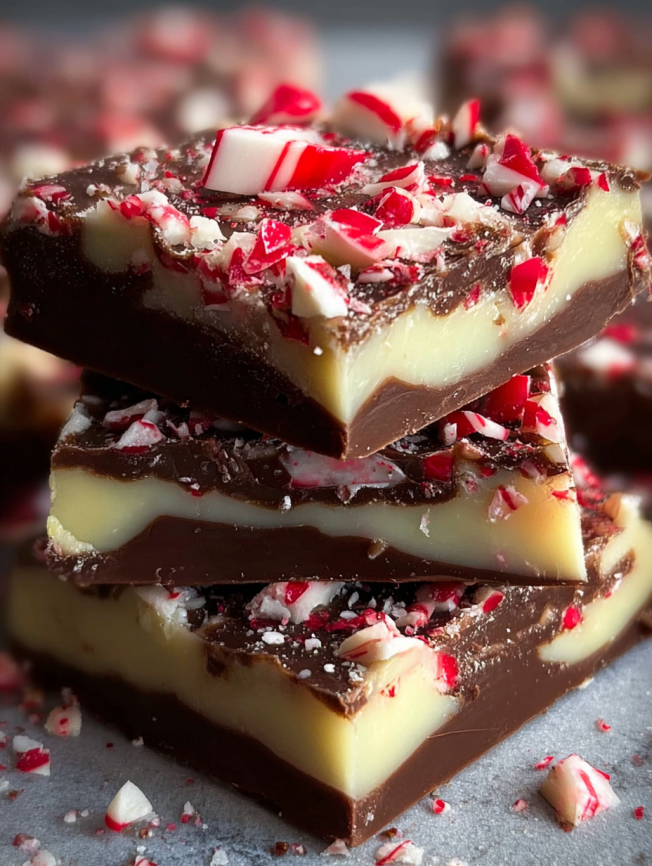
Triple Chocolate Delight: Add a middle layer of milk chocolate between the dark and white layers for an indulgent three-tier effect that creates beautiful color gradations.
Semi-Sweet Alternative: Use semi-sweet chocolate instead of dark for a balanced sweetness that bridges the gap between milk and dark chocolate intensities.
Flavor Modifications
Orange Mint Bark: Add orange zest to the white chocolate layer along with the mint extract for a refreshing citrus-mint combination that’s perfect for spring.
Espresso Mint: Incorporate 1 teaspoon of instant espresso powder into the dark chocolate for a sophisticated coffee-mint flavor that adults particularly enjoy.
Vanilla Bean Enhancement: Split and scrape a vanilla bean into the white chocolate layer for a more complex, aromatic flavor profile that complements the mint beautifully.
Topping Variations
Crushed Oreo Version: Replace peppermint candies with crushed chocolate sandwich cookies for a cookies-and-cream inspired treat.
Nut and Mint: Add chopped pistachios or almonds along with the peppermint candies for additional texture and flavor complexity.
Make-Ahead Tips
Storage Guidelines
Store the completed bark in an airtight container in the refrigerator for up to two weeks. Layer pieces between parchment paper to prevent sticking, and keep the container in the coolest part of your refrigerator to maintain the chocolate’s snap and appearance.
Freezing Instructions
This bark freezes beautifully for up to three months when properly wrapped. Place pieces in a single layer on a parchment-lined tray and freeze until solid, then transfer to freezer-safe containers. Thaw at room temperature for 10-15 minutes before serving.
Gift Preparation
Make this bark up to one week ahead of gift-giving occasions. Package in clear cellophane bags tied with ribbon, or arrange in decorative boxes lined with parchment paper. The flavors actually improve slightly over the first few days as they meld together.
Notes
Chocolate Quality Matters
Using high-quality chocolate makes a significant difference in both flavor and texture. Look for chocolate with a high cocoa butter content for the smoothest melting and best final texture. Additionally, avoid chocolate chips, which contain stabilizers that can affect melting properties.
Temperature Control
The key to successful bark lies in temperature management. Work in a cool kitchen when possible, and ensure your baking sheet is completely cool before starting. Hot surfaces can cause the chocolate to melt unevenly or develop a dull finish.
Troubleshooting Tips
If your white chocolate seizes (becomes grainy), it’s likely due to water contamination. Ensure all utensils are completely dry, and never let steam from the double boiler contact the chocolate directly.
Frequently Asked Questions
Q: Can I use chocolate chips instead of bar chocolate? A: While possible, bar chocolate melts more smoothly and produces better results. Chocolate chips contain stabilizers that can make melting more difficult and may result in a less glossy finish.
Q: What if I don’t have mint extract? A: You can substitute with peppermint extract, using slightly less as it’s typically stronger. Alternatively, crush additional peppermint candies directly into the white chocolate for natural mint flavor.
Q: How do I prevent the chocolate from getting white spots? A: Those white spots are called “bloom” and occur when chocolate is exposed to temperature fluctuations. Store your bark in a cool, consistent environment and avoid moving it between warm and cold areas.
Q: Can I make this without a double boiler? A: Absolutely! A microwave works perfectly. Heat chocolate in 30-second intervals at 50% power, stirring between each interval. This method actually gives you more control over the temperature.
Q: Why did my layers separate? A: This usually happens when the bottom layer is either too warm or too cold when you add the top layer. The dark chocolate should be set but not rock-hard – it should give slightly when pressed but not leave fingerprints.
Q: Can I add food coloring to the white chocolate? A: Yes, but use oil-based food coloring specifically designed for chocolate. Water-based coloring will cause the chocolate to seize and become unusable.
Prep Time: 20 minutes | Cook Time: 10 minutes | Category: Dessert | Method: Double Boiler | Cuisine: American
Nutrition (per piece):
- Serving Size: 1 piece
- Calories: 150
- Sugar: 12g
- Sodium: 10mg
- Fat: 8g
- Saturated Fat: 4g
- Unsaturated Fat: 3g
- Trans Fat: 0g
- Carbohydrates: 18g
- Fiber: 1g
- Protein: 2g
- Cholesterol: 5mg


