I’ll never forget the first time I discovered that I could transform my favorite chocolate chip cookie recipe into bars. It was one of those hectic weeknight evenings when my daughter’s school bake sale request had completely slipped my mind until the very last minute. Standing in my kitchen at 7 PM, I realized I needed something that would satisfy my perfectionist tendencies while working within serious time constraints.
That’s when inspiration struck – why not take everything I loved about soft, chewy chocolate chip cookies and bake them as bars instead? The result was pure magic: all the beloved flavors and textures of classic cookies, but with half the work and none of the fussy individual shaping. Furthermore, these bars have since become my secret weapon for everything from impromptu gatherings to carefully planned celebrations.
Why These Cookie Bars Will Transform Your Baking Game
These aren’t just a shortcut version of chocolate chip cookies – they’re actually superior in many ways, delivering consistent results that even novice bakers can achieve with confidence. Here’s what makes this recipe absolutely game-changing:
No-Mixer Simplicity: Unlike traditional cookie recipes that require creaming butter and sugar with an electric mixer, this recipe uses melted butter and simple whisking techniques. Consequently, you can make these bars with nothing more than a couple of bowls and a whisk, making them perfect for dorm rooms, small kitchens, or when your mixer is buried in storage.
Foolproof Texture Every Time: The bar format eliminates all the variables that can go wrong with individual cookies – no worrying about uneven sizes, over-spreading, or some cookies baking faster than others. Additionally, the cornstarch in this recipe creates an incredibly tender, bakery-style texture that’s consistently perfect from edge to center.
Time-Saving Efficiency: While traditional cookies require rolling, shaping, and baking in multiple batches, these bars go from mixing bowl to oven in one seamless process. Moreover, you get the same yield as several dozen individual cookies with a fraction of the active work time.
Make-Ahead Friendly: The dough can be prepared days in advance and stored in the refrigerator, making these bars perfect for planned events or busy schedules. Therefore, you can do all the prep work when convenient and simply bake when needed.
Essential Ingredients for Perfect Cookie Bars
The Dry Foundation
Flour Blend:
- 2 and 1/4 cups (281g) all-purpose flour, spooned and leveled
- 1 teaspoon baking soda
- 1 and 1/2 teaspoons cornstarch (the secret to bakery-soft texture!)
- 1/2 teaspoon salt
The Flavor Base
Wet Ingredients:
- 3/4 cup (12 tablespoons; 170g) unsalted butter, melted and slightly cooled
- 1 cup (200g) packed light brown sugar
- 1/3 cup (67g) granulated sugar
- 1 large egg plus 1 large egg yolk, at room temperature
- 2 teaspoons pure vanilla extract
The Star Additions
Mix-Ins:
- 1 cup (180g) semi-sweet chocolate chips
- Optional: flaky sea salt for sprinkling
Perfect Pairing Suggestions
These rich, chewy bars pair beautifully with cold milk, hot coffee, or vanilla ice cream. Additionally, consider serving them alongside fresh berries or a light fruit salad to balance the richness and create a more complete dessert experience.
Step-by-Step Instructions for Cookie Bar Success
Setting Up for Success
Step 1: Prepare Your Baking Environment Preheat your oven to 350°F (177°C) and line a 9-inch square baking pan with parchment paper, leaving enough overhang on the sides for easy removal. This preparation step ensures your bars will lift out cleanly and cut into perfect squares.
Step 2: Create the Dry Mixture In a large bowl, whisk together the flour, baking soda, cornstarch, and salt until evenly distributed. Set this mixture aside while you prepare the wet ingredients – this ensures all dry ingredients are perfectly combined.
Building the Cookie Base
Step 3: Combine the Wet Ingredients In a medium bowl, whisk the melted butter with both sugars until no brown sugar lumps remain and the mixture is smooth. The melted butter should be slightly cooled to prevent cooking the eggs when added.
Step 4: Add the Binding Elements Add the whole egg, egg yolk, and vanilla extract to the butter mixture. Whisk until everything is well combined – the mixture will be thick and glossy, which is exactly what creates that perfect chewy texture.
Bringing It All Together
Step 5: Form the Cookie Dough Pour the wet ingredients into the bowl with the dry ingredients and mix until just combined. The dough will be soft, slightly slick from the melted butter, yet thick enough to hold its shape. Don’t overmix – stop as soon as no dry flour remains visible.
Step 6: Incorporate the Chocolate Fold in the chocolate chips gently but thoroughly. The chips may not stick perfectly to the dough because of the melted butter, but work them in as evenly as possible for consistent chocolate distribution throughout the bars.
Assembly and Baking
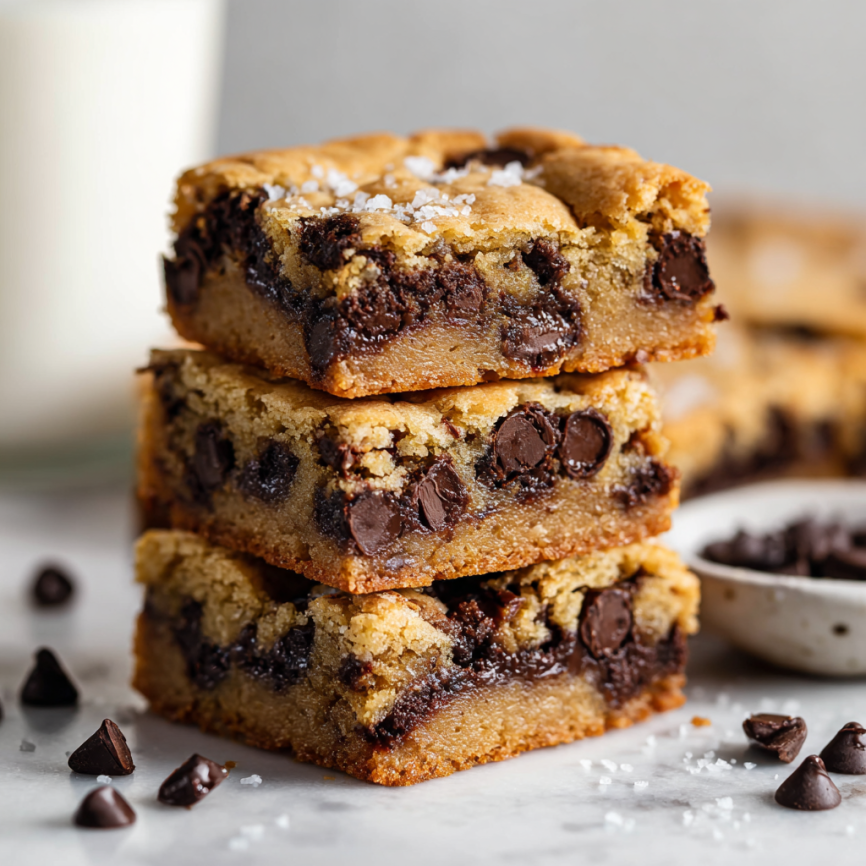
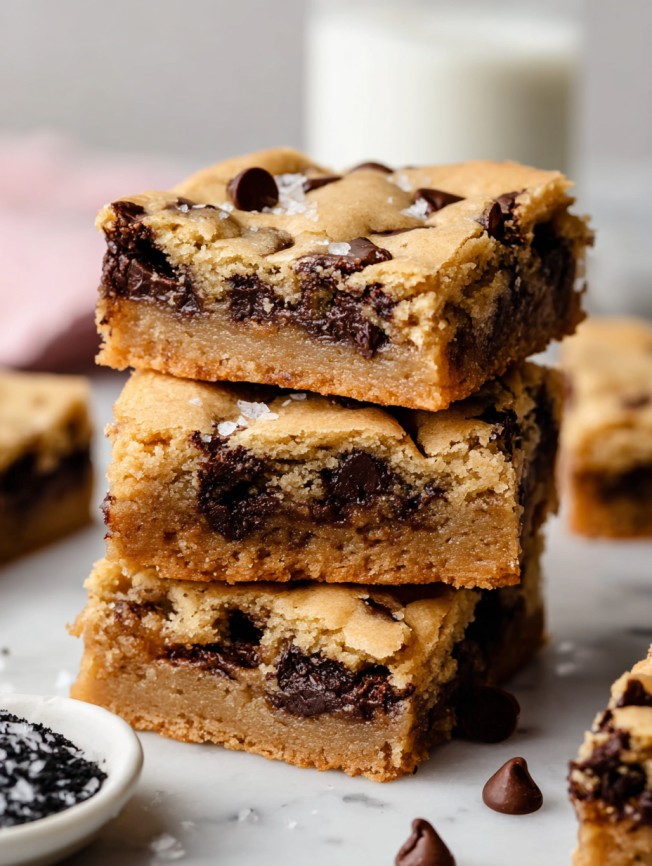
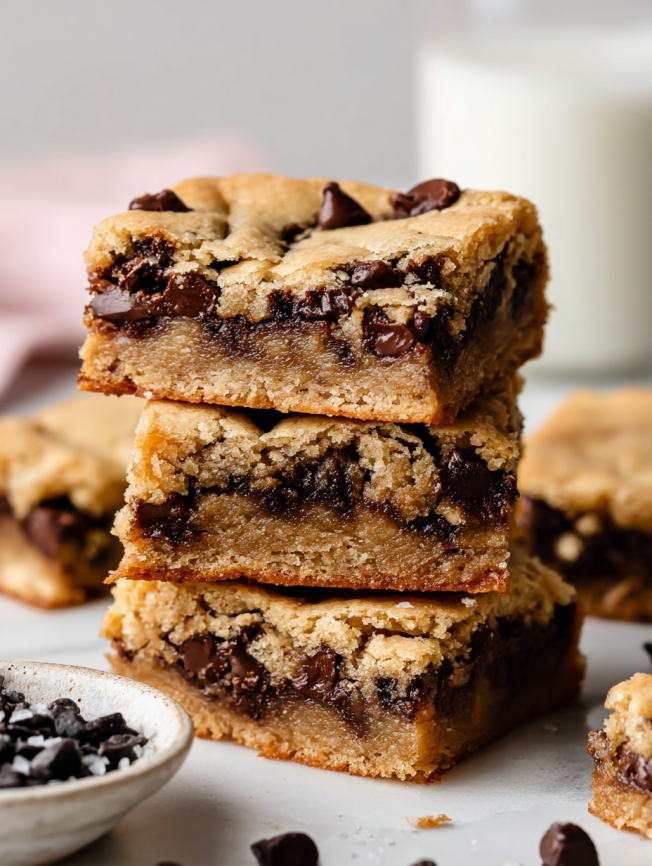
Step 7: Shape and Garnish Transfer the dough to your prepared baking pan and press it into an even layer using your hands or an offset spatula. For visual appeal, press a few extra chocolate chips into the surface and sprinkle lightly with flaky sea salt if desired.
Step 8: Bake to Perfection Bake for 30-34 minutes until the edges are lightly golden brown. The key to perfect texture is to err on the side of underbaking – a toothpick inserted in the center should come out mostly clean but with a few moist crumbs clinging to it.
Step 9: Cool and Cut Allow the bars to cool completely in the pan for at least one hour before attempting to cut them. This cooling time allows the structure to set properly, ensuring clean cuts and the perfect chewy texture.
Creative Serving and Presentation Ideas
Casual Family Style
Cut the bars into generous squares and serve them directly from a wooden cutting board with glasses of cold milk nearby. This rustic presentation emphasizes the homemade comfort food appeal that makes these bars so beloved.
Elegant Dessert Plating
Cut smaller, neat rectangles and arrange them on individual dessert plates with a small scoop of vanilla ice cream and a drizzle of caramel sauce. The contrast between the warm bars and cold ice cream creates a restaurant-quality dessert experience.
Party and Gathering Format
Cut the bars into bite-sized pieces and arrange them on a large platter alongside other finger desserts. This approach makes them perfect for potlucks, office parties, or any gathering where people will be mingling while eating.
Delicious Variations to Keep Things Exciting
Brown Butter Elevation
Transform these bars into something extra special by browning the butter before cooling and using it in the recipe. Start with an extra 2 tablespoons of butter to account for moisture loss during browning, and you’ll achieve a nutty, caramel-like depth of flavor.
Mix-In Medley
Replace the chocolate chips with a combination of white chocolate chips, dried cranberries, and chopped toasted pecans for a more sophisticated flavor profile. This variation brings textural contrast and complex flavors that work beautifully for special occasions.
Double Chocolate Indulgence
Add 2 tablespoons of cocoa powder to the dry ingredients and use dark chocolate chips for an intensely chocolatey version. The cocoa powder deepens the flavor while maintaining the signature soft and chewy texture.
Seasonal Spice Version
Add 1 teaspoon of cinnamon and 1/4 teaspoon of nutmeg to the dry ingredients, then fold in butterscotch chips instead of chocolate chips. This creates a warm, spiced version that’s perfect for fall and winter gatherings.
Make-Ahead Strategies for Busy Schedules
Dough Preparation Options
The cookie dough can be prepared up to 3 days in advance and stored covered in the refrigerator. When ready to bake, allow the dough to come to room temperature for easier spreading, then proceed with the recipe as written.
Freezing for Future Use
Both the unbaked dough and finished bars freeze exceptionally well for up to 3 months. For dough, wrap tightly in plastic wrap and aluminum foil. For baked bars, wrap individual pieces and store in freezer bags for easy portioning.
Advanced Baking Timeline
For planned events, bake these bars 1-2 days in advance and store them covered at room temperature. The texture actually improves slightly after a day as the flavors meld and the bars become even more tender.
Quick Assembly Strategy
Keep the dry ingredients pre-mixed in an airtight container so you can quickly whip up a batch whenever the craving strikes. This advance preparation cuts the active time down to just a few minutes of mixing.
Essential Baking Notes for Perfect Results
Temperature Matters: The melted butter should be slightly cooled but still liquid when mixed with the sugars. Too hot, and it will cook the eggs; too cool, and it will resolidify and create lumps in your dough.
Don’t Overbake: This cannot be emphasized enough – slightly underbaked bars will be perfectly chewy, while overbaked bars become dry and cake-like. Trust the visual cues and toothpick test rather than relying solely on timing.
Cornstarch Secret: The cornstarch in this recipe is what creates the incredibly tender, bakery-style texture. Don’t substitute or omit it – this ingredient is key to achieving the signature softness that sets these bars apart.
Pan Size Importance: The 9-inch square pan creates the perfect thickness for optimal texture. Using a larger pan will result in thinner bars that may overbake, while a smaller pan will create thick bars that won’t cook evenly.
Frequently Asked Questions
Q: Can I use different types of chocolate chips? A: Absolutely! Semi-sweet, milk chocolate, dark chocolate, or even white chocolate chips all work beautifully. You can also mix different types for more complex flavor, or try chunks instead of chips for a more rustic appearance.
Q: Why do my bars turn out cakey instead of chewy? A: This usually happens from overbaking or using too much flour. Make sure to spoon and level your flour rather than scooping, and err on the side of underbaking. The bars should still look slightly underdone when you remove them from the oven.
Q: Can I make these bars in a larger pan? A: For a 9×13-inch pan, I recommend using a different scaled-up recipe specifically designed for that size rather than simply doubling this one. The ratios need slight adjustments to work properly in the larger format.
Q: How do I know when the bars are properly cooled for cutting? A: The bars should be completely cool to the touch and feel set when lightly pressed. If they’re still warm, they’ll be too soft to cut cleanly and may fall apart. Patience during cooling is key to perfect results.
Q: Can I add nuts to this recipe? A: Yes! Add up to 3/4 cup of chopped toasted nuts along with or instead of the chocolate chips. Pecans, walnuts, or almonds all work wonderfully and add great texture contrast to the soft bars.
Q: What’s the best way to store these bars long-term? A: For optimal freshness, store them in an airtight container at room temperature for up to one week. For longer storage, wrap individual bars and freeze for up to 3 months, thawing at room temperature before serving.
Prep Time: 15 minutes | Cook Time: 35 minutes | Total Time: 2 hours (includes cooling)
Calories: 295 kcal per bar | Serves: 16 bars


