There’s something magical about combining three childhood favorites into one irresistible treat. When I first discovered this recipe during a particularly stressful week, I was searching for something sweet that didn’t require turning on the oven. What started as a desperate craving for chocolate and peanut butter turned into my go-to recipe for potlucks, holiday gatherings, and those moments when you need to impress without breaking a sweat.
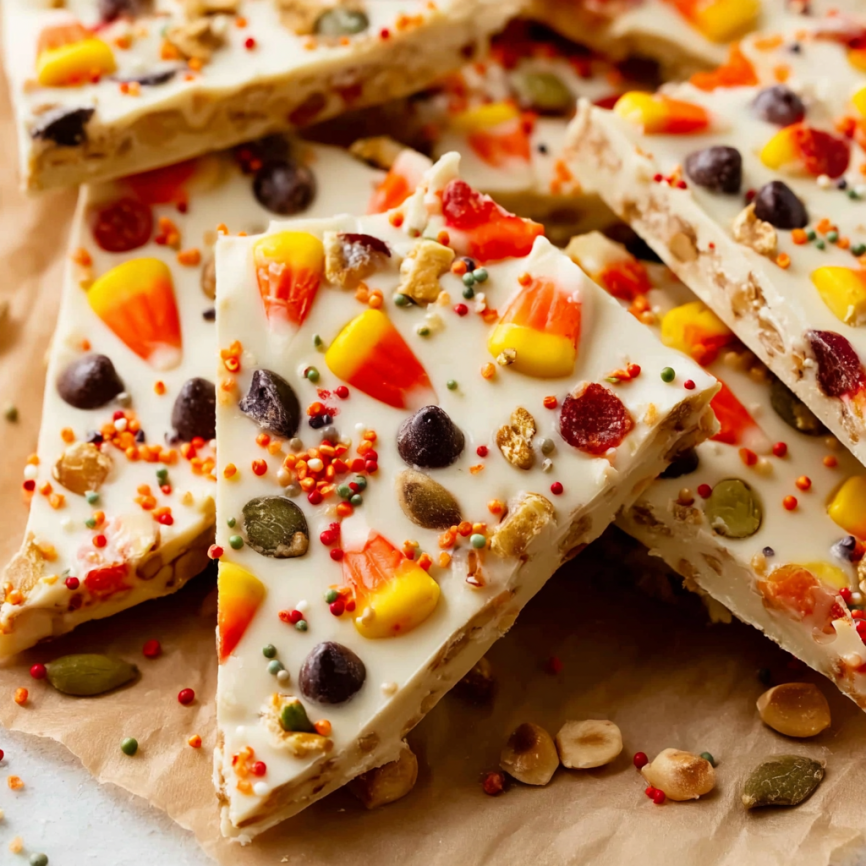
The beauty of this bark lies in its simplicity and the way each layer delivers its own delicious surprise. First, you bite through the smooth white chocolate top, then discover the creamy peanut butter center, before reaching the crisp white chocolate base that ties everything together. Meanwhile, those colorful Reese’s Pieces scattered on top provide delightful pops of texture and extra peanut butter flavor.
Why You’ll Fall in Love with This Recipe
It’s ridiculously easy. Unlike complicated desserts that require precise timing and temperature control, this bark comes together in just 20 minutes of active prep time. Furthermore, there’s no baking involved, making it perfect for hot summer days when you don’t want to heat up the kitchen.
The flavor combination is unbeatable. White chocolate provides a sweet, vanilla-scented backdrop that perfectly complements the rich, salty peanut butter filling. Additionally, the Reese’s Pieces add bursts of familiar candy shop nostalgia that will transport you straight back to Halloween night.
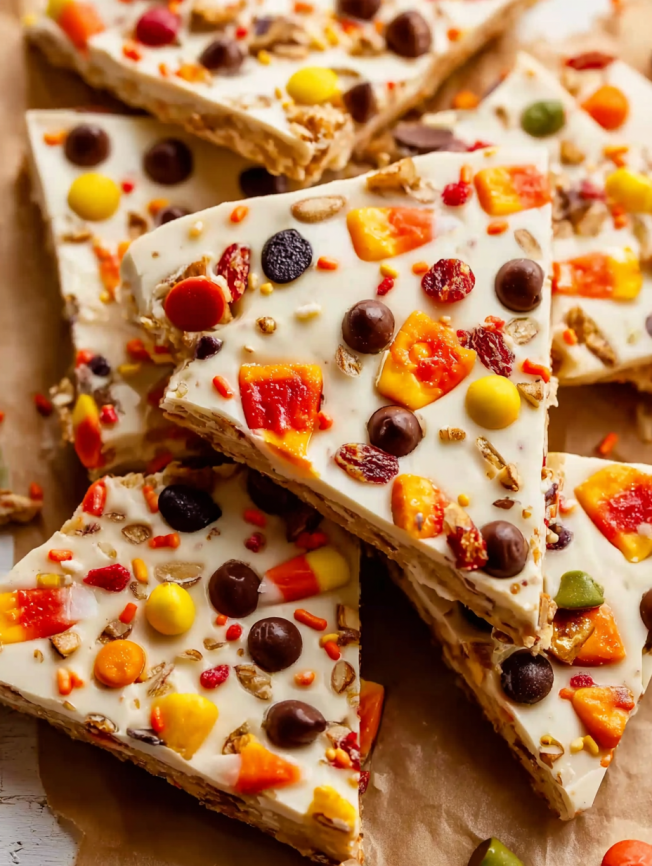
It looks professionally made. Despite its simple preparation, this bark has an elegant appearance that makes it perfect for gift-giving or special occasions. Moreover, you can easily customize the presentation by varying how you cut and arrange the pieces.
Essential Ingredients
For the Base and Top Layers
- 16 ounces white chocolate, coarsely chopped and divided – Use high-quality bars rather than chips for best melting results
- 2 teaspoons vegetable oil, divided – Helps create a smooth, glossy finish
For the Peanut Butter Filling
- 1 cup creamy peanut butter – Stick with processed brands like Jif or Skippy for optimal texture
- 1/4 cup unsalted butter, softened – Adds richness and helps the filling spread smoothly
- 1 cup confectioners’ sugar – Creates the perfect sweet balance
- 1/2 teaspoon pure vanilla extract – Enhances all the other flavors
- 1/4 teaspoon salt – Essential for balancing the sweetness
For the Finishing Touch
- 1/2 cup chopped Reese’s Pieces candies – The star decoration that makes this bark special
Prep Time: 20 minutes | Chill Time: 45-60 minutes | Total Time: 1 hour 20 minutes | Serves: 16
Step-by-Step Instructions
Setting Up Your Workspace
Line a 9×13-inch baking pan with parchment paper, leaving enough overhang to easily lift the finished bark out later. This simple step will save you from struggling to remove the bark and potentially breaking it into uneven pieces.
Creating the First Layer
Place 8 ounces of chopped white chocolate and 1/2 teaspoon oil in a microwave-safe bowl. Heat in 20-second intervals, stirring thoroughly after each heating. White chocolate burns easily, so patience is key here. Once completely melted and smooth, pour the mixture into your prepared pan and spread evenly with an offset spatula.
Refrigerate the pan for 10-15 minutes until the chocolate is soft-set but not completely firm. This timing is crucial because you want the peanut butter layer to adhere properly without the bottom layer being too hard.
Preparing the Peanut Butter Layer
While the first layer chills, combine peanut butter and softened butter in a mixing bowl. Beat with a hand mixer or stand mixer for about 2 minutes until the mixture becomes light and fluffy. Scrape down the bowl sides frequently to ensure even mixing.
Next, add confectioners’ sugar, vanilla, and salt. Beat for another minute until everything is well combined and the mixture has a smooth, spreadable consistency. The filling should hold its shape but still be easy to spread.
Assembling the Middle Layer
Remove the pan from the refrigerator and dollop the peanut butter mixture over the white chocolate base. Using an offset spatula, spread the filling as evenly as possible, working gently to avoid disturbing the bottom layer. Don’t worry if it’s not perfectly smooth – the rustic look adds to the homemade charm.
Return the pan to the refrigerator while you prepare the final chocolate layer. This brief chill helps the peanut butter layer firm up slightly, making it easier to spread the top layer without mixing the two together.
Adding the Final Touch
Melt the remaining 8 ounces of white chocolate with 1/2 teaspoon oil using the same careful method as before. Pour this mixture over the peanut butter layer and spread evenly. Work quickly but gently, as the cold peanut butter layer can cause the chocolate to set faster than usual.
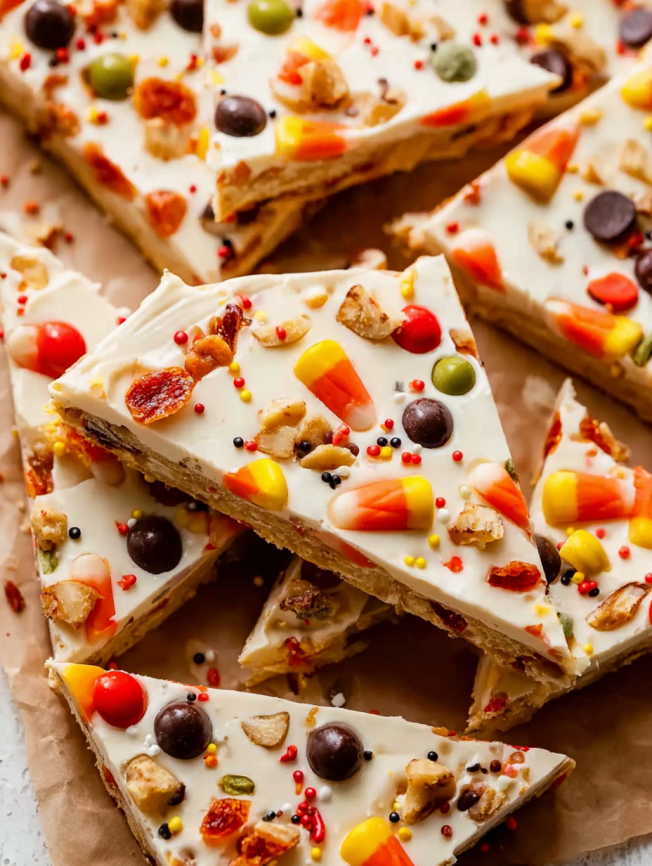
Immediately sprinkle the chopped Reese’s Pieces over the top, pressing them lightly into the chocolate so they adhere properly. The contrast of colors makes this bark as beautiful as it is delicious.
Setting and Serving
Refrigerate the completed bark for at least 30-60 minutes until completely set. For longer storage, cover loosely with plastic wrap after the first hour. Don’t be concerned if the top layer develops small cracks when cutting – this is normal when the bark has been chilled for extended periods.
Cutting and Presentation
Lift the bark from the pan using the parchment paper overhang and place it on a cutting board. Use a sharp knife to cut into squares or rectangles, wiping the blade clean between cuts for the neatest appearance. For special occasions, consider cutting into triangular pieces or using cookie cutters for fun shapes.
Delicious Variations to Try
Chocolate Lover’s Version
Replace the bottom white chocolate layer with dark or semi-sweet chocolate for a more sophisticated flavor profile. The contrast between the dark base and white top creates stunning visual appeal while adding depth to each bite.
Nutty Upgrade
Fold 1/2 cup of chopped roasted peanuts into the peanut butter layer for extra crunch and nutty flavor. Alternatively, sprinkle chopped peanuts on top along with the Reese’s Pieces for added texture.
Holiday Adaptations
Swap Reese’s Pieces for seasonal candies like mini chocolate chips, crushed candy canes, or Halloween-themed candies. This versatility makes the recipe perfect for year-round celebrations.
Make-Ahead Magic
This bark is actually better when made in advance, as the flavors have time to meld together beautifully. Prepare it up to three days before serving and store covered in the refrigerator. For longer storage, wrap individual pieces in wax paper and freeze for up to three months.
When serving frozen bark, let it sit at room temperature for 5-10 minutes to soften slightly. This brief thaw makes it easier to bite through while maintaining the perfect texture contrast between layers.
Professional Tips for Success
Choose quality chocolate. Since chocolate is the star ingredient, invest in good brands like Ghirardelli, Baker’s, or Lindt. Avoid using chocolate chips, which contain stabilizers that prevent smooth melting.
Room temperature matters. Ensure your butter is properly softened before mixing. Cold butter will create lumps in your peanut butter layer, while overly warm butter can make the mixture too soft to spread properly.
Master the spreading technique. Use an offset spatula for the smoothest layers. Work from the center outward in gentle, overlapping strokes to avoid creating air bubbles or uneven thickness.
Storage and Serving Notes
Store finished bark in an airtight container in the refrigerator for up to one week. Layer pieces between parchment paper to prevent sticking. For gifting, individual pieces wrapped in cellophane bags tied with ribbon make elegant presentations.
Serve bark slightly chilled for the best texture experience. At room temperature, the layers become softer and can be messy to eat, while overly cold bark can be difficult to bite through comfortably.
Frequently Asked Questions
Can I use natural peanut butter instead of processed? While natural peanut butter is healthier, it doesn’t work well in this recipe. The oils separate easily and create an unstable filling that won’t hold its shape between the chocolate layers. Stick with brands like Jif or Skippy for best results.
Why did my white chocolate seize up during melting? White chocolate is more delicate than regular chocolate and can seize if overheated or if water gets into the mixture. Always use dry utensils and heat in short intervals. If it does seize, try stirring in a small amount of vegetable oil to restore smoothness.
How can I tell when each layer is ready for the next step? The bottom chocolate layer should feel firm to the touch but not completely hard when you add the peanut butter. The peanut butter layer should hold its shape when spread but still feel slightly soft before adding the top chocolate layer.
Can I make this bark without a stand mixer? Absolutely! A hand mixer works perfectly fine, though you might need to mix for an extra minute to achieve the same fluffy texture. You can even mix by hand with a wooden spoon if you have the arm strength – just expect a good workout!
What’s the best way to get clean cuts? Use a large, sharp knife and wipe it clean between each cut. For extra clean lines, briefly warm the knife blade under hot water, dry it completely, then make your cut. The slight warmth helps the knife glide through the chocolate layers more smoothly.
Can I double this recipe? Yes, but you’ll need to use two 9×13-inch pans or one large sheet pan. Don’t try to make thicker layers in a single pan, as the bark becomes difficult to cut and eat. The layering ratios work best when kept at the original thickness.


