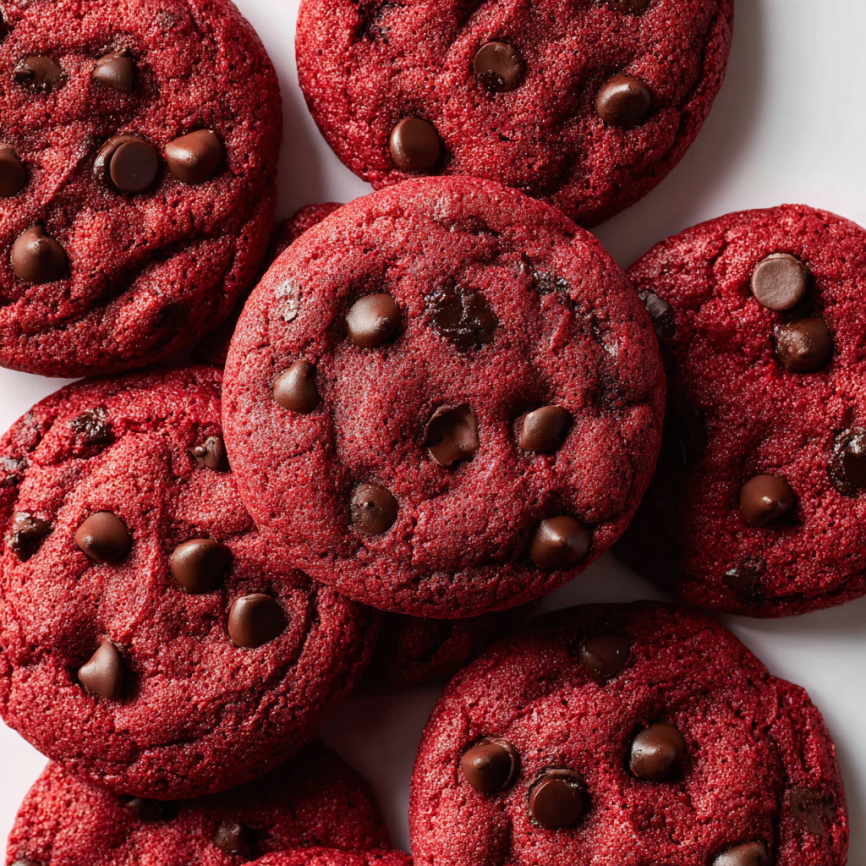
There’s something magical about the first bite of a perfectly soft red velvet cookie. Last Valentine’s Day, I was experimenting in my kitchen, trying to create something special for my family when I stumbled upon this incredible combination. The rich cocoa flavor paired with sweet chocolate chips and that signature red velvet color creates cookies that are both visually stunning and absolutely delicious.
What started as a simple baking experiment has become one of my most requested recipes. These cookies capture all the beloved flavors of classic red velvet cake but in a perfectly portable, hand-held form that’s impossible to resist.
Why You’ll Fall in Love with This Recipe
The Perfect Texture Balance
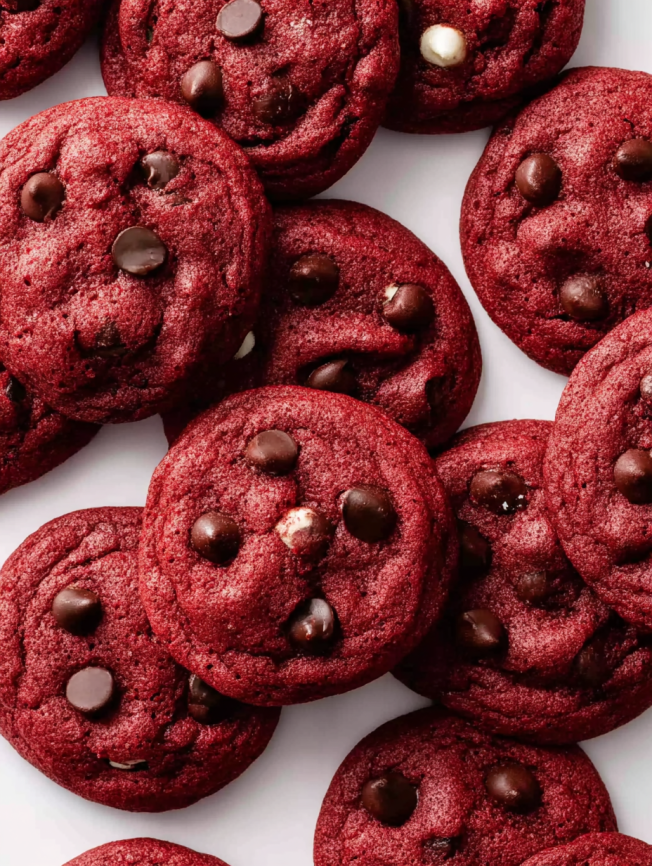
These cookies strike the ideal balance between soft and chewy. Unlike many cookies that can turn out either too crispy or too cake-like, this recipe delivers that perfect tender bite every single time.
Stunning Visual Appeal
The vibrant red color makes these cookies an instant showstopper at any gathering. Whether you’re baking for holidays, special occasions, or just because, they never fail to impress guests and family alike.
Make-Ahead Friendly
Busy schedules don’t have to derail your baking plans. The dough can be prepared up to three days in advance, making these cookies perfect for planned celebrations or unexpected guests.
Essential Ingredients for Success
Dry Ingredients
- 1⅔ cups (210g) all-purpose flour (spooned and leveled for accuracy)
- ¼ cup (21g) unsweetened natural cocoa powder (provides that signature red velvet flavor)
- 1 teaspoon baking soda (ensures proper rise and texture)
- ¼ teaspoon salt (enhances all flavors)
Wet Ingredients and Flavor Enhancers
- ½ cup (8 Tbsp; 113g) unsalted butter (softened to room temperature)
- ¾ cup (150g) packed brown sugar (light or dark work equally well)
- ¼ cup (50g) granulated sugar (creates perfect sweetness balance)
- 1 large egg (at room temperature for better incorporation)
- 1 tablespoon milk (buttermilk recommended for extra tang)
- 2 teaspoons pure vanilla extract (never substitute imitation)
- ¾ teaspoon gel red food coloring (or natural alternative)
The Star Addition
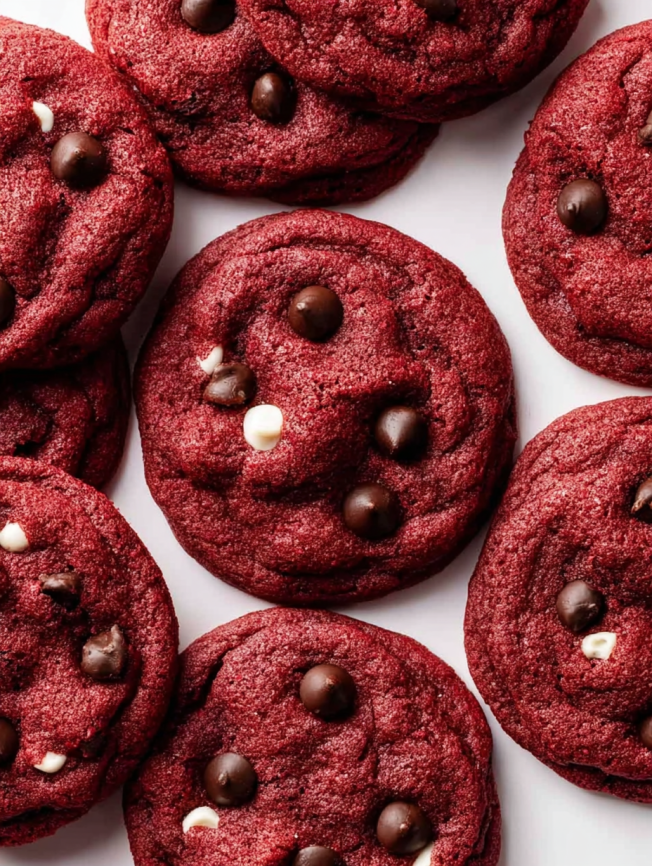
- 1 cup (180g) white or semi-sweet chocolate chips (plus extras for decorating tops)
Step-by-Step Baking Instructions
Preparing the Foundation
Begin by whisking together flour, cocoa powder, baking soda, and salt in a medium bowl. This dry mixture forms the base of your cookies, so ensure everything is evenly distributed before setting aside.
Creating the Cookie Base
Using either a hand mixer or stand mixer with paddle attachment, cream the butter with both sugars on medium speed for about two minutes. The mixture should become light and fluffy during this process. Next, add the egg and vanilla extract, then mix on high speed until fully combined, approximately one minute. Remember to scrape down the sides and bottom of the bowl as needed.
Bringing It All Together
Pour your prepared dry ingredients into the wet mixture, then add the milk and food coloring. Mix on low speed until everything just comes together—the dough will appear sticky at this stage. For a more vibrant red color, gradually add more food coloring until you achieve your desired hue. Finally, fold in the chocolate chips using low speed until they’re evenly distributed throughout the dough.
The Crucial Chilling Step
Cover your cookie dough and refrigerate for at least one hour, though you can chill it for up to three days. However, I recommend limiting chilling to one or two hours for optimal spreading. If you’ve chilled the dough longer than two hours, allow it to sit at room temperature for fifteen minutes before baking, as it will become quite firm.
Baking to Perfection
Preheat your oven to 350°F (177°C) and line large baking sheets with parchment paper or silicone mats. Using a medium cookie scoop or spoon, portion out approximately 1.5 tablespoons (30-35g) of dough for each cookie. Space them about three inches apart on your prepared baking sheets.
Bake for 11-13 minutes, watching for edges that appear set while centers remain soft. If your cookies don’t spread as expected, gently press them down with the back of a spoon while they’re still warm. For an extra touch, press additional chocolate chips into the tops of the warm cookies.
Allow cookies to cool on the baking sheet for five minutes before transferring to a wire rack for complete cooling.
Creative Serving Suggestions
Classic Pairings
These cookies pair beautifully with a cold glass of milk or a warm cup of coffee. The creamy beverages complement the rich cocoa flavor while balancing the sweetness perfectly.
Elegant Presentations
For special occasions, arrange cookies on a tiered serving stand with fresh berries and a light dusting of powdered sugar. This creates an elegant dessert display that’s perfect for parties or romantic dinners.
Ice Cream Sandwiches
Transform these cookies into gourmet ice cream sandwiches by pairing them with vanilla or cream cheese ice cream. The soft texture makes them ideal for this creative dessert option.
Delicious Recipe Variations
Red Velvet Crinkle Cookies
For a different presentation, you can create stunning crinkle cookies using the same base recipe. Simply roll the chilled dough balls in confectioners’ sugar before baking. You’ll need about one cup (120g) of powdered sugar for this variation. The baking time remains the same, but the result is a beautiful cracked appearance that’s equally impressive.
Natural Color Alternative
If you prefer avoiding artificial food coloring, substitute two teaspoons of beet powder for the gel coloring. This natural alternative provides a lovely reddish hue without any beet flavor, making it perfect for those seeking cleaner ingredients.
Flavor Variations
Consider experimenting with different chocolate chip varieties. White chocolate chips create a beautiful contrast against the red dough, while dark chocolate chips intensify the overall chocolate experience.
Smart Make-Ahead Tips
Dough Storage
The cookie dough can be prepared and stored in the refrigerator for up to three days before baking. This flexibility makes it easy to prepare for parties or busy weekends when you want fresh cookies without the full prep time.
Freezing Options
Both baked cookies and unbaked dough balls freeze exceptionally well for up to three months. When baking frozen dough balls, add an extra minute to the baking time without thawing first. Keep in mind that frozen dough may not spread as much, so be prepared to gently flatten the cookies while warm.
Storage Solutions
Store completely cooled baked cookies in an airtight container at room temperature for up to one week. Layer them between parchment paper to prevent sticking and maintain their perfect texture.
Important Baking Notes
Food Coloring Guidelines
The amount of food coloring is entirely customizable based on your color preference. Gel food coloring provides the most vibrant results with less liquid addition, which helps maintain proper dough consistency. If using liquid food coloring, you’ll need approximately one tablespoon to achieve similar color intensity.
Essential Tools for Success
Having the right equipment makes a significant difference in your results. A medium cookie scoop ensures uniform cookie sizes, while silicone baking mats promote even browning. An electric mixer (handheld or stand) is crucial for proper creaming of butter and sugars.
Temperature Considerations
Room temperature ingredients mix more easily and create better texture. Take your egg and butter out of the refrigerator about an hour before baking to ensure they reach the proper temperature.
Frequently Asked Questions
Q: Can I make these cookies without food coloring? A: Absolutely! Simply omit the food coloring for delicious light brown cookies that taste just as amazing. The cocoa powder provides a lovely chocolate flavor regardless of color.
Q: Why do I need to chill the dough? A: Chilling prevents the cookies from spreading too much during baking and helps them maintain their shape. It also allows the flavors to meld together beautifully, resulting in a more developed taste.
Q: Can I substitute the chocolate chips? A: Certainly! Try white chocolate chips for visual contrast, butterscotch chips for a unique flavor twist, or even chopped nuts for added texture. The possibilities are endless.
Q: What’s the best way to measure flour accurately? A: Always spoon flour into your measuring cup and level it off with a knife. Scooping directly from the container can pack too much flour, resulting in dry cookies.
Q: How do I know when the cookies are done? A: Look for edges that appear set while the centers still look slightly soft and shiny. They’ll continue cooking on the hot pan even after removing from the oven, so don’t overbake them.
Q: Can I double this recipe? A: Yes, this recipe doubles beautifully! Just make sure you have enough chilling space in your refrigerator and plan for longer mixing times when working with larger quantities.
Prep Time: 1 hour, 10 minutes | Cook Time: 12 minutes | Total Time: 1 hour, 30 minutes | Yield: 20 cookies


