Introduction: A Childhood Classic Gets a Grown-Up Makeover
Growing up, Rice Krispie treats were the ultimate lunchbox treasure – those perfectly chewy, marshmallowy squares that made every kid jealous. However, when I became an adult and tried making them from the basic recipe on the cereal box, something was missing. They were fine, but not spectacular. Then my neighbor shared her family’s secret tweaks, and everything changed.
What transformed this simple treat from good to absolutely irresistible were just a few small additions: extra butter for richness, more marshmallows for that perfect chew, a splash of vanilla for depth, and a tiny pinch of salt to make all the flavors pop. Now, these aren’t just kid-friendly snacks – they’re treats that adults genuinely crave. Moreover, they’ve become my go-to contribution for bake sales, office parties, and family gatherings because they disappear faster than anything else I make.
Why These Rice Krispie Treats Are Game-Changers
Elevated Flavor Profile
Unlike basic versions that can taste one-dimensional, these treats have layers of flavor. The vanilla adds warmth, while the salt enhances the sweetness and prevents that cloying feeling you sometimes get with overly sweet desserts.
Perfect Texture Balance
The extra butter and marshmallows create the ideal chewy-but-not-tough texture. Furthermore, the careful technique ensures they hold together beautifully without becoming dense or hard.
Foolproof Success Rate
Even novice bakers can master this recipe because it requires no precision timing or complex techniques. Additionally, the visual and tactile cues make it nearly impossible to mess up.
Universal Appeal
These treats bridge generational gaps effortlessly – kids love the familiar taste while adults appreciate the enhanced flavors. They’re also naturally gluten-free when made with certified gluten-free cereal.
Premium Ingredients for Superior Results
The Foundation Elements
- 3/4 cup unsalted butter – More than standard recipes call for, creating richness and preventing dryness
- Two 10-ounce bags mini marshmallows – The generous amount ensures perfect binding and chewiness
- 1/2 teaspoon pure vanilla extract – The secret ingredient that elevates the entire treat
- Pinch of salt – Approximately 1/8 teaspoon to enhance all the flavors
The Star Component
- 9 cups crispy rice cereal – Use name-brand cereal for the best crunch and texture
Essential Setup Items
A 9×13-inch baking pan lined with parchment paper creates easy removal and perfectly sized portions. Meanwhile, having a large pot ensures comfortable stirring without spillover.
Master Technique Guide
Preparation Essentials
Begin by lining your 9×13-inch pan with parchment paper, leaving overhang for easy removal. Lightly grease the parchment with cooking spray to prevent sticking – this small step makes a huge difference in the final presentation.
The Melting Process
Using a large pot over medium heat, melt the butter completely before adding marshmallows. Stir continuously until the marshmallows are fully melted and the mixture is smooth. This typically takes 3-4 minutes, but watch carefully to prevent scorching.
Critical Timing Steps
Once you remove the pot from heat, work quickly but gently. Immediately stir in vanilla and salt, then fold in the cereal until every piece is evenly coated. The mixture should look glossy and well-combined.
Assembly Technique
Transfer the mixture to your prepared pan using a lightly greased silicone spatula. Instead of pressing hard, gently spread and lightly press the mixture into place. Over-packing creates tough, dense treats that lose their delightful chewiness.
The Patience Factor
Allow treats to set at room temperature for at least one hour before cutting. This waiting period is crucial for achieving clean cuts and proper texture.
Creative Serving Ideas
Classic Presentation
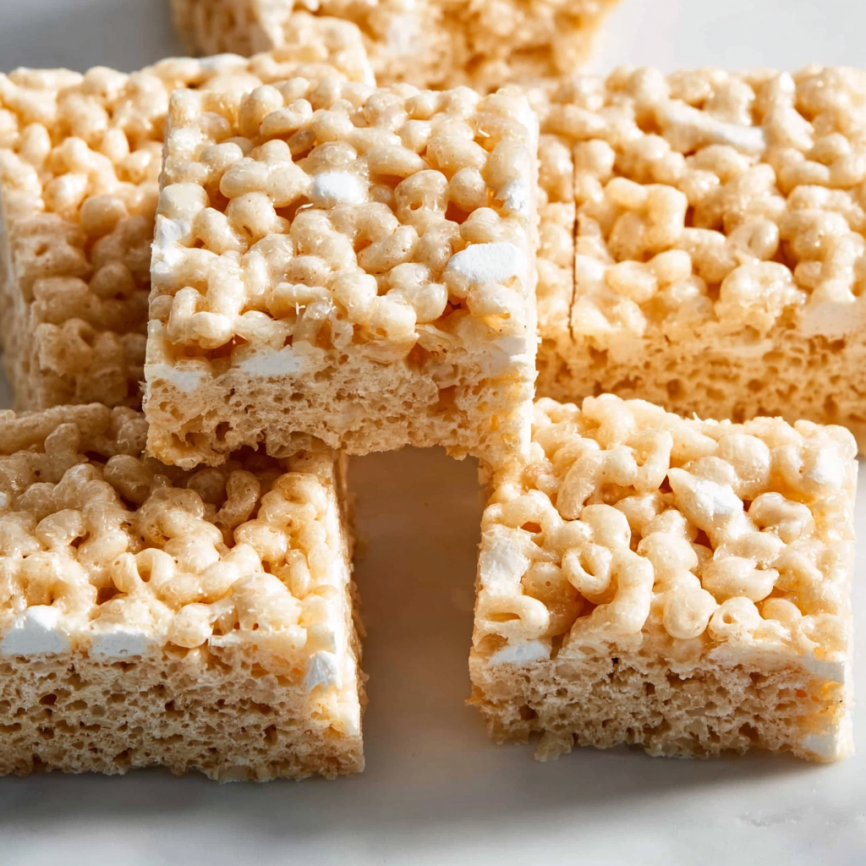
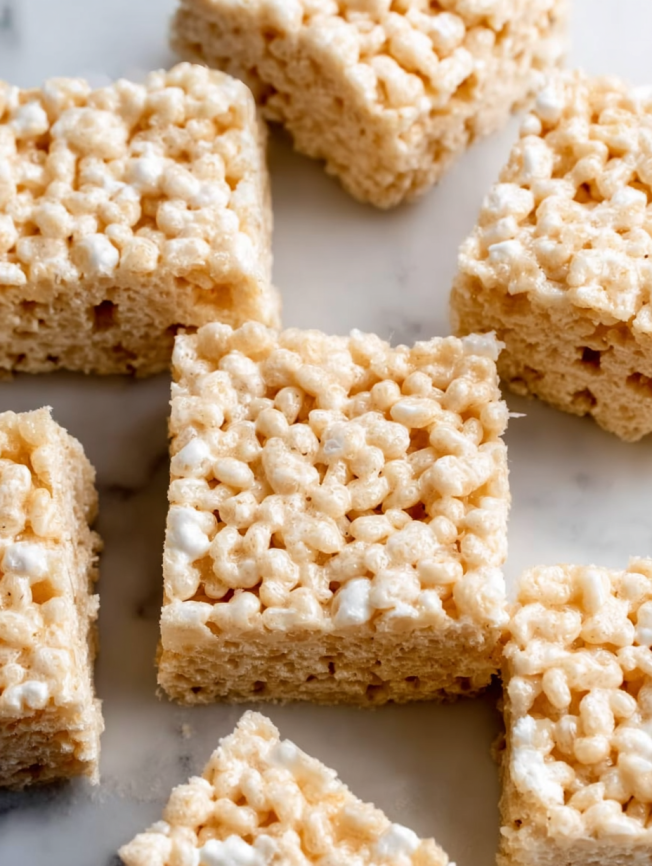
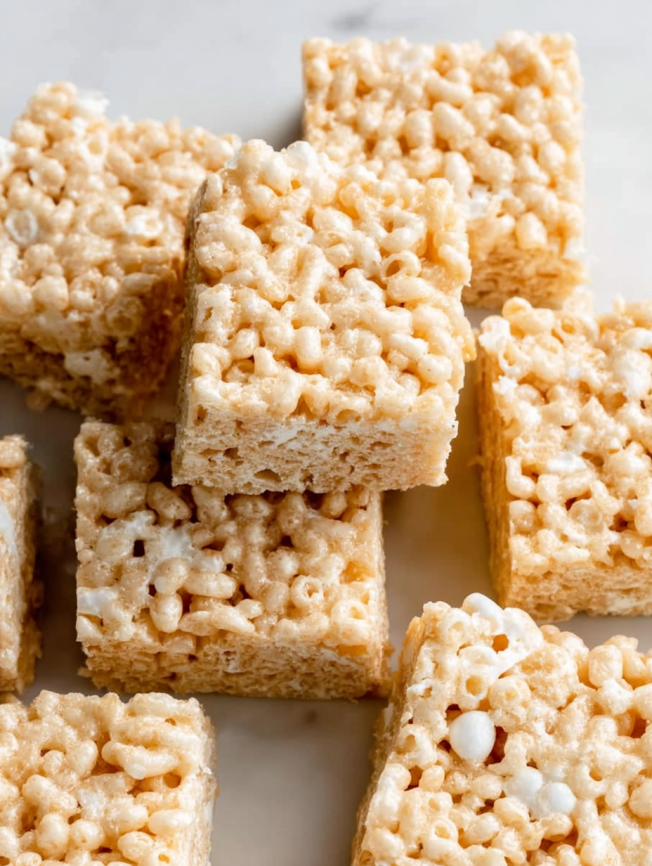
Cut into 20 squares for traditional serving sizes, perfect for lunch boxes, parties, or afternoon snacks. The parchment paper overhang makes lifting and cutting effortless.
Elegant Variations
For special occasions, cut into smaller squares and arrange on a pretty platter. Alternatively, use cookie cutters to create fun shapes for themed parties or holidays.
Seasonal Adaptations
Add food coloring to match holidays or events. Orange for Halloween, red and green for Christmas, or pastel colors for Easter celebrations.
Delicious Flavor Variations
Chocolate Lovers’ Dream
Stir in 1 cup of chocolate chips or mini chocolate pieces while the mixture is still warm. The residual heat will slightly soften the chocolate without completely melting it.
Nutty Crunch Addition
Fold in 1/2 cup of chopped toasted almonds, pecans, or peanuts for extra texture and flavor. Toast nuts beforehand to enhance their flavor profile.
Fruity Twist
Add 1/2 cup of dried cranberries, mini marshmallows in different colors, or freeze-dried strawberries for bursts of flavor and color.
Birthday Cake Style
Mix in rainbow sprinkles and use vanilla birthday cake flavored marshmallows if available. This creates a festive treat perfect for celebrations.
Storage and Make-Ahead Tips
Optimal Storage Conditions
Store finished treats in an airtight container at room temperature for up to 3 days. Layer them between sheets of parchment or wax paper to prevent sticking.
Advance Preparation
These treats actually improve slightly after the first day as flavors meld. Therefore, making them a day ahead of serving often produces even better results.
Portion Control Strategy
Cut treats immediately after the setting period, then store in individual plastic bags for grab-and-go convenience. This method also helps with portion control.
Professional Tips for Perfect Results
Temperature Control
Medium heat is crucial during melting – too high and the mixture can scorch, creating an unpleasant burnt flavor that permeates the entire batch.
Mixing Wisdom
Fold rather than stir when adding cereal to maintain the cereal’s crispness and prevent crushing. Gentle movements preserve the texture that makes these treats special.
Cutting Secrets
Use a sharp knife and wipe it clean between cuts for the neatest squares. Slightly warming the knife under hot water can make cutting even easier.
Troubleshooting Common Problems
Preventing Hard, Dense Treats
Never pack the mixture down forcefully – gentle pressing is sufficient. Over-compacting eliminates the light, chewy texture that makes these treats irresistible.
Avoiding Sticky Situations
Lightly greasing your spatula and hands prevents the mixture from sticking during assembly. Keep a damp towel nearby for easy cleanup.
Achieving Even Distribution
Make sure every piece of cereal is coated with the marshmallow mixture before transferring to the pan. Uncoated pieces create dry spots in the finished treats.
Frequently Asked Questions
Q: Can I use regular-sized marshmallows instead of mini marshmallows? A: Yes, but you’ll need to adjust the quantity. Use about 8 cups of regular marshmallows, roughly chopped, which equals the same volume as the mini marshmallows. However, mini marshmallows melt more evenly and are easier to work with.
Q: Why do my Rice Krispie treats turn out hard instead of chewy? A: This usually happens from overcooking the marshmallow mixture or pressing too hard when spreading in the pan. Keep the heat at medium, remove from heat as soon as marshmallows are melted, and press gently when spreading.
Q: Can I make these treats dairy-free? A: Absolutely! Substitute the butter with an equal amount of coconut oil or vegan butter alternative. Make sure your marshmallows are also dairy-free, as some brands contain milk products.
Q: How do I prevent the treats from sticking to the pan? A: Proper preparation is key – line with parchment paper and lightly grease it. This creates a non-stick surface and allows you to lift the entire batch out for easy cutting.
Q: Can I double this recipe? A: Yes, but you’ll need a very large pot and possibly two pans. It’s often easier to make two separate batches to ensure even melting and mixing. If doubling, use a large roasting pan instead of the standard 9×13 pan.
Q: What’s the best way to measure the cereal accurately? A: Use a large measuring cup and level off each cup without packing. Nine cups seems like a lot, but rice cereal is very light and airy. If you don’t have large measuring cups, use a standard cup measure nine times.
Q: Why do you add vanilla to Rice Krispie treats? A: Vanilla adds depth and warmth to the flavor, preventing the treats from tasting flat or one-dimensional. It’s a small addition that makes a noticeable difference in the overall taste experience.
Q: Can I add mix-ins without affecting the texture? A: Yes, but keep add-ins to about 1/2 to 1 cup total. Chocolate chips, nuts, or dried fruit work well. Add them when you fold in the cereal, ensuring everything is evenly distributed.
Q: How do I know when the marshmallows are perfectly melted? A: The mixture should be smooth and glossy with no visible marshmallow lumps. It should coat a spoon easily and fall in ribbons when lifted. This usually takes 3-4 minutes of constant stirring over medium heat.
Q: Can I make these treats ahead for a party? A: These are actually perfect make-ahead treats! They stay fresh for up to 3 days and often taste even better the next day. Just store them properly in an airtight container with parchment paper between layers.
Prep Time: 10 minutes | Cook Time: 5 minutes | Setting Time: 1 hour | Total Time: 1 hour, 15 minutes
Yield: 20 treats | Calories: Approximately 185 kcal per treat


