Prep Time: 15 minutes | Cook Time: 25 minutes | Total Time: 3 hours (includes cooling) | Yield: 16 bars
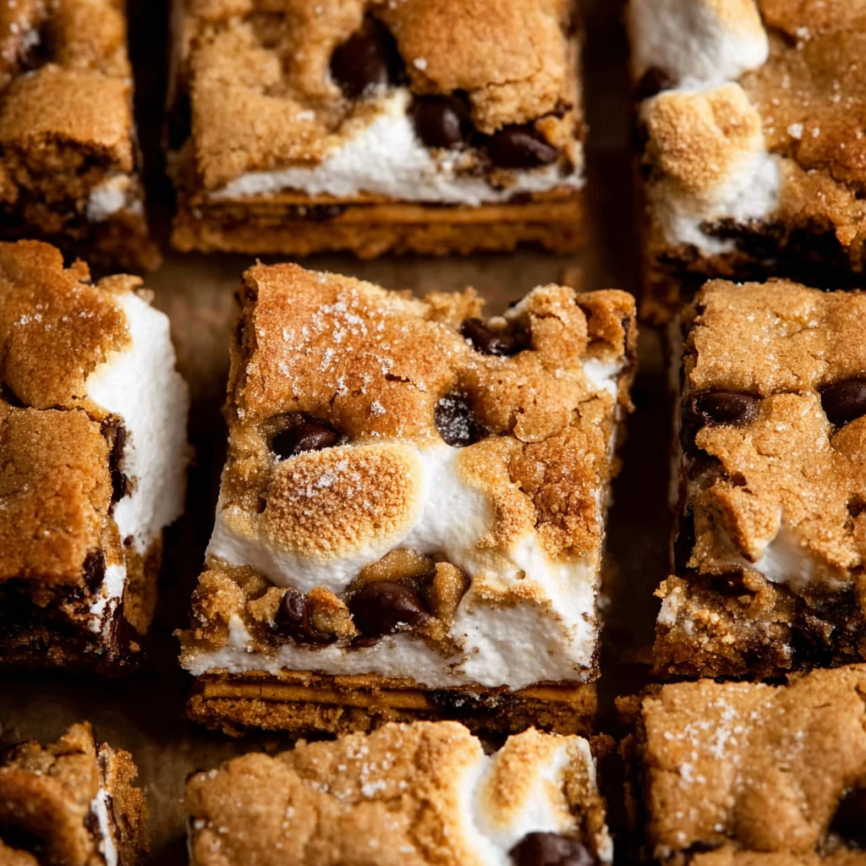
There’s something magical about the combination of graham crackers, chocolate, and marshmallows that instantly transports me back to childhood summers spent around crackling campfires. However, not everyone has access to a fire pit year-round, which is exactly why these s’mores cookie bars have become my go-to solution for satisfying those campfire cravings any time of year.
These indulgent treats capture all the beloved flavors of traditional s’mores while eliminating the mess and hassle of outdoor cooking. Moreover, they’re perfect for feeding a crowd, making them ideal for parties, potlucks, or simply when you want to treat your family to something special.
Why You’ll Fall in Love with This Recipe
Perfect Flavor Balance
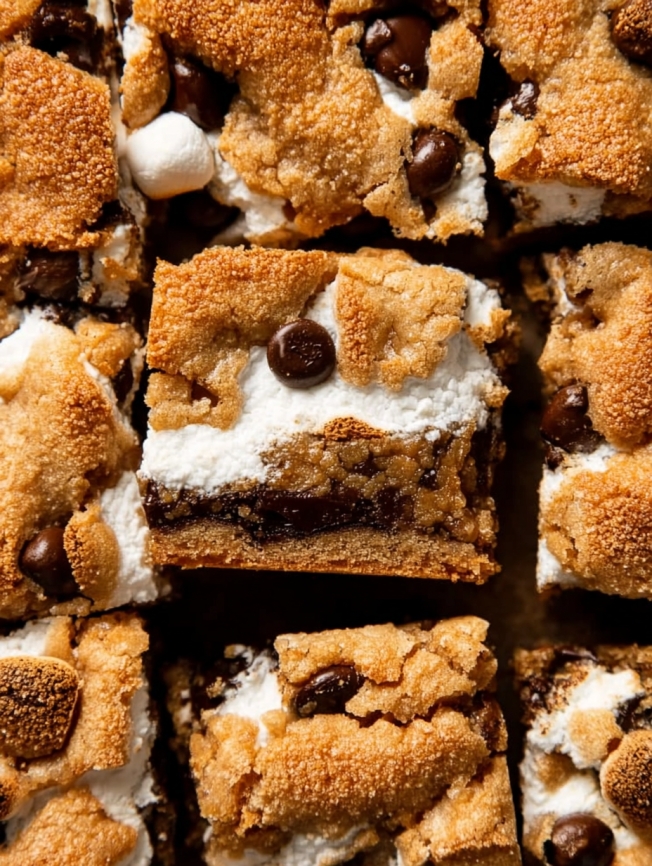
The beauty of these bars lies in their expertly balanced layers. First, the graham cracker cookie base provides that essential campfire foundation, while the brown sugar adds depth and warmth to every bite. Meanwhile, the generous layer of marshmallow creme delivers that signature gooey texture we all crave from s’mores.
Foolproof Technique
Unlike traditional s’mores that require perfect timing and can easily burn, these bars are virtually foolproof. Additionally, the cookie dough holds everything together beautifully, ensuring each piece has the perfect ratio of all three classic components.
Make-Ahead Friendly
Perhaps best of all, these bars actually improve with time. The flavors meld together as they cool, creating an even more cohesive and delicious treat than when served immediately.
Essential Ingredients
For the Graham Cookie Base
- 1/2 cup (8 Tbsp; 113g) unsalted butter, softened to room temperature
- 3/4 cup (150g) packed light or dark brown sugar
- 1 large egg, at room temperature
- 1 teaspoon pure vanilla extract
- 1 cup (125g) all-purpose flour (spooned & leveled)
- 1 cup (120g) graham cracker crumbs (about 8 full-sheet graham crackers)
- 1/2 teaspoon baking powder
- 1/4 teaspoon salt
For the Filling
- 1 cup (180g) semi-sweet chocolate chips
- 1 heaping cup marshmallow creme (store-bought “Fluff” or 1/2 recipe of homemade marshmallow creme)
Step-by-Step Instructions
Preparing Your Pan
Begin by preheating your oven to 350°F (177°C). Next, line an 8-inch or 9-inch square baking pan with parchment paper, ensuring you leave enough overhang on the sides for easy removal later. This simple step will save you frustration when it’s time to cut your bars.
Creating the Cookie Dough
In a large bowl using a handheld or stand mixer fitted with a paddle attachment, cream the softened butter and brown sugar together on medium-high speed for about 2 minutes. The mixture should become light and fluffy during this process.
Subsequently, add the egg and vanilla extract, beating until well combined. Don’t worry if the mixture appears slightly curdled at this stage—this is completely normal and won’t affect the final result.
Combining Dry Ingredients
In a separate medium bowl, whisk together the flour, graham cracker crumbs, baking powder, and salt. This ensures even distribution of the leavening agent throughout your dough. Then, pour this flour mixture into the wet ingredients and beat on medium speed until just combined.
Assembly Process
Now comes the fun part! Press approximately 2/3 of the graham cookie dough into your prepared pan. The dough will be somewhat sticky, so don’t hesitate to use your hands for even distribution. Remember, this layer will be thin, which is exactly what we want.
Next, carefully spread the marshmallow creme evenly over the cookie base. This step requires patience since marshmallow creme is naturally sticky, but take your time to achieve as even a layer as possible.
Final Layers
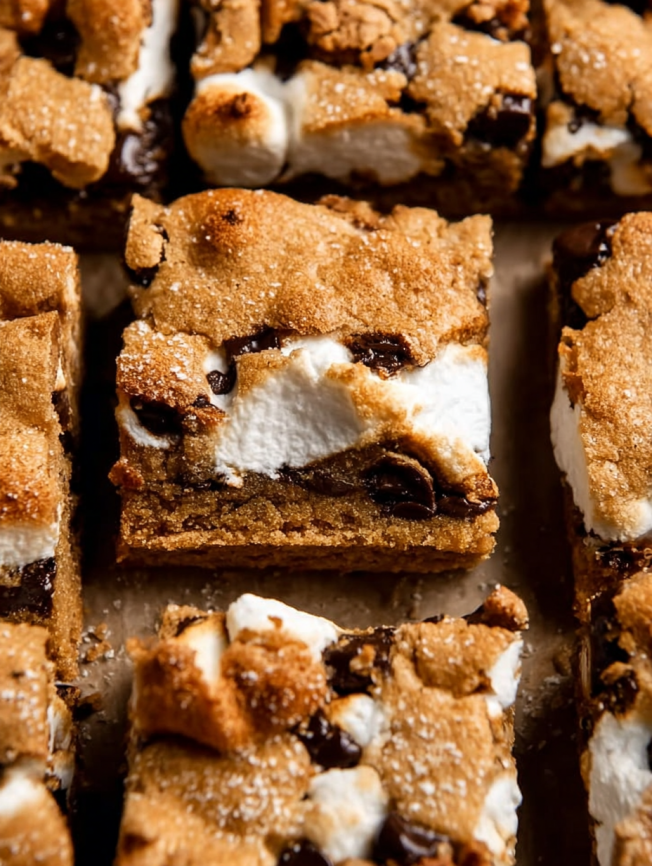
Distribute the chocolate chips evenly over the marshmallow layer. Finally, take the remaining cookie dough and mold it into flat pieces, layering them over the chocolate chips. Don’t worry about creating a completely solid top layer—some exposed chocolate chips and marshmallow actually add to the rustic, homemade appeal.
Baking to Perfection
Bake the assembled bars for 25-30 minutes, or until the top achieves a lovely light golden brown color. Once done, remove from the oven and place the entire pan on a wire rack.
Important: Allow the bars to cool completely before attempting to cut them. This cooling period is crucial for proper setting and clean cuts.
Serving Suggestions
These s’mores cookie bars are delicious on their own, but here are some ways to elevate the experience:
- Serve alongside vanilla ice cream for an extra indulgent dessert
- Drizzle with warm chocolate sauce for added richness
- Pair with fresh berries to balance the sweetness
- Accompany with cold milk for the ultimate comfort food experience
Creative Variations
Peanut Butter S’mores Bars
Replace half the chocolate chips with peanut butter chips for a nutty twist that pairs beautifully with the traditional flavors.
Dark Chocolate Version
Substitute dark chocolate chips for semi-sweet to create a more sophisticated flavor profile with less sweetness.
Seasonal Additions
During fall, try adding a pinch of cinnamon to the cookie dough, or incorporate mini chocolate chunks instead of chips for varied texture.
Make-Ahead Tips
These bars are excellent candidates for advance preparation. Once completely cooled and cut, they can be stored covered at room temperature for up to one week. The flavors actually continue to develop during storage, making day-two bars often superior to freshly made ones.
For longer storage, wrap individual bars in plastic wrap and freeze for up to three months. When ready to serve, simply thaw overnight in the refrigerator, then bring to room temperature before enjoying.
Important Notes
Marshmallow Creme vs. Regular Marshmallows
It’s crucial to use marshmallow creme rather than regular marshmallows in this recipe. Regular marshmallows will melt completely into the dough, creating unappetizing craters and losing that essential gooey texture we’re after. Marshmallow creme, on the other hand, maintains its structure and creates the perfect chewy layer.
Pan Size Flexibility
While the recipe is designed for an 8 or 9-inch square pan, you can easily adapt it for a 9×13-inch pan by doubling all ingredients. In this case, extend the baking time to 35-38 minutes.
International Substitutions
If graham crackers aren’t available in your area, digestive biscuit crumbs make an excellent substitute with a similar flavor profile and texture.
Frequently Asked Questions
Q: Can I make my own marshmallow creme for this recipe? A: Absolutely! If you prefer homemade marshmallow creme, you’ll only need a half batch for this recipe. Simply halve all marshmallow creme ingredients and follow the same preparation instructions. Use 1¼ cups in the bars and enjoy the remainder as a treat.
Q: Why do my bars fall apart when I cut them? A: This usually happens when the bars haven’t cooled completely. The marshmallow layer needs time to set properly. Always allow full cooling time, and use a sharp knife for clean cuts. Additionally, chilling the bars for 30 minutes before cutting can help achieve cleaner edges.
Q: Can I freeze these bars? A: Yes! Cool the bars completely, cut into squares, and layer between parchment paper in a freezer-friendly container. They’ll maintain quality for up to three months. Thaw overnight in the refrigerator before serving.
Q: My marshmallow creme is too sticky to spread. What should I do? A: Try lightly dampening your hands or spatula with water—this prevents sticking while spreading. Alternatively, you can warm the marshmallow creme slightly to make it more spreadable, though this isn’t usually necessary.
Q: Can I add extra chocolate chips? A: Certainly! Feel free to increase the chocolate chips to 1½ cups if you’re a chocolate lover. Just keep in mind that too many additions might make the bars difficult to hold together.
These s’mores cookie bars bring all the nostalgia of campfire treats into your kitchen, creating memories that are just as sweet as the treats themselves. Whether you’re planning a party or simply craving that perfect combination of graham, chocolate, and marshmallow, this recipe delivers every single time.


