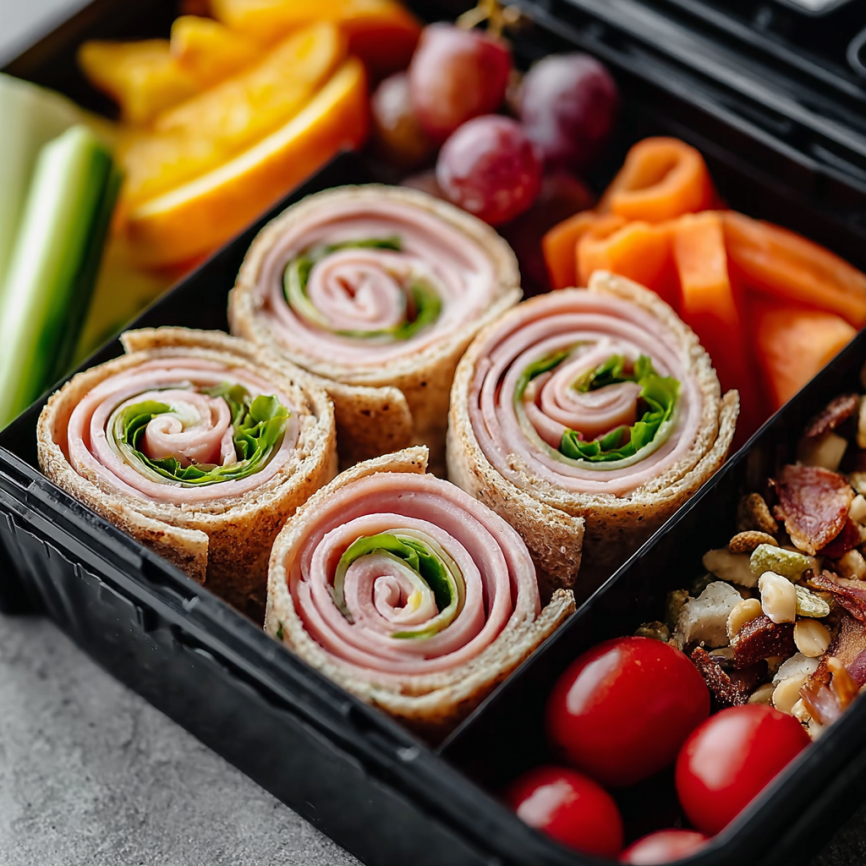
The lunch box battles were real in our house until I discovered this game-changing approach to kids’ meals. My daughter would come home with untouched sandwiches day after day, leaving me frustrated and her hungry. Then came the revelation – sometimes it’s not about what you pack, but how you present it. This colorful bento box transforms ordinary lunch ingredients into an exciting adventure that even the pickiest eaters can’t resist.
What started as a desperate attempt to get my child to eat lunch became our favorite meal prep solution. The combination of familiar flavors presented in a fun, interactive way turns mealtime from a struggle into something kids actually look forward to.
Why You’ll Love This Recipe
This brilliant lunch solution eliminates the sandwich struggle while delivering all the nutrition and satisfaction kids need to power through their day. The individual components allow picky eaters to control their experience, eating what appeals to them without feeling overwhelmed by mixed flavors or textures.
Preparation couldn’t be simpler – no cooking required, just fresh assembly that takes less time than making traditional sandwiches. Moreover, the visual appeal of colorful compartments makes healthy eating feel like a special treat rather than a chore.
Parents appreciate how this approach reduces food waste significantly. When children can see exactly what they’re getting and choose their preferred combinations, they’re much more likely to finish their entire lunch. Additionally, the protein-rich rollups provide sustained energy without the carb crash that often follows bread-heavy meals.
Ingredients You’ll Need
Protein Components
- 4 slices quality deli ham (nitrate-free preferred)
- 4 slices cheddar cheese (mild works best for picky eaters)
- 2 tablespoons cream cheese (softened for easy spreading)
Fresh Vegetables
- 1/2 cup baby carrots (or regular carrots cut into sticks)
- 1/4 cup cucumber slices (English cucumbers work wonderfully)
- 1/4 cup cherry tomatoes (various colors add visual appeal)
Fruits & Snacks
- 1/2 cup seedless grapes (red or green, depending on preference)
- 1/4 cup pretzel sticks (or favorite crackers)
Equipment Essentials
- Bento box or compartmented lunch container
- Sharp knife for clean cuts
- Cutting board
- Small spreading knife or spoon
Step-by-Step Instructions
Preparing the Star Attraction
Begin by laying the ham slices on a clean work surface, ensuring they’re flat and wrinkle-free. This creates the perfect foundation for rolling and prevents uneven distribution of fillings.
Using a small spoon or spreading knife, apply a thin, even layer of cream cheese across each ham slice. The cream cheese acts as both a flavor enhancer and an adhesive that helps hold everything together during rolling and eating.
Creating Perfect Rollups
Place one slice of cheddar cheese on top of each cream cheese-covered ham slice, positioning it so there’s a small border of ham visible around the edges. This prevents the cheese from sliding out during the rolling process.
Starting from one end, roll each ham and cheese stack tightly but gently, being careful not to squeeze out the cream cheese. The key is maintaining consistent pressure throughout the roll to create uniform spirals.
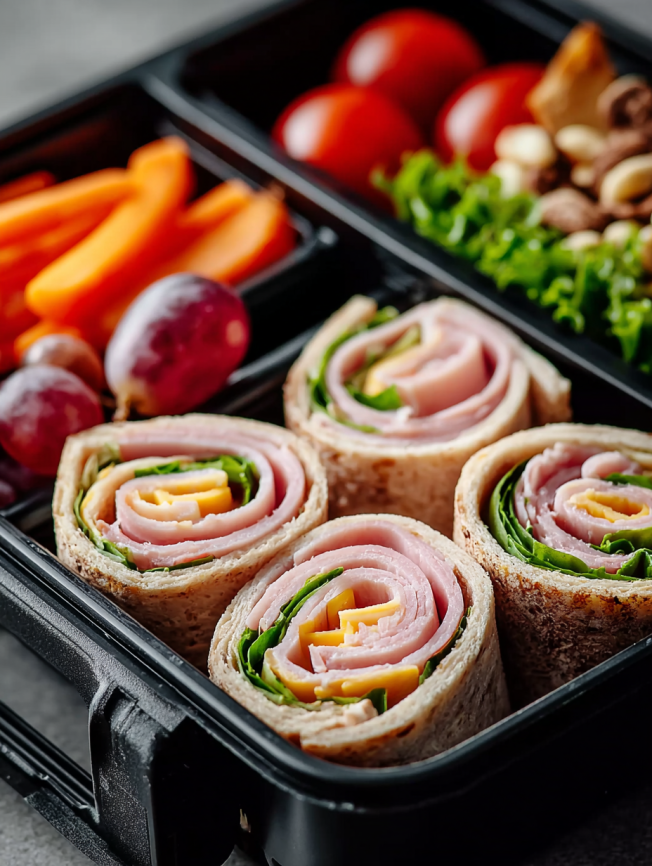
Once rolled, slice each rollup in half using a sharp knife to create perfect pinwheels that showcase the beautiful spiral pattern inside. Clean your knife between cuts for the most attractive presentation.
Assembling Your Masterpiece
Arrange the ham and cheese rollup halves in the largest compartment of your bento box, standing them up so the spiral pattern is clearly visible. This presentation makes them look special and appetizing.
Distribute the remaining components thoughtfully across the other compartments, considering both visual appeal and practical eating. Place the grapes where they won’t roll around, and position the pretzel sticks where they won’t get soggy from other ingredients.
Serving Suggestions
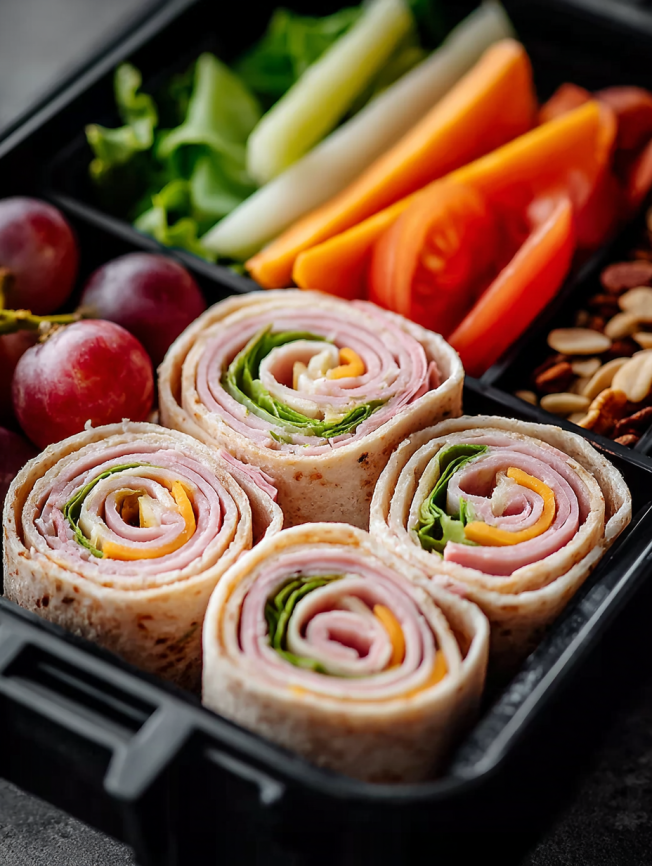
The beauty of bento boxes lies in their flexibility and visual appeal. Consider the colors and textures as you arrange each component, creating a rainbow effect that naturally draws children to different food groups.
Interactive Elements: Pack small containers of ranch dressing or hummus for dipping vegetables, turning healthy eating into a fun, hands-on experience that keeps kids engaged throughout their meal.
Temperature Considerations: Include a small ice pack to keep everything fresh, especially during warmer months or longer school days. Alternatively, freeze the grapes overnight – they’ll act as natural ice packs while thawing to perfect eating temperature by lunchtime.
Portion Flexibility: Adjust quantities based on your child’s appetite and preferences. Some days might call for extra fruit, while others might need more protein-rich components.
Recipe Variations
Mediterranean Twist
Substitute turkey and provolone cheese for the ham and cheddar combination. Add cherry tomatoes, cucumber slices, and a small container of hummus for dipping to create a Mediterranean-inspired lunch that introduces new flavors gently.
Mexican-Inspired Version
Use turkey or chicken slices with pepper jack cheese, rolling them with a thin spread of guacamole instead of cream cheese. Include bell pepper strips, cherry tomatoes, and a small portion of mild salsa for adventurous eaters.
Breakfast Bento Adaptation
Transform this concept for morning meals by using turkey sausage slices with cream cheese and mild cheddar, accompanied by fresh berries, mini muffins, and string cheese for a protein-rich breakfast on busy school mornings.
Vegetarian Alternative
Create cream cheese and vegetable rollups using tortillas spread with cream cheese, then filled with thin cucumber and carrot strips. Roll tightly and slice for a plant-based version that’s equally appealing.
Make-Ahead Tips
These bento boxes can be partially prepared the evening before, making hectic mornings much more manageable. Prepare the rollups and store them wrapped in the refrigerator overnight, but wait until morning to add the fresh vegetables to maintain optimal crispness.
Pre-wash and cut vegetables during your weekly meal prep session, storing them in airtight containers in the refrigerator. This investment of time pays dividends throughout the week when you can simply grab and assemble components quickly.
For maximum freshness, pack wet ingredients like tomatoes and cucumbers in separate small containers or compartments to prevent them from making other components soggy. This extra step ensures everything maintains its ideal texture until lunchtime.
Notes
Food Safety First: Always use fresh ingredients and pack lunches in insulated containers with ice packs, especially during warmer weather. The combination of dairy and meat requires proper temperature control for safety.
Customization is Key: Pay attention to your child’s preferences and adjust accordingly. Some kids prefer their rollups whole rather than sliced, while others enjoy mixing and matching different components.
Visual Appeal Matters: Take time to arrange components attractively – children truly do eat with their eyes first. Colorful presentations often result in better acceptance of new or previously rejected foods.
Frequently Asked Questions
Q: How long will these rollups stay fresh in the refrigerator? A: Properly stored rollups remain fresh for 2-3 days in the refrigerator. However, they’re best enjoyed within 24 hours for optimal texture and flavor, especially since the cream cheese can make the ham slightly softer over time.
Q: Can I make these rollups without cream cheese? A: Absolutely! Try mustard, mayonnaise, or even mashed avocado as alternatives. Each option provides different flavors while still helping hold the rollup together during eating.
Q: What if my child doesn’t like some of these vegetables? A: Substitute freely based on preferences! Try snap peas, bell pepper strips, celery sticks, or broccoli florets. The goal is creating a colorful, varied lunch that appeals to your specific eater.
Q: Are there any nut-free additions I can include? A: Consider sunflower seeds, pumpkin seeds, or seed-based crackers for crunch. Fresh fruit like apple slices (with lemon juice to prevent browning), berries, or melon chunks also add variety and nutrition.
Q: How do I prevent the rollups from unrolling in the lunch box? A: Ensure the cream cheese layer isn’t too thick, roll tightly but gently, and place the rollups cut-side down in the container. You can also secure them with small toothpicks if needed, though remember to use child-safe options.
Q: Can I pack this the night before? A: Yes, but pack wet ingredients like tomatoes separately and add them in the morning. This prevents sogginess while still allowing for convenient advance preparation.
Preparation Time: 15 minutes | No Cooking Required | Total Time: 15 minutes Serves 2 | Skill Level: Beginner-Friendly | Cuisine: American Dietary Notes: Gluten-Free (with appropriate snack substitutions), Low-Carb option available
Nutritional Information (Per Serving):
- Calories: 320
- Protein: 18g
- Total Fat: 18g
- Total Carbohydrates: 22g
Nutritional values are approximate and may vary based on specific brands and portion sizes used.


