Prep Time: 2 hours, 15 minutes | Cook Time: 12 minutes | Total Time: 2 hours, 45 minutes | Yield: 15 cookies
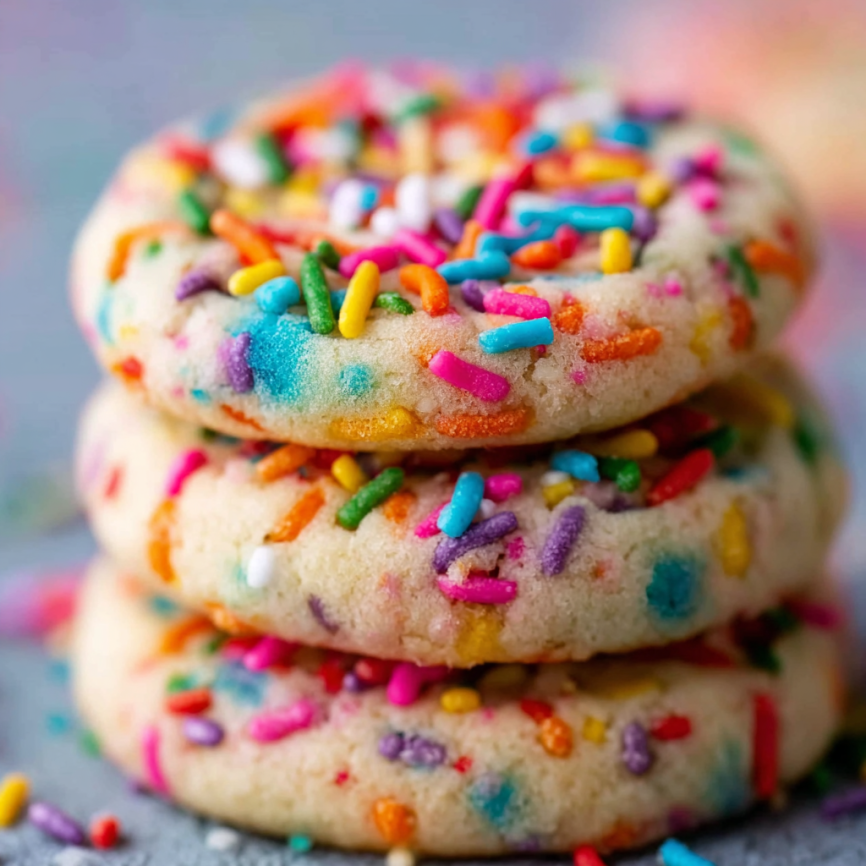
There’s something absolutely magical about biting into a soft, chewy sugar cookie loaded with colorful sprinkles. Growing up, my grandmother always had a cookie jar filled with these delightful treats, and the memory of sneaking one (or three) before dinner still makes me smile. Now, I’m sharing her secret with you – these drop-style sugar cookies that require no rolling pin, no cookie cutters, and definitely no fuss.
Why You’ll Fall in Love with This Recipe
Simple Ingredients, Amazing Results
What makes these cookies truly special is their simplicity. With just eight basic ingredients that you likely already have in your pantry, you can create bakery-quality cookies right at home. The beauty lies in the technique – no complicated steps or specialized equipment needed.
Perfect Texture Every Time
These aren’t your typical crispy sugar cookies. Instead, they boast a wonderfully soft and chewy texture that melts in your mouth. The secret? Proper chilling time and the perfect butter-to-sugar ratio that creates that coveted tender crumb.
Customizable Fun
While sprinkles add that festive touch we all love, these cookies are incredibly versatile. You can easily adapt them for any season or occasion by switching up the sprinkle colors or leaving them plain for a classic sugar cookie experience.
Essential Ingredients
Main Components
- 1½ cups (188g) all-purpose flour (spooned & leveled)
- 1½ teaspoons baking powder
- ¼ teaspoon salt
- ½ cup (8 Tbsp; 113g) unsalted butter, softened to room temperature
- ¾ cup (150g) granulated sugar
- 1 large egg, at room temperature
- 1 teaspoon pure vanilla extract
- ½ cup (80g) sprinkles, plus extra for topping
Quality Matters
Using room temperature ingredients is crucial for proper mixing. Additionally, measuring flour correctly by spooning and leveling ensures the perfect texture – too much flour will result in dry, crumbly cookies.
Step-by-Step Instructions
Preparing the Base
Begin by whisking together the flour, baking powder, and salt in a medium bowl. This dry mixture should be set aside while you work on the wet ingredients.
Creating the Cookie Dough
In a large bowl, use either a hand mixer or stand mixer with paddle attachment to beat the softened butter and granulated sugar together. Mix on medium-high speed for about one minute until the mixture becomes light and creamy. Next, add the egg and vanilla extract, beating on high speed for another minute until everything is well combined.
Bringing It All Together
Add the dry ingredients to the wet mixture, mixing on low speed until just combined. Avoid overmixing at this stage, as it can lead to tough cookies. Once combined, gently beat in the ½ cup of sprinkles until evenly distributed throughout the dough.
Shaping and Chilling
The dough will be thick and slightly sticky – this is exactly what you want! Scoop approximately 2 tablespoons (40g) of dough for each cookie and roll into balls. For an extra pop of color, lightly dip the tops of each dough ball in additional sprinkles. Place the shaped cookies on a large plate or lined baking sheet.
The Crucial Chill Time
Cover the dough balls and refrigerate for at least 2 hours. This step is absolutely essential for preventing over-spreading during baking. The cookies can be chilled for up to 4 days, making them perfect for meal prep.
Baking to Perfection
Preheat your oven to 350°F (177°C) and line baking sheets with parchment paper or silicone mats. Arrange the chilled dough balls 3 inches apart on the prepared sheets – they will spread during baking. Bake for 12-13 minutes until the edges are lightly golden. The centers should still look very soft when you remove them from the oven.
Final Steps
Allow cookies to cool on the baking sheet for 5 minutes before transferring to a wire rack. This resting time helps them set properly without breaking apart.
Serving Suggestions
Perfect Pairings
These sprinkle sugar cookies pair beautifully with a cold glass of milk or a warm cup of coffee. They’re also delightful alongside vanilla ice cream for an extra-special dessert.
Presentation Ideas
For parties or gifts, arrange these colorful cookies on a decorative platter or package them in clear cellophane bags tied with ribbons. The vibrant sprinkles make them naturally festive and eye-catching.
Creative Variations
Seasonal Adaptations
Transform these cookies for any occasion by changing the sprinkle colors. Use red and green for Christmas, pastels for Easter, or orange and black for Halloween. You can also add a teaspoon of almond extract in place of vanilla for a different flavor profile.
Flavor Twists
Consider mixing in mini chocolate chips instead of sprinkles, or try adding a tablespoon of cocoa powder to the dry ingredients for chocolate sugar cookies. Lemon zest can also add a bright, citrusy note.
Size Variations
Make mini cookies using 1 tablespoon of dough each for bite-sized treats, or go jumbo with ¼ cup portions for bakery-style cookies. Just adjust the baking time accordingly – smaller cookies need 8-10 minutes, while larger ones may need 14-16 minutes.
Make-Ahead Tips
Dough Preparation
The beauty of this recipe lies in its make-ahead potential. You can prepare the cookie dough, shape it into balls, and store them in the refrigerator for up to 4 days before baking. This makes them perfect for busy weeks or unexpected guests.
Freezing Options
Cookie dough balls freeze exceptionally well for up to 3 months. Simply place them in a freezer-safe container or bag, and bake directly from frozen – just add an extra minute to the baking time. Baked cookies also freeze well for up to 3 months when stored in airtight containers.
Storage Solutions
Fresh-baked cookies stay perfectly soft when stored in an airtight container at room temperature for up to one week. Layer them between parchment paper to prevent sticking.
Important Notes
Equipment Essentials
While you don’t need specialized equipment, having a few key tools makes the process smoother. A good mixer (handheld or stand), quality baking sheets, and parchment paper or silicone mats will give you the best results.
Sprinkle Selection
Not all sprinkles are created equal! Avoid nonpareils (those tiny round balls) as they tend to bleed color into the dough. Jimmies or shaped sprinkles work best and maintain their vibrant colors throughout baking.
The Science of Chilling
Chilling the dough isn’t just a suggestion – it’s crucial for success. These cookies contain a high butter content, and cold dough prevents excessive spreading during baking. The two-hour minimum ensures your cookies maintain their shape and achieve that perfect chewy texture.
Frequently Asked Questions
Q: Can I skip the chilling time if I’m in a hurry? A: Unfortunately, no. The chilling time is essential for preventing the cookies from over-spreading and becoming thin and crispy instead of soft and chewy. Plan ahead for the best results.
Q: Why are my cookies spreading too much? A: This usually happens when the dough isn’t chilled long enough, the butter was too warm when mixing, or the oven temperature is too low. Ensure your dough is properly chilled and your oven is fully preheated.
Q: Can I use salted butter instead of unsalted? A: While you can substitute salted butter, reduce the added salt to just a pinch. Unsalted butter gives you better control over the final flavor balance.
Q: How do I know when the cookies are done? A: The edges should be lightly golden, but the centers will still look soft and slightly underbaked. They’ll continue cooking on the hot pan after removal, so don’t overbake them.
Q: Can I make these cookies gluten-free? A: Yes! Substitute the all-purpose flour with a 1:1 gluten-free baking flour blend. The texture may be slightly different, but they’ll still be delicious.
Q: What’s the best way to measure flour accurately? A: Always spoon flour into your measuring cup and level it off with a knife. Scooping directly from the bag can pack too much flour, resulting in dry cookies.
These drop-style sprinkle sugar cookies prove that sometimes the simplest recipes yield the most satisfying results. With their soft, chewy texture and burst of colorful fun, they’re guaranteed to become a favorite in your baking repertoire.


