Prep Time: 2 hours, 15 minutes | Cook Time: 12 minutes | Total Time: 2 hours, 45 minutes | Yield: 20 cookies
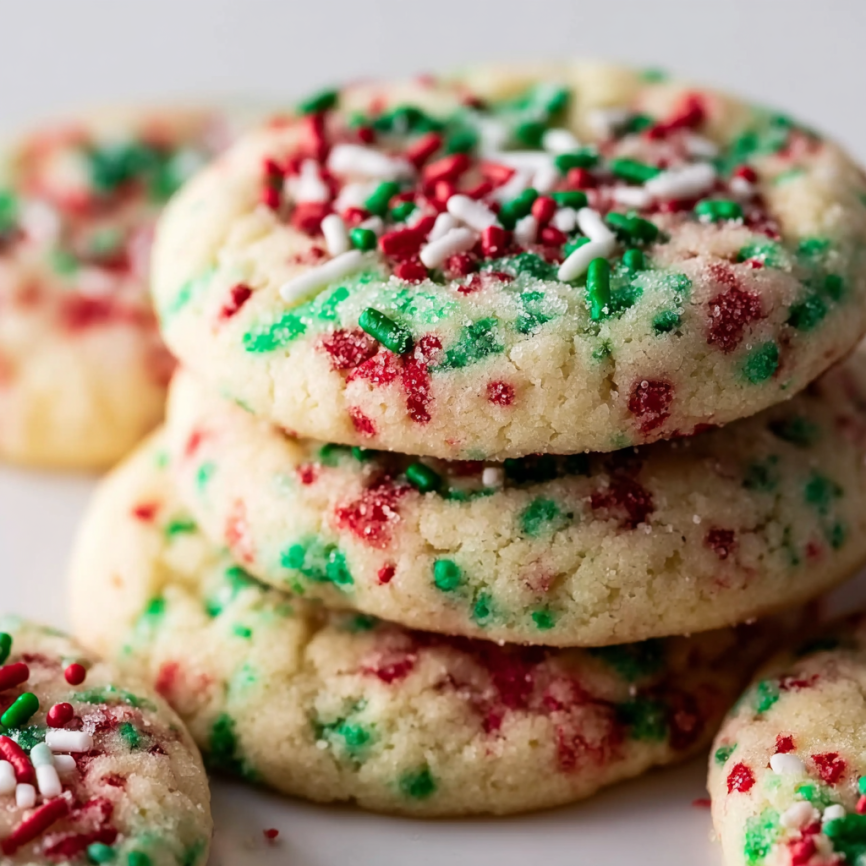
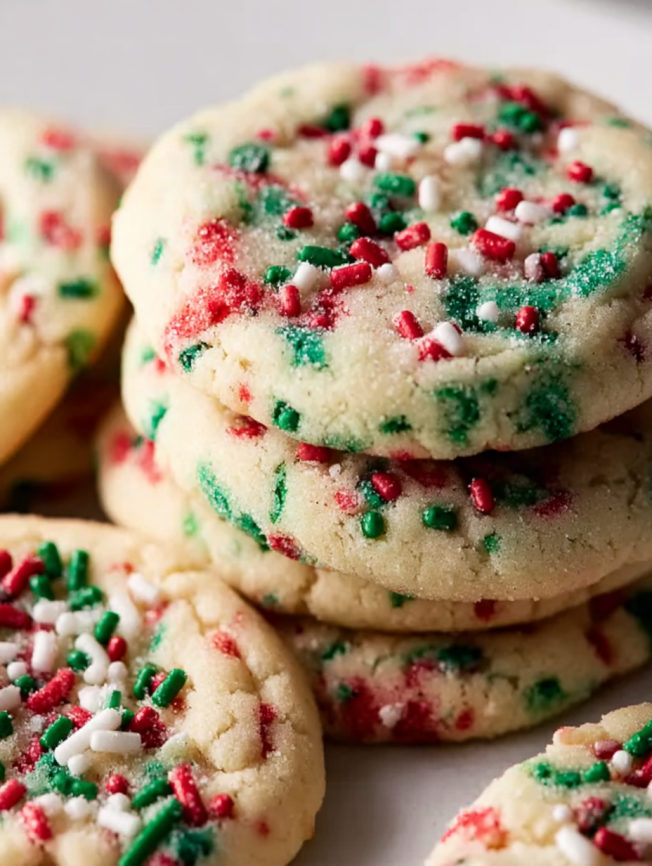
Every December, the scent of vanilla and butter fills my kitchen as I recreate the magic of childhood Christmas mornings. These drop-style Christmas sugar cookies were born from a particularly hectic holiday season when I desperately wanted homemade cookies but didn’t have time for rolling, cutting, and decorating. What started as a shortcut has become our family’s most requested holiday treat – soft, chewy cookies bursting with festive sprinkles that capture all the joy of Christmas in every bite.
Why These Holiday Cookies Are Pure Magic
Effortless Holiday Baking
Forget complicated cookie cutters, rolling pins, and intricate decorating sessions. These cookies deliver all the festive charm of traditional Christmas sugar cookies with a fraction of the effort. Simply scoop, chill, and bake – it’s that wonderfully simple.
Perfect Soft and Chewy Texture
Unlike crispy rolled sugar cookies, these drops boast an irresistibly soft and chewy texture that melts in your mouth. The secret lies in the proper butter-to-sugar ratio and the essential chilling time that prevents over-spreading while maintaining that tender crumb.
Customizable Christmas Spirit
The beauty of these cookies lies in their versatility. Use red and green sprinkles for classic Christmas appeal, or switch to gold and silver for an elegant holiday party. The sprinkles aren’t just decoration – they’re baked right into the dough, ensuring every bite is filled with festive color and subtle vanilla sweetness.
Essential Ingredients
Simple Cookie Base
- 1½ cups (188g) all-purpose flour (spooned & leveled)
- 1½ teaspoons baking powder
- ¼ teaspoon salt
- ½ cup (8 Tbsp; 113g) unsalted butter, softened to room temperature
- ¾ cup (150g) granulated sugar
- 1 large egg, at room temperature
- 1 teaspoon pure vanilla extract
- ½ cup (80g) sprinkles, plus extra for topping
Quality Considerations
Room temperature ingredients are crucial for proper mixing and texture. Choose high-quality vanilla extract for the best flavor, and avoid nonpareil sprinkles (those tiny round balls) as they tend to bleed color into the dough during mixing and baking.
Step-by-Step Instructions
Building the Foundation
Start by whisking together flour, baking powder, and salt in a medium bowl. This dry mixture should be set aside while you work on the wet ingredients. Proper flour measurement is essential – always spoon flour into your measuring cup and level it off to avoid dense, heavy cookies.
Creating the Perfect Base
Using either a handheld or stand mixer fitted with a paddle attachment, cream the softened butter and granulated sugar together on medium-high speed for about 1 minute. The mixture should become light and slightly fluffy. Add the egg and vanilla extract, then beat on high speed for another minute until everything is well incorporated.
Bringing It All Together
Gradually add the flour mixture to the butter mixture, mixing on low speed until just combined. Avoid overmixing, which can lead to tough cookies. Once the dough comes together, gently beat in the ½ cup of sprinkles until evenly distributed throughout the thick, sticky dough.
Shaping for Success
Scoop approximately 2 tablespoons of dough for each cookie and roll into balls with your hands. For maximum festive appeal, lightly dip the top of each dough ball into additional sprinkles – this creates beautiful color bursts on the finished cookies. Place the shaped dough balls on a large plate or lined baking sheet.
The Crucial Chill
Cover the dough balls and refrigerate for at least 2 hours. This chilling step is absolutely essential – it prevents the buttery cookies from spreading too much during baking and ensures they maintain their soft, thick texture. The dough can be chilled for up to 4 days, making these perfect for holiday meal prep.
Baking to Holiday Perfection
Preheat your oven to 350°F (177°C) and line baking sheets with parchment paper or silicone mats. Arrange the chilled dough balls 3 inches apart – they will spread slightly during baking. Bake for 12-13 minutes until the edges are lightly golden but the centers still appear very soft and slightly underbaked.
Final Cooling Steps
Allow cookies to rest on the hot baking sheet for 5 minutes before transferring to a wire rack. This brief cooling period allows them to set properly without becoming overcooked from residual heat.
Serving Suggestions
Holiday Presentation Ideas
Arrange these colorful cookies on festive platters alongside other holiday treats, or package them in clear cellophane bags tied with ribbon for beautiful homemade gifts. Their vibrant sprinkles make them naturally photogenic for holiday social media posts.
Perfect Pairings
These cookies are delightful with hot cocoa topped with marshmallows, or alongside a warm cup of spiced cider. They also complement vanilla ice cream beautifully for a more elaborate holiday dessert.
Creative Variations
Seasonal Sprinkle Options
Transform these cookies for different holidays throughout the year. Use pastel sprinkles for Easter, red, white, and blue for Fourth of July, or orange and black for Halloween. The base recipe remains the same while the sprinkles provide the seasonal connection.
Flavor Enhancements
Consider adding ½ teaspoon of almond extract alongside the vanilla for a more complex flavor profile. A tablespoon of lemon zest can brighten the cookies, while a pinch of cinnamon adds warm holiday spice that complements the festive theme.
Size Variations
Create mini cookies using 1 tablespoon of dough each for bite-sized party treats, or make jumbo versions with ¼ cup portions for impressive gift-worthy cookies. Adjust baking time accordingly – smaller cookies need 8-10 minutes, while larger ones may require 14-16 minutes.
Make-Ahead Tips
Holiday Planning Strategy
These cookies are incredibly accommodating for busy holiday schedules. Shape the dough balls and refrigerate them for up to 4 days before baking, or freeze them for up to 3 months. This allows you to bake fresh cookies even during the busiest holiday moments.
Freezing for Convenience
Cookie dough balls can be baked directly from frozen – simply add an extra minute to the baking time without thawing. This makes them perfect for unexpected guests or last-minute holiday gatherings.
Storage Solutions
Baked cookies maintain their soft texture when stored in an airtight container at room temperature for up to one week. Layer them between parchment paper to prevent sticking and maintain their beautiful appearance.
Important Notes
Equipment Essentials
While specialized equipment isn’t required, having quality mixing bowls, a reliable mixer, and good baking sheets makes the process smoother. Silicone baking mats provide even heat distribution and easy cookie removal.
Sprinkle Selection Strategy
Choose jimmies or shaped sprinkles rather than nonpareils for best results. The larger sprinkles maintain their color and shape better during mixing and baking, creating more appealing visual results in the finished cookies.
Temperature Timing
Room temperature ingredients blend more easily and create better texture. If you forget to remove eggs and butter from the refrigerator ahead of time, place eggs in warm water for 5 minutes and cut butter into small pieces to speed the softening process.

Frequently Asked Questions
Q: Can I skip the chilling time if I’m in a hurry? A: Unfortunately, chilling is essential for proper texture and preventing over-spreading. However, you can speed the process by placing dough balls in the freezer for 1 hour instead of refrigerating for 2 hours.
Q: Why do my cookies spread too much during baking? A: This typically indicates insufficient chilling time, butter that was too warm during mixing, or an oven temperature that’s too low. Ensure proper chilling and verify your oven temperature with a thermometer.
Q: Can I use different types of sprinkles? A: Yes, but avoid nonpareils (tiny ball sprinkles) as they bleed color. Jimmies, shaped sprinkles, and sugar crystals all work beautifully and maintain their appearance throughout baking.
Q: How do I prevent my cookies from becoming too hard? A: Avoid overbaking – the centers should still look slightly underdone when you remove them from the oven. They’ll continue cooking on the hot pan during the 5-minute cooling period.
Q: Can I make these cookies without sprinkles? A: Absolutely! Without sprinkles, these become classic drop sugar cookies. Consider rolling them in coarse sugar before baking for added sweetness and sparkle.
Q: What’s the best way to measure flour accurately? A: Always spoon flour into your measuring cup and level it off with a knife. Scooping directly from the bag can pack too much flour, resulting in dry, dense cookies.
Q: Can I double this recipe for large gatherings? A: Yes, but mix the dough in batches if using a smaller mixer. Ensure you have adequate refrigerator space for chilling all the dough balls before baking.
Q: How do I know when the cookies are perfectly done? A: Look for lightly golden edges while the centers still appear soft and slightly shiny. They may seem underbaked, but they’ll perfect their texture during the cooling period.
These drop-style Christmas sugar cookies prove that holiday magic doesn’t require complicated techniques or hours of decorating. With their soft, chewy texture and festive sprinkle-studded appearance, they capture the essence of Christmas joy in the most delightfully simple way. Whether you’re baking for family traditions, cookie exchanges, or last-minute guests, these reliable treats deliver consistent results and guaranteed smiles every single time.


