Every October, I find myself torn between wanting to create elaborate Halloween desserts and needing something simple enough to manage alongside costume preparations and party planning. That’s exactly how these magical Halloween Chocolate Chip Cookies came into my life – during a particularly chaotic Halloween three years ago when I needed treats that were both impressive and manageable.
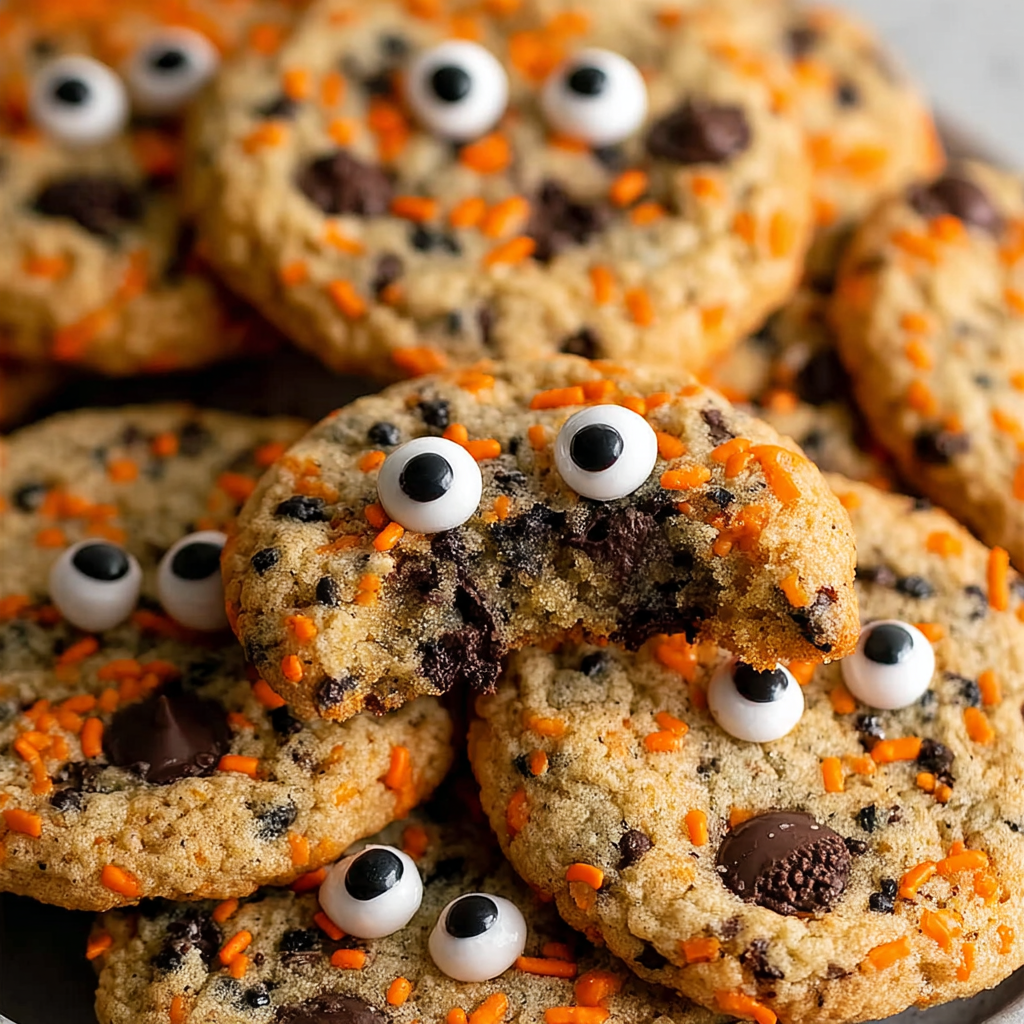
The moment I pulled that first batch from the oven, with their vibrant orange and black sprinkles scattered like tiny confetti and those adorable candy eyes peering up at me, I knew I’d discovered something special. My daughter’s friends couldn’t stop giggling at the “googly-eyed cookies,” while the adults kept sneaking back for “just one more” of these perfectly chewy, festively decorated treats.
What makes these cookies truly magical isn’t just their playful appearance – it’s how they transform a classic chocolate chip cookie into something that captures the whimsical spirit of Halloween while maintaining all the comforting familiarity we crave in our favorite baked goods.
Why These Halloween Cookies Will Cast a Spell on Your Kitchen
Effortless Halloween Magic: These cookies prove that creating festive treats doesn’t require advanced decorating skills or hours of preparation. Furthermore, the simple addition of colorful sprinkles and candy eyes transforms ordinary cookies into extraordinary Halloween characters.
Perfect Texture Balance: The secret lies in the carefully crafted dough that creates cookies with crispy edges and wonderfully chewy centers. Meanwhile, the melted butter technique ensures consistent results every time without the fuss of creaming butter.
Kid-Friendly Fun: Children absolutely adore helping with these cookies, from mixing in the sprinkles to placing those silly candy eyes. Additionally, the process is forgiving enough that little hands can participate without compromising the final results.
Make-Ahead Convenience: The required chilling time actually works in your favor, allowing you to prepare the dough up to 24 hours ahead. Consequently, you can have fresh-baked cookies ready whenever your Halloween celebration calls for them.
Complete Ingredients and Equipment Guide
Course: Dessert
Cuisine: American
Prep Time: 10 minutes
Cook Time: 15 minutes
Chill Time: 2 hours
Total Time: 2 hours 25 minutes
Servings: 18 delightfully spooky cookies
Calories: 219 per cookie
Essential Equipment
- Stand mixer or hand mixer (for smooth, consistent mixing)
- Flexible spatula (crucial for gentle folding)
- Large baking sheets (preferably two for efficiency)
- Parchment paper or silicone baking mats (prevents sticking)
- Ice cream scoop (optional, but ensures uniform cookies)
Core Cookie Components
- 1/2 cup unsalted butter, melted (creates ideal texture)
- 1/3 cup granulated sugar (67g) (provides structure and sweetness)
- 1/2 cup packed light brown sugar (100g) (adds moisture and chewiness)
- 1 large egg (binds ingredients together)
- 1 teaspoon vanilla extract (enhances overall flavor)
- 1/2 teaspoon salt (balances sweetness perfectly)
- 1/2 teaspoon baking soda (creates perfect rise)
- 1 1/2 cups all-purpose flour, spooned and leveled (186g) (proper measuring crucial)
- 1 1/2 cups chocolate chips (the star ingredient)
Halloween Decoration Elements
- 1/2-3/4 cup Halloween sprinkles (orange, black, purple for best effect)
- Candy eyes (optional but highly recommended for maximum charm)
Step-by-Step Baking Magic Instructions
Creating the Perfect Cookie Base
Step 1: Begin by melting your butter and allowing it to cool slightly while you gather other ingredients. Then, in your mixing bowl, combine the melted butter with both granulated and brown sugars, mixing until the mixture becomes smooth and well incorporated.
Step 2: Add the vanilla extract and egg to your sugar mixture, continuing to mix until everything combines into a cohesive, slightly glossy mixture. Ensure the egg is fully incorporated before proceeding to the next step.
Building the Cookie Dough Foundation
Step 3: In a separate bowl, whisk together your flour, salt, and baking soda to ensure even distribution. Then, gradually add this dry mixture to your wet ingredients, mixing on low speed initially to prevent flour from flying everywhere.
Step 4: Once the flour begins incorporating, increase the mixer speed and blend for another 15-30 seconds until the dough appears smooth. Scrape down the bowl sides as needed, but be careful not to overmix, which can lead to tough cookies.
Adding the Halloween Magic
Step 5: Using a spatula or large spoon, gently fold in the chocolate chips and Halloween sprinkles with careful movements that distribute them evenly without overworking the dough. This folding technique preserves the dough’s tender texture.
Essential Chilling Process
Step 6: Scoop the dough into 2-tablespoon portions and place them on a parchment-lined baking sheet. Don’t worry about spacing at this stage – you’re preparing them for chilling, not baking.
Step 7: Cover the entire baking sheet with plastic wrap and refrigerate for 1.5 to 2 hours minimum, or up to 24 hours for maximum convenience. This chilling step is crucial for preventing excessive spreading during baking.
Final Baking and Decoration
Step 8: When ready to bake, preheat your oven to 350°F and arrange the chilled dough balls on parchment-lined baking sheets, leaving 2 inches between each cookie for proper spreading.
Step 9: Bake for 11-13 minutes until the edges turn golden brown while centers still appear slightly underdone. Immediately after removing from the oven, press candy eyes gently into the warm cookies if using.
Creative Serving and Presentation Ideas
Halloween Party Platter: Arrange your cookies on a large black or orange platter, alternating the direction of the candy eyes to create the impression of a cookie “crowd” all looking in different directions. This whimsical presentation never fails to delight guests.
Individual Gift Packaging: Place each cookie in a clear cellophane bag tied with orange and black ribbons for perfect trick-or-treat handouts or party favors that parents will actually appreciate receiving.
Cookie Decorating Station: Set out plain baked cookies alongside bowls of various sprinkles and candy eyes, letting party guests create their own spooky characters. This interactive element works wonderfully for children’s parties.
Themed Cookie Jar Display: Fill a large glass jar with these colorful cookies and place it as a centerpiece on your Halloween dessert table, where the vibrant sprinkles create a beautiful kaleidoscope effect.
Delicious Recipe Variations to Explore
Pumpkin Spice Halloween Cookies
Add 1 teaspoon of pumpkin pie spice to the flour mixture and substitute 1/4 cup of the chocolate chips with white chocolate chips. Furthermore, use only orange and yellow sprinkles for an autumn harvest theme.
Double Chocolate Monster Cookies
Replace 1/4 cup of flour with unsweetened cocoa powder and add extra chocolate chips for intense chocolate lovers. These dark cookies make the candy eyes pop even more dramatically.
Healthier Halloween Version
Substitute half the all-purpose flour with whole wheat pastry flour and reduce sugar by 2 tablespoons. Additionally, use mini chocolate chips to maintain chocolate flavor while reducing overall sweetness.
Adult-Friendly Sophisticated Option
Add a pinch of sea salt on top before baking and use high-quality dark chocolate chunks instead of chips. This elevation appeals to grown-up palates while maintaining the playful Halloween spirit.
Expert Make-Ahead and Storage Strategies
Dough Preparation Timeline: Mix your cookie dough up to 24 hours before baking for ultimate convenience. The extended chilling time actually improves the cookies’ flavor and texture development.
Freezing Options: Both unbaked dough balls and finished cookies freeze beautifully for 2-3 months. For unbaked dough, freeze on baking sheets first, then transfer to freezer bags once solid.
Optimal Storage Method: Keep baked cookies in airtight containers at room temperature for 3-5 days maximum freshness. Layer them between parchment paper to prevent candy eyes from sticking together.
Shipping and Transport: These cookies travel well when properly packaged. Place them in rigid containers with parchment between layers to protect the delicate candy eye decorations during transport.
Professional Baking Notes for Perfect Results
Flour Measuring Precision: Use the spoon-and-level method rather than scooping directly from the bag, which can pack flour and create dense cookies. Proper measuring ensures the ideal tender texture.
Chilling Time Importance: Never skip the chilling step, as it prevents excessive spreading and helps cookies maintain their shape. Room temperature dough will create thin, crispy cookies instead of the desired chewy texture.
Candy Eye Application: Press candy eyes into cookies immediately after removing from the oven while they’re still soft. Once cooled, the cookies become too firm to accept decorations without cracking.
Baking Time Precision: Slightly underbaked cookies continue cooking on the hot pan after removal, creating perfect chewy centers. Overbaking results in crispy cookies that lose their signature soft texture.
Frequently Asked Questions
Q: Can I use salted butter instead of unsalted butter? A: While unsalted butter provides better flavor control, you can substitute salted butter by reducing the added salt to 1/4 teaspoon. However, unsalted butter generally produces more consistent results in baking applications.
Q: What if I don’t have Halloween sprinkles available? A: Regular rainbow sprinkles work fine, or you can create your own Halloween mix using orange, black, and purple decorating sugars. Mini chocolate chips or candy pieces also make excellent substitutes that maintain the festive appearance.
Q: How do I prevent the sprinkles from bleeding color into the dough? A: Add sprinkles at the very end and fold them in gently rather than mixing vigorously. Additionally, chilling the dough helps set the colors and prevents excessive bleeding during the baking process.
Q: Can I make these cookies without candy eyes? A: Absolutely! The cookies are delicious with just sprinkles and chocolate chips. You can also substitute other small candies like mini marshmallows or candy-coated chocolates for different character effects.
Q: Why do my cookies spread too much during baking? A: This usually indicates insufficient chilling time or oven temperature that’s too low. Ensure your dough chills for the full recommended time and verify your oven temperature with a thermometer for accuracy.
Q: How can I make these cookies more or less sweet? A: Adjust the granulated sugar by 1-2 tablespoons in either direction to suit your preference. You can also use dark chocolate chips instead of semi-sweet for less overall sweetness while maintaining rich chocolate flavor.
Q: What’s the best way to get uniform cookie sizes? A: An ice cream scoop or cookie scoop ensures consistent portions, which leads to even baking times and professional-looking results. A 2-tablespoon scoop works perfectly for this recipe’s intended size.


