Five years ago, my eight-year-old son announced he wanted to bring “the coolest Halloween treats ever” to his school party, but with one major caveat—they had to be something we could make together without requiring advanced baking skills. After brainstorming sessions that involved more giggling than actual planning, we stumbled upon the brilliant idea of transforming classic Rice Krispie bars into Frankenstein’s monster. The moment we added those googly candy eyes to our first green rectangle, we both burst into laughter at how perfectly ridiculous and adorable our creation looked.
What started as a simple solution to a school party dilemma has evolved into our most requested Halloween tradition. These whimsical treats combine the beloved comfort of classic Rice Krispie bars with the playful spirit of Halloween, creating something that’s simultaneously nostalgic and delightfully spooky. The best part? Even the most kitchen-challenged parent can achieve impressive results that will have kids squealing with excitement.
Why These Monster Treats Will Electrify Your Halloween
Foolproof Family Fun: Unlike complicated decorated cookies or elaborate cakes, these bars require no special skills or equipment. Moreover, children can actively participate in every step, making this a genuinely collaborative kitchen adventure rather than a spectator sport.
Budget-Friendly Brilliance: Using pantry staples and a few inexpensive decorating supplies, you can create impressive treats that look far more expensive than they actually cost. Additionally, one batch feeds a crowd, making them perfect for school parties or neighborhood gatherings.
Lightning-Fast Assembly: From start to finish, these treats take less than 30 minutes to complete, with most of that time being hands-off cooling. Furthermore, there’s no baking involved, which means no risk of burnt edges or undercooked centers.
Customizable Character Creation: Each bar can have its own unique personality through different eye placements and facial expressions. This creative flexibility keeps kids entertained long after the mixing is complete, turning decoration time into an imaginative storytelling session.
Essential Ingredients & Serving Details
Serves: 10-12 people (makes 12 large rectangular bars)
Monster Base Components:
- 6 cups Rice Krispies cereal (name brand works best for crispness)
- 4 cups fresh mini marshmallows (avoid stale ones)
- 3 tablespoons unsalted butter
- Green gel food coloring (more vibrant than liquid)
Frankenstein Face Features:
- 24 large candy eyes (or mini chocolate chips as backup)
- 1 tube black decorating frosting with writing tip
- Black nonpareil sprinkles for hair texture
- Mini chocolate chips for additional facial details
Fun Serving Accompaniments:
- Vanilla milk in spooky cups
- Hot chocolate with monster-themed marshmallows
- Apple slices for a healthy contrast
- Halloween-themed napkins and plates
Step-by-Step Monster Creation Instructions
Setting Up Your Mad Scientist Laboratory
- Preparation Phase: Grease a 9×13-inch baking dish thoroughly with butter or cooking spray, paying special attention to corners where mixture tends to stick. Line with parchment paper for easier removal if desired.
- Ingredient Assembly: Measure all ingredients before starting, as the process moves quickly once marshmallows begin melting. Have green food coloring ready with a small spoon for easy mixing.
Creating the Perfect Monster Base
- Butter Melting Magic: In a large, heavy-bottomed saucepan, melt butter over low heat, swirling occasionally to prevent burning. Low heat is crucial—rushing this step can lead to burnt butter that affects the final taste.
- Marshmallow Transformation: Add mini marshmallows to melted butter, stirring constantly with a wooden spoon or silicone spatula. Continue stirring for 3-4 minutes until completely smooth and no marshmallow lumps remain.
- Color Creation: Remove pan from heat immediately once marshmallows are melted. Add green food coloring gradually, starting with just a few drops and stirring well between additions. Remember, you can always add more color but can’t take it away.
The Great Monster Assembly
- Cereal Integration: Pour Rice Krispies cereal into the green marshmallow mixture all at once. Using a large spatula or wooden spoon, fold gently but thoroughly until every piece of cereal is evenly coated with the green mixture.
- Pressing Technique: Transfer mixture to prepared baking dish. Using buttered hands or wax paper, press mixture evenly into the pan. Avoid over-pressing, which creates dense, tough bars instead of light, crispy ones.
- Cooling Patience: Allow bars to cool completely at room temperature for at least 30 minutes. This ensures clean cuts and proper setting before decoration begins.
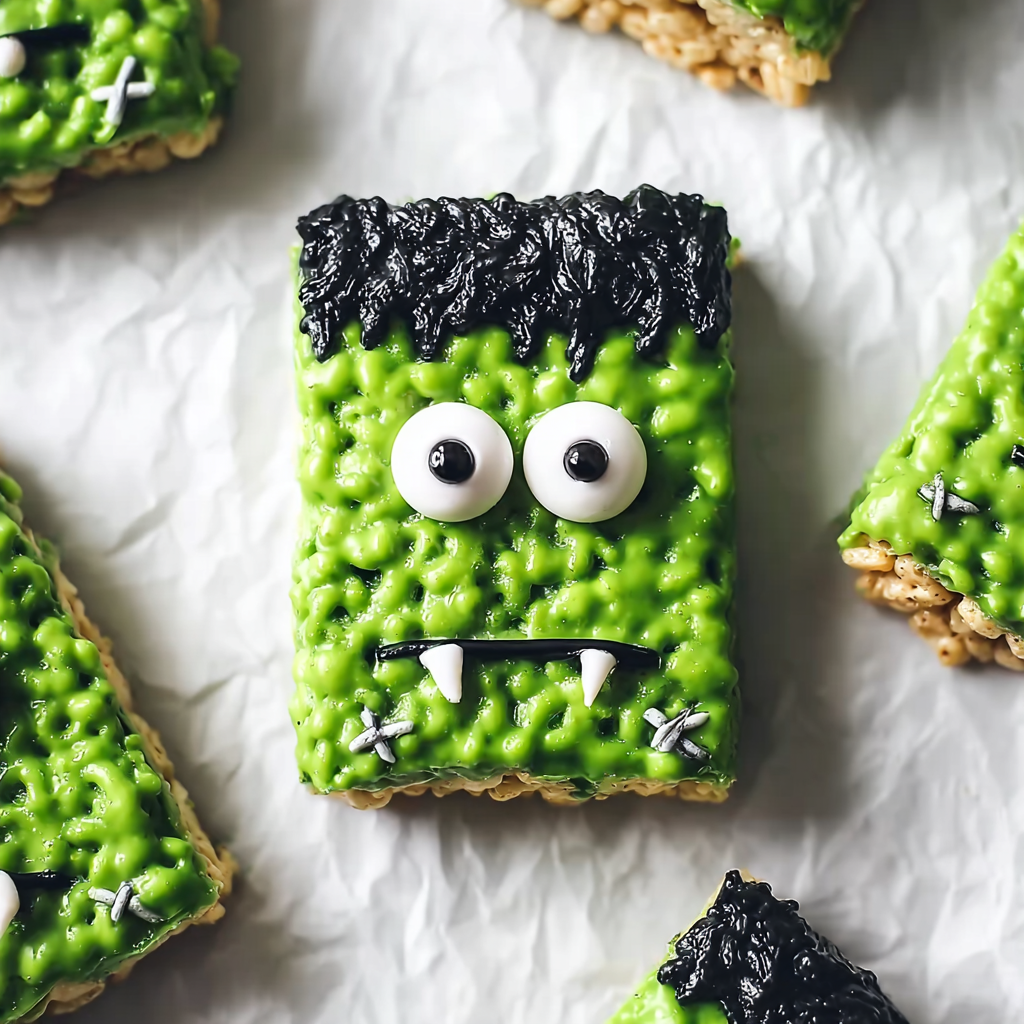
Bringing Frankenstein to Life
- Strategic Cutting: Using a sharp knife lightly greased with butter, cut cooled mixture into 12 rectangular bars. Clean knife between cuts for neat edges that showcase your monster faces better.
- Eye Placement Artistry: Press two candy eyes into the upper portion of each bar, leaving space above for hair and below for mouth features. Varying the spacing creates different personality expressions.
- Hair and Facial Features: Use black decorating frosting to pipe jagged hair across the top of each bar. Add a small curved line for the mouth, and don’t forget the classic Frankenstein neck bolts using small dots on either side.
- Final Details: Sprinkle black nonpareils over the frosted hair area for texture. Allow frosting to set for 10-15 minutes before serving to prevent smudging.
Creative Presentation and Serving Ideas
Transform your kitchen counter into Dr. Frankenstein’s laboratory by arranging these treats on metal trays surrounded by beakers filled with colored water and battery-operated LED lights for an eerie glow. The scientific theme enhances the monster creation story while providing an interactive backdrop for photos.
For school parties, package individual bars in clear cellophane bags with “Monster Lab” labels and warning tags like “Handle with Care – Contents May Be Alive!” This presentation builds anticipation and makes each child feel like they’re receiving a special scientific specimen.
Create a monster family display by varying the sizes—cut some bars smaller for “baby monsters” and leave others larger for “adult monsters.” This size variation adds visual interest and accommodates different appetite sizes at your gathering.
Frightfully Fun Recipe Variations
Purple Monster Bars
Replace green coloring with purple food coloring and use yellow candy eyes to create a different monster character. This variation allows you to make multiple monster types for larger gatherings.
Chocolate Monster Madness
Add ¼ cup cocoa powder to the melted marshmallow mixture for chocolate-flavored monsters. The darker base makes the green food coloring appear more vibrant and mysterious.
Healthy Monster Makeover
Substitute half the Rice Krispies with puffed quinoa or brown rice cereal for added nutrition. The texture remains similar while boosting the protein and fiber content.
Gluten-Free Green Monsters
Use certified gluten-free rice cereal to accommodate dietary restrictions. Ensure all decorating supplies are also gluten-free by checking ingredient labels carefully.
Mini Monster Bites
Press mixture into mini muffin tins for individual portion-controlled treats. Reduce decoration to just candy eyes and a small frosting smile for simplified assembly.
Strategic Make-Ahead Planning
Up to Three Days Before: Prepare and cut bars, storing them in airtight containers at room temperature. Wait to add decorations until serving day to prevent frosting from becoming stale or colors from bleeding.
Day Before Party: Complete all decorating and store finished bars in single layers between parchment paper. Cover containers loosely to prevent moisture buildup that can soften the bars.
Same Day Assembly: If making day-of, prepare bars in the morning and decorate in the afternoon once they’re completely set. This timing ensures optimal texture and appearance for evening parties.
Transportation Tips: Use divided containers or egg cartons to prevent bars from sliding and decorations from smudging during transport to parties or events.
Important Notes (Notas)
Marshmallow Freshness: Always use fresh marshmallows for best results. Stale marshmallows don’t melt smoothly and can create lumpy, difficult-to-spread mixtures that result in tough final bars.
Food Coloring Selection: Gel food coloring produces more vibrant colors than liquid versions and won’t thin the marshmallow mixture. Start with small amounts—food coloring is concentrated and a little goes a very long way.
Temperature Control: Keep heat low throughout the melting process. High heat can cause marshmallows to become stringy or burnt, creating an unpleasant texture and bitter flavor.
Storage Considerations: Store finished bars at room temperature in airtight containers. Refrigeration can make Rice Krispie bars hard and chewy rather than crispy and light.
Frequently Asked Questions
Why are my Rice Krispie bars turning out hard and chewy? This usually happens from over-pressing the mixture into the pan or cooking the marshmallows at too high heat. Use gentle pressure when pressing and keep heat low during melting for optimal texture.
Can I use regular marshmallows instead of mini ones? Yes, but cut them into smaller pieces first for more even melting. Large marshmallows take longer to melt completely and can create lumpy spots in your finished bars.
How do I prevent the mixture from sticking to my hands while pressing? Butter your hands lightly or use a piece of wax paper or parchment to press the mixture down. This prevents sticking while still allowing you to apply even pressure.
What if my green color isn’t bright enough? Add more gel food coloring gradually until you achieve the desired shade. Remember that colors often appear more vibrant once the mixture cools completely.
Can I make these ahead for a large event? Absolutely! Undecorated bars stay fresh for up to a week when stored properly. Add decorations 1-2 days before serving for best appearance and texture.
How do I cut clean, even rectangles? Use a sharp knife lightly greased with butter, and wipe it clean between cuts. Marking cutting lines with a knife tip before making full cuts helps ensure even portions.
What should I do if my bars are too soft to cut cleanly? Let them cool longer at room temperature, or place the pan in the refrigerator for 15-20 minutes to firm up before cutting. Just remember to return them to room temperature before serving for best texture.


