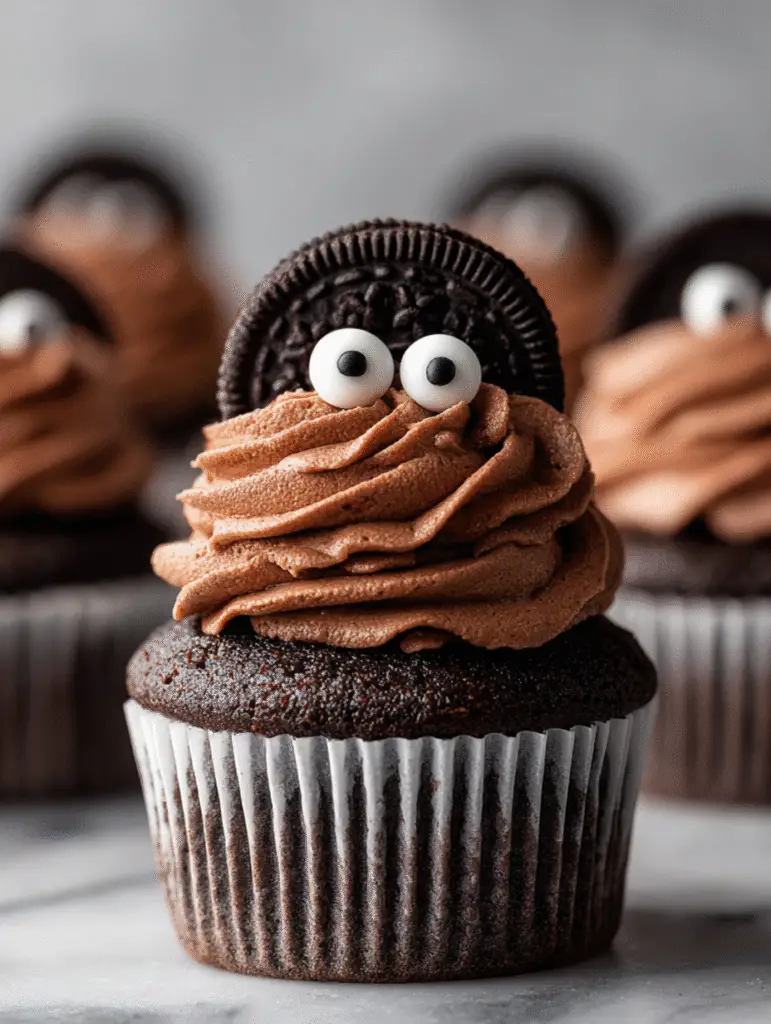
Six Halloween seasons ago, my ten-year-old son came home from a friend’s party absolutely raving about “the coolest bat cupcakes ever” that had completely stolen the show from all the other desserts. His detailed description of chocolate sandwich cookies transformed into bat wings sparked an immediate challenge in my mind—could I recreate these magical treats and maybe even improve upon them? That weekend, we embarked on our first bat cupcake experiment, and I’ll never forget his delighted shriek when we positioned the first cookie and suddenly had a perfect little bat staring back at us.
What began as a simple attempt to replicate a party treat has evolved into one of our most beloved Halloween traditions. These charming cupcakes strike the perfect balance between spooky and sweet, creating treats that are frightening enough to fit the Halloween theme but adorable enough to make everyone smile. The genius lies in their simplicity—with just a few readily available ingredients, ordinary cupcakes transform into a colony of irresistible chocolate bats.
Why These Nocturnal Sweets Will Have You Going Batty
Ingenious Design Simplicity: The brilliant use of chocolate sandwich cookies as bat wings transforms basic cupcakes into impressive themed treats without requiring advanced decorating skills. Moreover, the familiar cookie shape naturally suggests bat wings, making the transformation feel almost magical.
Kid-Friendly Assembly Process: Children absolutely love the moment when they place the cookie and watch their cupcake come to life as a bat. Furthermore, the simple assembly steps allow young helpers to contribute meaningfully without creating kitchen chaos or requiring constant supervision.
Flexible Personality Creation: Each bat develops its own unique character based on cookie positioning and eye placement, creating an entire colony of individuals rather than identical copies. This variation keeps the decorating process entertaining and prevents monotony during large batch preparation.
Budget-Conscious Brilliance: Using affordable pantry staples and common grocery store items, these cupcakes deliver maximum visual impact without straining your Halloween party budget. Additionally, one batch easily serves a crowd, making them ideal for school parties or neighborhood gatherings.
Essential Ingredients & Serving Information
Serves: 10-12 people (makes 12 standard cupcakes)
Cupcake Foundation:
- 1 box premium chocolate cake mix (18.25 oz)
- Ingredients specified on cake mix box (typically eggs, oil, and water)
- 12 standard cupcake liners in black or orange for Halloween theme
Bat Body and Wing Construction:
- 2 cups rich chocolate frosting (store-bought or homemade)
- 12 chocolate sandwich cookies (regular or mini size)
- 24 small candy eyes or mini chocolate chips for eyes
- Optional: black gel food coloring to deepen frosting color
Assembly Enhancement Tools:
- Small offset spatula for smooth frosting application
- Kitchen shears for precise cookie cutting if needed
- Tweezers for precise eye placement (optional but helpful)
Perfect Serving Companions:
- Cold chocolate milk in spooky glasses
- Hot apple cider with cinnamon sticks
- Vanilla ice cream for temperature contrast
- Halloween-themed punch or orange soda
Detailed Step-by-Step Bat Creation
Preparing Your Bat Cave (Kitchen Setup)
- Oven Preparation: Preheat oven according to cake mix package directions, typically 350°F (175°C). Proper preheating ensures even rising and prevents sunken cupcake centers that make frosting difficult.
- Cupcake Liner Placement: Line a standard 12-cup muffin tin with Halloween-themed cupcake liners. Choose colors that complement your planned decoration scheme—black creates dramatic contrast with chocolate frosting.
Creating Perfect Cupcake Bodies
- Batter Preparation: Follow cake mix instructions precisely, combining ingredients until just smooth. Overmixing can create tough, dense cupcakes rather than the light, fluffy texture that serves as the ideal bat body foundation.
- Even Distribution: Divide batter evenly among cupcake liners, filling each about ⅔ full. This prevents overflow while ensuring properly domed tops that provide adequate surface area for decoration.
- Optimal Baking: Bake according to package directions until a toothpick inserted in the center comes out clean or with just a few moist crumbs. Avoid overbaking, which creates dry cupcakes that absorb frosting instead of supporting it.
Cooling and Preparation Phase
- Proper Cooling Technique: Allow cupcakes to cool in the pan for 5 minutes, then transfer to wire racks for complete cooling. Completely cool cupcakes are essential—even slightly warm ones will melt frosting instantly.
- Cookie Preparation: While cupcakes cool, separate chocolate sandwich cookies carefully if using them whole, or break them in half cleanly for smaller bat wings. Save the cream centers for snacking or other uses.
Frosting Application Mastery
- Frosting Consistency Check: Ensure frosting is at room temperature for easy spreading. Cold frosting tears cupcake surfaces, while overly warm frosting won’t hold its shape or support cookie wings.
- Professional Frosting Technique: Using an offset spatula or knife, apply a generous, even layer of chocolate frosting to each cooled cupcake. Create a slightly domed surface that will cradle the cookie wing naturally.
Bat Wing and Feature Assembly
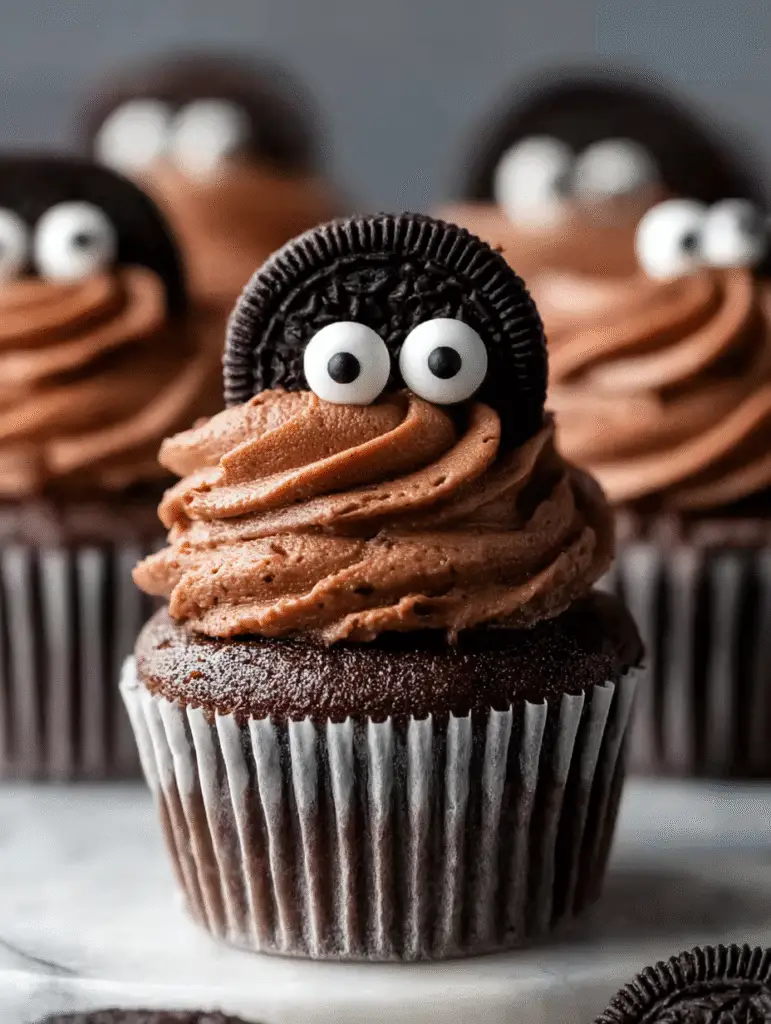
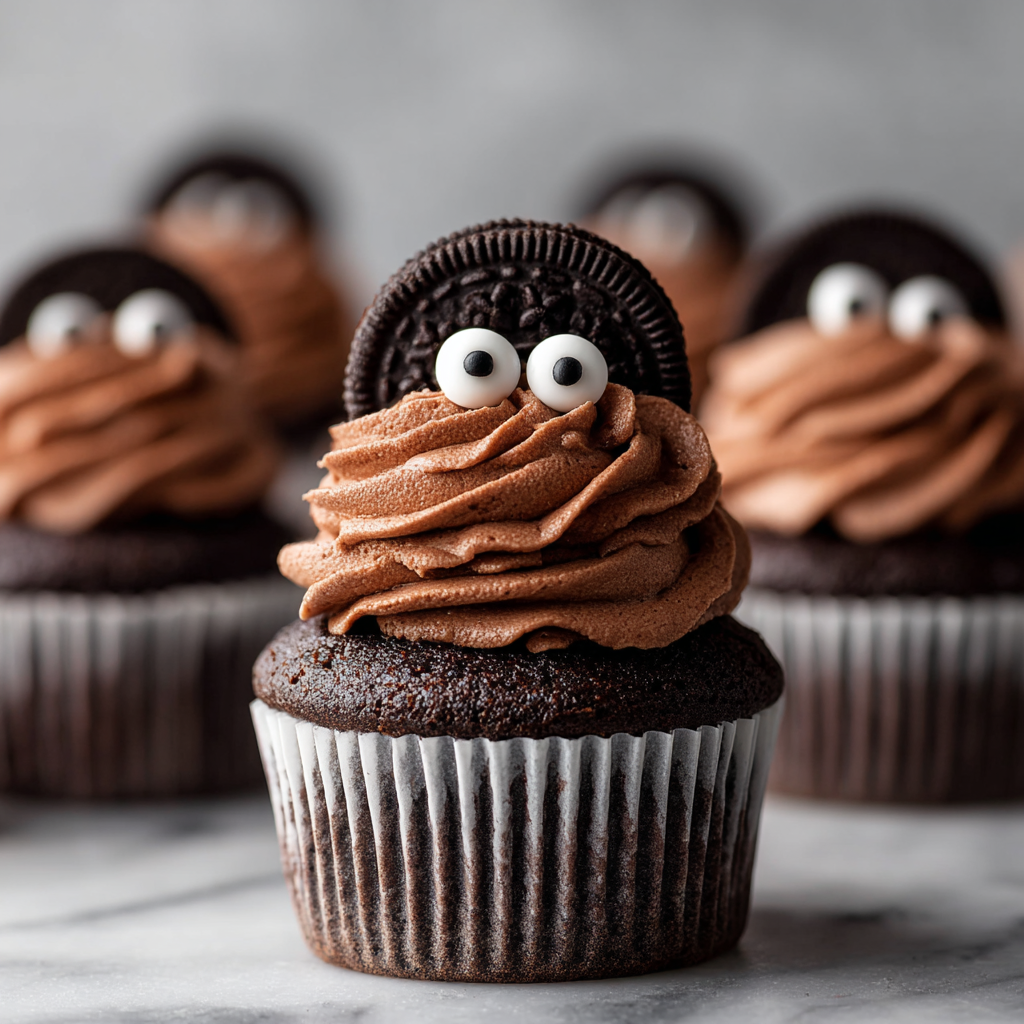
- Wing Placement Strategy: Press one chocolate cookie gently into the center-back of each frosted cupcake, positioning it vertically to resemble spread bat wings. The cookie should stand upright without toppling forward or backward.
- Eye Positioning Magic: Place two candy eyes on the frosting in front of the cookie wing, spacing them appropriately for the cupcake size. Use a tiny dab of frosting as “glue” if eyes don’t adhere naturally to the frosted surface.
- Final Character Touches: Step back and assess each bat’s personality—adjust eye positions or cookie angles to create variety within your bat colony. Some can look surprised, others mischievous, and a few downright adorable.

Creative Presentation and Serving Ideas
Transform your serving area into a spooky bat cave by arranging cupcakes on dark wooden boards or black cake stands at varying heights. Drape black fabric or cheesecloth around the display area, and add battery-operated purple or orange LED lights for an otherworldly glow that makes your bat colony appear to be emerging from the shadows.
For children’s parties, create individual “bat houses” using small cardboard boxes painted black with entrance holes cut in the front. Place each cupcake inside its own house, creating an interactive element where kids must “discover” their bat treats hidden in their cozy homes.
Consider arranging them in flight formation across your party table, using thin black wires or toothpicks to create the illusion of bats swooping through the air. This dynamic presentation adds movement and drama to what might otherwise be a static dessert display.
Wickedly Creative Variations
Golden Oreo Fruit Bat Cupcakes
Use vanilla cupcakes and golden sandwich cookies to create “fruit bat” versions with a lighter, more whimsical appearance. The contrast between light and dark creates visual interest when displayed together.
Double-Stuffed Mega Bats
Use double-stuffed chocolate cookies for larger, more dramatic wings that create impressive supersized bats. Increase cupcake size proportionally using jumbo muffin tins for proper balance.
Gluten-Free Nocturnal Treats
Substitute gluten-free chocolate cake mix and ensure your chocolate sandwich cookies are also gluten-free certified. The assembly process remains identical while accommodating dietary restrictions.
Peanut Butter Bat Hybrid
Use chocolate cupcakes with peanut butter frosting and chocolate cookies for an irresistible flavor combination. The lighter frosting color creates interesting contrast with the dark chocolate elements.
Mini Bat Colony
Create bite-sized versions using mini cupcake tins and mini chocolate sandwich cookies. These adorable tiny bats are perfect for large parties where guests want to sample multiple treats.
Strategic Make-Ahead Planning
Up to Three Days Before: Bake cupcakes completely and store in airtight containers at room temperature. Unfrosted cupcakes actually improve in texture over 24 hours as moisture redistributes evenly throughout.
Two Days Ahead: Frost cupcakes and store covered in the refrigerator, but wait to add cookie wings until serving day to prevent softening. Bring to room temperature 30 minutes before final decoration.
Day Before Party: Complete entire assembly process and store finished bat cupcakes in single layers in covered containers. The cookies maintain their crispness when properly stored, and flavors meld beautifully overnight.
Transportation Tips: Use cupcake carriers with adequate height clearance to protect cookie wings during transport. If carriers aren’t tall enough, transport components separately and assemble on-site for guaranteed perfect presentation.
Important Notes (Notas)
Cookie Selection Matters: Choose chocolate sandwich cookies with distinct, crisp textures that will maintain their shape when inserted into frosting. Avoid soft or stale cookies that may break during assembly.
Frosting Temperature Control: Room temperature frosting spreads smoothly and holds its shape while supporting cookie decorations. Overly warm frosting won’t provide adequate structure for the wings to stand upright.
Eye Placement Precision: Position candy eyes while frosting is still soft enough to hold them securely. If frosting has set too much, use a tiny dab of additional frosting as adhesive.
Storage Humidity Considerations: Store finished cupcakes in low-humidity environments to prevent cookie wings from becoming soft and losing their crispy texture that provides visual and textural contrast.

Frequently Asked Questions
Can I use homemade cupcakes instead of cake mix? Absolutely! Any chocolate cupcake recipe works beautifully. Just ensure they have nicely domed tops for adequate decorating surface and that they’re completely cooled before frosting.
What if my cookie wings keep falling over? This usually indicates the frosting is too soft or warm. Chill frosted cupcakes for 15-20 minutes to firm the frosting, then insert cookies. Press them in gently but firmly for secure positioning.
Can I make these without candy eyes? Yes! Mini chocolate chips, white chocolate chips with tiny black gel dots, or even small pieces of white chocolate work perfectly as eye alternatives. Get creative with your available supplies.
How do I prevent the cookies from getting soggy? Insert cookies just before serving when possible, and store finished cupcakes in airtight containers to prevent humidity from softening the cookies. Crispy cookies are essential for both texture and appearance.
What’s the best way to cut sandwich cookies cleanly? Use a sharp serrated knife and cut with a gentle sawing motion rather than pressing down hard. Alternatively, carefully twist apart and use cookie halves as wings for a different wing shape.
Can I freeze these decorated cupcakes? While you can freeze the cupcakes themselves, avoid freezing with cookie decorations attached. Freeze plain cupcakes for up to 3 months, then thaw and decorate fresh for best results.
Why do some of my bats look lopsided? Uneven frosting application or inconsistent cookie insertion angles cause lopsided appearances. Take time to create level frosting surfaces and insert cookies straight up rather than at angles for balanced-looking bats.


