Three years ago, while hosting our annual Halloween dinner party, I desperately wanted to serve something that honored traditional autumn flavors while still embracing the spooky spirit of the season. After hours of browsing Pinterest for inspiration, I stumbled across the concept of “poison apple pie” and immediately knew I’d found my answer. The idea of transforming America’s most beloved dessert into something darkly enchanting felt both rebellious and brilliant—like giving Snow White’s infamous apple a delicious redemption story.
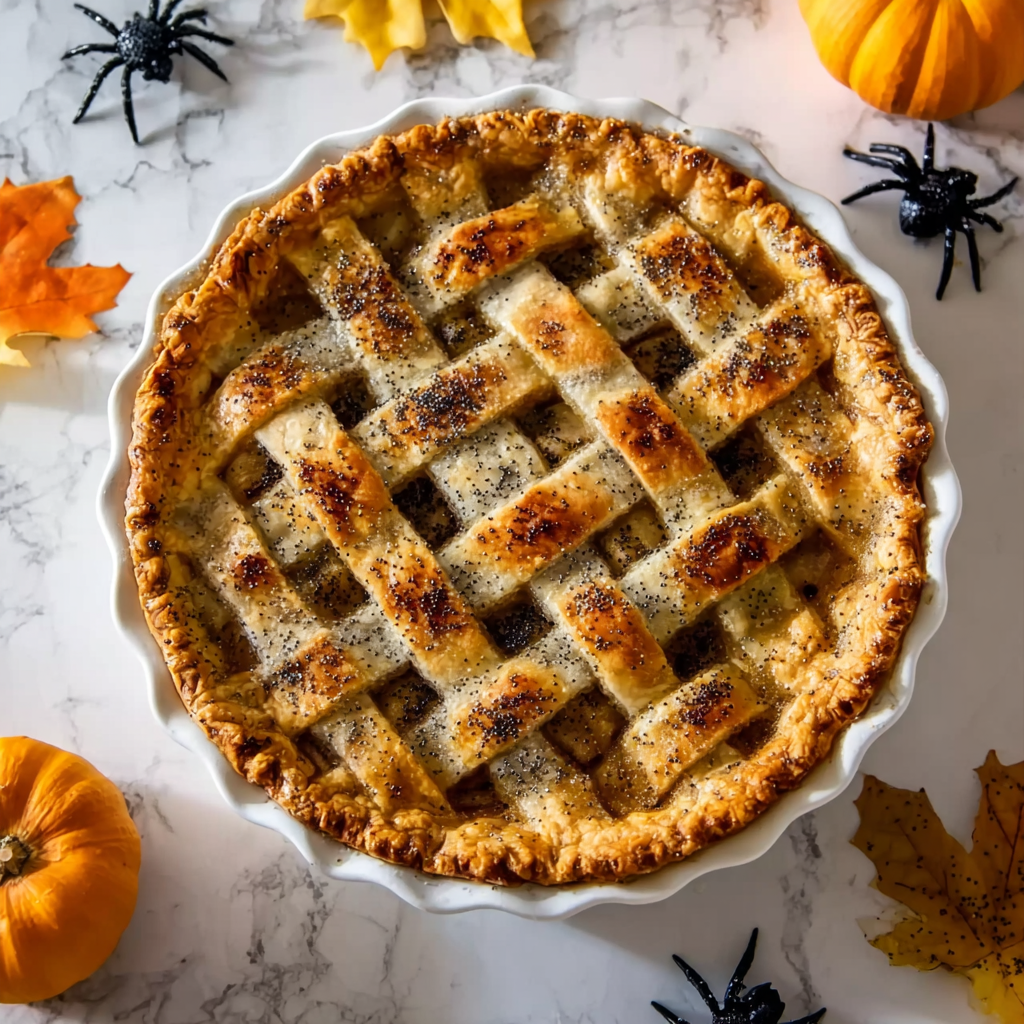
The first time I pulled that ominously beautiful pie from the oven, with its golden lattice crust dusted with mysterious black sugar crystals, the entire kitchen fell silent. My guests couldn’t decide whether to be impressed or slightly terrified, which was exactly the reaction I’d hoped for. Since then, this dramatic dessert has become the crown jewel of our Halloween celebrations, proving that sometimes the most memorable treats come from daring to make the familiar feel deliciously dangerous.
Why This Sinister Dessert Will Cast a Spell on Your Guests
Dramatic Visual Impact: The contrast between golden, flaky crust and mysterious black sugar creates an immediately striking presentation that photographs beautifully and sparks conversation. Moreover, the lattice pattern allows glimpses of the bubbling apple filling beneath, adding to the mystique.
Familiar Comfort with Spooky Flair: This pie delivers all the comforting flavors of traditional apple pie while providing the Halloween excitement your guests crave. Furthermore, the familiar taste reassures even hesitant eaters while the dramatic appearance satisfies your seasonal decorating goals.
Sophisticated Halloween Appeal: Unlike typical Halloween treats aimed primarily at children, this dessert appeals equally to adults who appreciate both culinary craftsmanship and seasonal theming. Additionally, it serves as an elegant centerpiece worthy of formal Halloween entertaining.
Customizable Darkness Level: The amount of black sugar can be adjusted to create anything from subtly mysterious to dramatically gothic, allowing you to match your pie’s intensity to your party’s overall aesthetic and guest preferences.
Essential Ingredients & Serving Information
Serves: 10-12 people (makes one 9-inch pie)
Pie Foundation Components:
- 1 package refrigerated pie crusts (2 crusts included)
- 6 cups mixed apples, peeled and sliced (Granny Smith and Honeycrisp combination recommended)
- ½ cup granulated sugar
- ¼ cup packed light brown sugar
- 1 teaspoon ground cinnamon
- ¼ teaspoon ground nutmeg
- 1 tablespoon fresh lemon juice
- 1 tablespoon cornstarch
Sinister Finishing Touches:
- ¼ cup black sanding sugar or black sugar crystals
- 1 egg, beaten (for golden crust wash)
- 2 tablespoons coarse black sugar for extra drama
- Optional: edible black glitter for ultimate spookiness
Perfect Serving Companions:
- Vanilla ice cream with a drizzle of caramel
- Whipped cream tinted with black food coloring
- Hot spiced cider with cinnamon sticks
- Strong black coffee or spiced tea
Comprehensive Step-by-Step Enchantment Process
Preparing Your Witches’ Kitchen
- Oven Preparation: Preheat oven to 375°F (190°C) and position rack in lower third for optimal bottom crust browning. This temperature ensures proper crust cooking without burning the delicate lattice work.
- Apple Selection and Preparation: Choose a mix of tart and sweet apples for complex flavor depth. Peel and slice into uniform ¼-inch pieces for even cooking, keeping slices in lemon water to prevent browning while working.
Creating the Perfect Spiced Apple Mixture
- Spice Blend Mastery: In a large mixing bowl, whisk together both sugars, cinnamon, nutmeg, and cornstarch until evenly distributed. This prevents clumping and ensures every apple slice receives proper seasoning.
- Apple Integration: Add sliced apples and lemon juice to the spice mixture, tossing gently but thoroughly until every piece is well-coated. Let stand for 10 minutes to allow flavors to meld and juices to develop.
Crust Assembly Excellence
- Bottom Crust Placement: Carefully unroll one pie crust and press into a 9-inch pie dish, ensuring no air bubbles remain trapped beneath. Trim excess dough, leaving a 1-inch overhang for proper sealing.
- Filling Distribution: Pour the seasoned apple mixture into the prepared crust, mounding slightly in the center to account for settling during baking. Distribute evenly for consistent cooking.
Lattice Artistry Creation
- Strip Cutting Technique: Roll out the second crust and cut into 10-12 strips of varying widths (½ to ¾ inch) using a sharp knife or pastry wheel. Keep strips covered with damp paper towel to prevent drying.
- Lattice Weaving Method: Create an over-under pattern by laying half the strips vertically across the pie, then weaving horizontal strips through them. Start from the center and work outward for symmetrical results.
- Professional Finishing: Trim lattice strips to match bottom crust overhang, then fold bottom crust over lattice ends and crimp decoratively to seal. This prevents juice leakage during baking.
Applying the Sinister Transformation
- Egg Wash Application: Brush entire crust surface with beaten egg for golden browning, being careful not to let excess pool in the lattice openings where it might burn.
- Black Sugar Enchantment: Generously sprinkle black sanding sugar over the entire pie surface, concentrating on the lattice strips where it will be most visible. Press gently to ensure adherence.
- Final Dramatic Touches: Add coarse black sugar crystals and edible glitter sparingly for maximum visual impact without overwhelming the overall design.
Baking to Perfection
- Initial Baking Phase: Bake for 25 minutes, then reduce temperature to 350°F (175°C) and continue baking for 20-25 minutes until crust is golden brown and filling bubbles actively through lattice openings.
- Proper Cooling Process: Cool completely on a wire rack for at least 3 hours before cutting. This allows the filling to set properly and prevents a messy, runny slice presentation.
Dramatic Presentation and Serving Ideas
Transform your dessert service into a magical ritual by presenting the pie on an antique pewter or black ceramic stand surrounded by flickering black candles and dried autumn leaves. The dim lighting enhances the mysterious black sugar while creating an appropriately gothic atmosphere for your Halloween feast.
For theatrical flair, serve each slice with a small card containing “poison apple pie ingredients” written in elegant calligraphy, listing mysterious components like “essence of midnight,” “crystallized moonbeams,” and “enchanted orchard secrets” alongside the real ingredients. This storytelling element engages guests’ imagination while building anticipation.
Consider garnishing individual plates with a single red apple slice drizzled with black chocolate sauce to reinforce the poison apple theme while providing a colorful contrast to the darkly dramatic pie.
Wickedly Delicious Variations
Caramel Poison Apple Delight
Layer salted caramel sauce between the apple filling and lattice crust for an indulgent surprise that oozes out when sliced. The golden caramel creates beautiful contrast against the black sugar topping.
Spiced Rum Poison Apple
Add 2 tablespoons of dark rum to the apple mixture for an adult-oriented version with complex flavor depth. The alcohol cooks off, leaving behind rich, warming notes perfect for sophisticated Halloween entertaining.
Individual Poison Apple Tarts
Create mini versions using muffin tins and small pie crust rounds for elegant individual servings. Reduce baking time to 20-25 minutes and create simple lattice crosses instead of full weaving.
Gluten-Free Dark Magic Pie
Substitute gluten-free pie crusts without changing any other ingredients. The black sugar disguises any textural differences while maintaining the dramatic visual impact.
Double-Crust Poison Apple
Skip the lattice and create a traditional double-crust pie with black sugar sprinkled over decorative vents cut into the top crust. This simpler approach still achieves the sinister aesthetic with less technical skill required.
Strategic Make-Ahead Planning
Two Days Before: Prepare apple filling mixture and refrigerate in covered bowl. The flavors actually improve over time, and pre-mixing prevents last-minute rushing during assembly.
Day Before Serving: Assemble entire pie and refrigerate unbaked. Cover loosely with plastic wrap, being careful not to disturb the black sugar topping. Bake fresh on serving day for optimal crust texture.
Morning of Party: Bake pie completely and cool at room temperature. The pie actually tastes better after resting several hours, allowing flavors to meld and filling to achieve perfect consistency.
Storage Strategy: Store baked pie covered at room temperature for up to 2 days, or refrigerate for up to 5 days. Bring refrigerated pie to room temperature before serving for best flavor and texture.
Important Notes (Notas)
Apple Variety Selection: Use a combination of tart and sweet apples for optimal flavor complexity. Granny Smith provides tartness while Honeycrisp adds sweetness and maintains texture during baking.
Black Sugar Quality: Invest in high-quality black sanding sugar or sugar crystals for the most dramatic visual impact. Cheap alternatives may fade or dissolve during baking, reducing the sinister effect.
Lattice Technique Tips: Keep pie crust cold while working for easier handling and cleaner cuts. If crust becomes too soft, refrigerate for 15 minutes before continuing with lattice creation.
Preventing Soggy Bottom: Bake in the lower third of the oven and consider using a pizza stone or preheated baking sheet underneath for extra bottom heat that ensures crispy crust.
Frequently Asked Questions
Where can I find black sugar for this recipe? Black sanding sugar is available at most craft stores in the cake decorating section, online retailers, or specialty baking supply stores. You can also make your own by mixing regular sugar with black gel food coloring.
Can I use homemade pie crust instead of refrigerated? Absolutely! Homemade crust often produces superior results. Just ensure you have enough dough for both bottom crust and lattice strips—you’ll need dough for two full crusts.
Why is my lattice crust shrinking during baking? Crust shrinkage usually occurs when the dough is overworked or too warm. Keep pie crust cold, handle minimally, and consider chilling the assembled pie for 30 minutes before baking.
How do I prevent my apple filling from being too watery? The cornstarch helps thicken juices, but also ensure apples aren’t overly ripe and watery. Additionally, letting the spiced apples sit for 10 minutes before filling allows excess moisture to drain off.
Can I make this pie without the lattice for easier assembly? Yes! Create a traditional double-crust pie with decorative vents, or make a crumb topping mixed with black sugar. The sinister appearance comes primarily from the black sugar, not the lattice pattern.
What if my black sugar burns during baking? If the sugar appears to be browning too quickly, tent the pie loosely with aluminum foil for the remaining baking time. High-quality black sugar should withstand normal baking temperatures without burning.
How do I achieve clean, professional-looking pie slices? Use a sharp knife wiped clean between cuts, and ensure the pie has cooled completely so the filling has set properly. Warm pie will produce messy, runny slices regardless of cutting technique.


