The first time I tasted Biscoff cookie butter, my world changed. That creamy, caramelized spread with its distinctive spiced flavor became an instant obsession. Naturally, I wondered: what if I could turn that magical spread into actual cookies? After several kitchen experiments and happy taste-testing sessions, these cookie butter cookies were born—and they’ve become the most requested treat in my household.
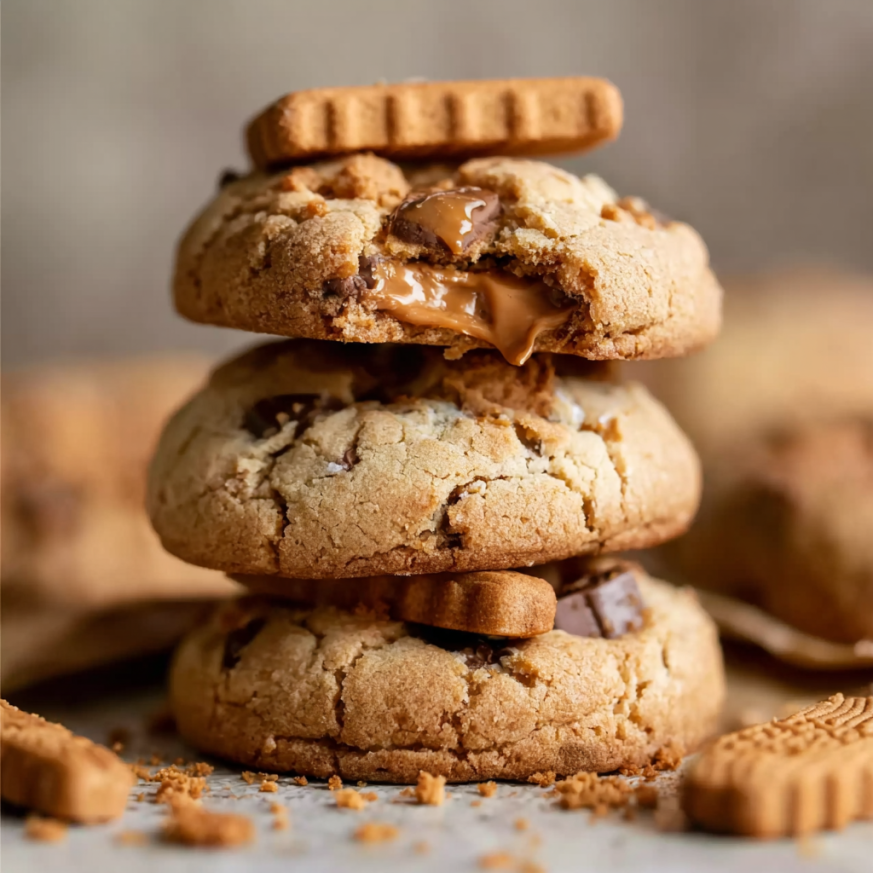
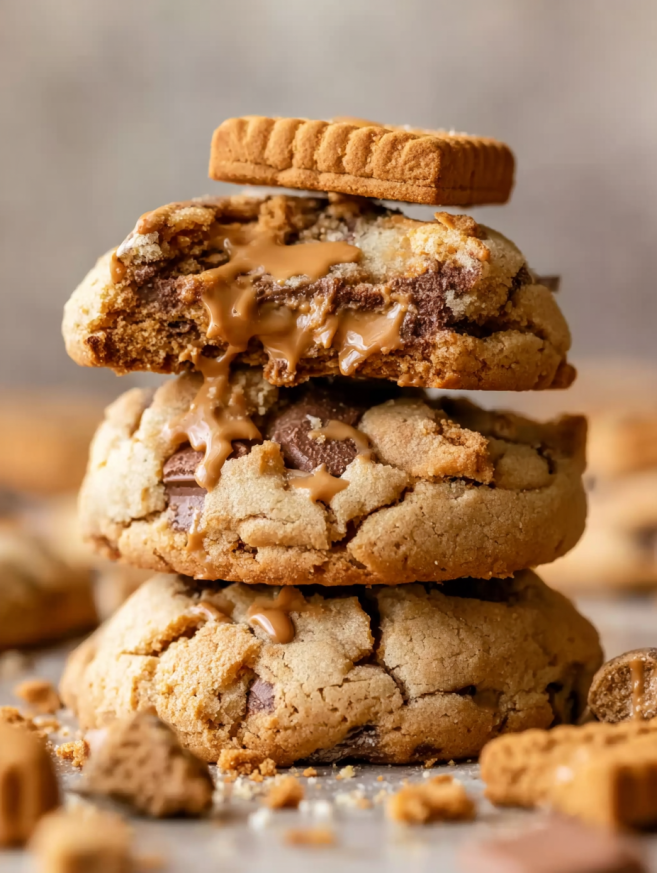
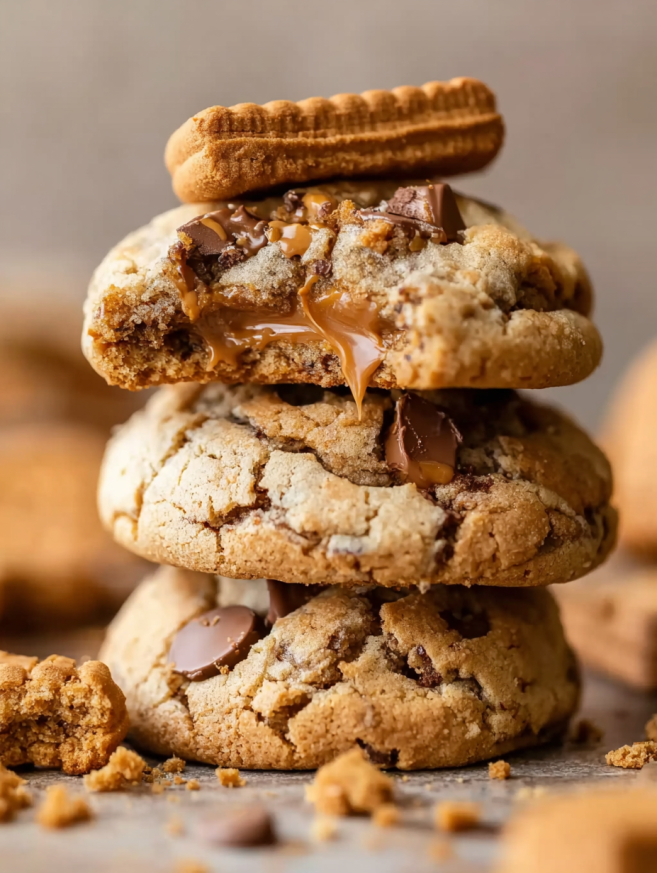
These aren’t your average cookies. They’re massive, bakery-style rounds loaded with chocolate chips and crushed Biscoff cookies, creating layers of texture and flavor in every bite. The cookie butter works double duty here, both in the dough and as an optional drizzle on top. The result is an incredibly soft, almost gooey center with slightly crisp edges that stay tender for days. If you’re a cookie butter fanatic like me, prepare yourself for your new favorite cookie.
Why You’ll Love This Recipe
Bakery-style giant cookies at home. These oversized beauties rival anything you’d find at trendy cookie shops, but you can make them in your own kitchen. They’re thick, substantial, and utterly impressive when served warm with a glass of cold milk.
Irresistibly soft and chewy texture. The combination of all-purpose flour, cake flour, and cornstarch creates the most incredible tender crumb. Meanwhile, the cookie butter adds moisture that keeps these cookies soft for days without turning cakey or dry.
Triple cookie butter experience. Cookie butter in the dough provides that signature caramelized flavor throughout. Crushed Biscoff cookies add textured pockets of spice and crunch. Finally, an optional drizzle on top delivers one more hit of that beloved taste.
That signature rustic appearance. Using the split-and-reassemble technique (popularized by trendy cookie shops) gives these cookies that gorgeous, craggy top that looks professionally made. It’s easier than it sounds and makes your cookies Instagram-worthy.
Perfect for gifting or sharing. These substantial cookies make thoughtful gifts when wrapped individually in cellophane. They also freeze beautifully, so you can bake ahead and have impressive treats ready whenever you need them.
Ingredients You’ll Need
Dry Ingredients
- 1 ½ cups all-purpose flour – Provides structure
- ¾ cup cake flour – Creates that tender, soft texture
- 2 tsp cornstarch – Adds extra softness
- ½ tsp baking soda – Helps with spread and browning
- ½ tsp baking powder – Creates lift and thickness
- ½ tsp salt – Balances the sweetness
Wet Ingredients
- ½ cup unsalted butter, cold and cubed – Must be cold for proper texture
- ½ cup creamy cookie butter – Use Lotus Biscoff brand for best results
- ¾ cup brown sugar, packed – Adds moisture and molasses notes
- ¼ cup granulated sugar – Balances the sweetness
- 1 large egg – Binds everything together
- 1 large egg yolk – Extra richness and soft texture
- 1 Tbsp cookie butter emulsion – Intensifies the flavor (or use vanilla extract)
- 1 tsp vanilla extract – Enhances all other flavors
Mix-Ins
- 1 ½ cups chocolate chips – Milk chocolate, semi-sweet, or dark based on preference
- 10 Biscoff cookies, crushed – Leave some chunks for texture
Optional Toppings
- Extra chocolate chips for garnishing
- Melted cookie butter for drizzling
- Additional crushed Biscoff cookies
Step-by-Step Instructions
Prepare Your Baking Setup
Begin by preheating your oven to 375°F (190°C). This higher temperature helps create those slightly crispy edges while keeping the centers gloriously soft. Line two large baking sheets with parchment paper or silicone baking mats to prevent sticking and ensure even baking.
Mix the Dry Ingredients
In a large mixing bowl, whisk together the all-purpose flour, cake flour, cornstarch, baking soda, baking powder, and salt. Whisking ensures these ingredients are evenly distributed, which is crucial for consistent cookie texture. Set this bowl aside while you prepare the wet ingredients.
The combination of different flours and cornstarch might seem unusual, but it’s the secret to achieving that perfect bakery-style texture—soft and tender without being cakey.
Cream the Butter and Sugars
Fit your stand mixer with the paddle attachment. Add the cold cubed butter, cookie butter, brown sugar, and granulated sugar to the bowl. Beat on medium speed for about 2-3 minutes until everything is well combined and slightly fluffy.
Don’t worry if the mixture doesn’t look as light and fluffy as traditional cookie dough—the cold butter and thick cookie butter create a denser mixture. This is exactly what you want for thick, substantial cookies that don’t spread too much.
Add Eggs and Flavorings
Reduce the mixer speed to low and add the whole egg and egg yolk. Then pour in the cookie butter emulsion and vanilla extract. Beat until everything is thoroughly incorporated, scraping down the sides and bottom of the bowl with a spatula as needed.
The extra egg yolk contributes to that rich, tender texture that makes these cookies so addictive. If you can’t find cookie butter emulsion, simply use an extra teaspoon of vanilla extract instead.
Incorporate Dry Ingredients and Mix-Ins
With the mixer still on low speed, gradually add the dry ingredient mixture to the wet ingredients. Mix just until you see no more flour streaks—overmixing can lead to tough cookies. Once the flour is incorporated, add the chocolate chips and crushed Biscoff cookies.
Fold everything together gently using a spatula or wooden spoon. You want those cookie pieces and chocolate chips evenly distributed throughout the dough without overworking it.
Shape Using the Split Method
Divide the dough into 8 equal portions, rolling each into a large ball (roughly the size of a tennis ball). Here comes the signature technique: take each ball and pull it apart into two halves. Then press the two halves back together with the jagged, torn sides facing upward.
This creates that gorgeous, rustic appearance with craggy peaks and valleys that catch the light beautifully when baked. The uneven surface also means some parts get slightly crispier while others stay soft.
Place the shaped cookies on your prepared baking sheets, spacing them at least 3 inches apart. These cookies spread somewhat during baking, so give them room to expand.
Bake to Golden Perfection
Slide the baking sheets into your preheated oven and bake for 10-12 minutes. You’re looking for edges and tops that appear slightly golden while the centers still look a bit underbaked. They’ll continue cooking on the hot pan after you remove them from the oven.
Don’t overbake! These cookies should look barely set when you take them out. This is the key to achieving that soft, almost gooey interior.
Shape and Garnish While Warm
Here’s a professional trick: immediately after removing the cookies from the oven, place a large circular cookie cutter or drinking glass around each cookie (without touching the edges). Gently swirl the cutter in a circular motion around the cookie. This smooths out any irregular edges and creates a perfect round shape.
While the cookies are still warm, press a few extra chocolate chips onto the tops for visual appeal. If desired, drizzle with melted cookie butter and sprinkle with crushed Biscoff cookies for an extra indulgent presentation.
Cool Properly
This is crucial: let the cookies cool on the baking sheet for a full 15 minutes. They’re extremely soft when hot and will fall apart if you try to move them too soon. After 15 minutes, carefully transfer them to a wire cooling rack to cool completely.
As they cool, the cookies will firm up just enough to handle while maintaining that tender, chewy texture inside.
Serving Suggestions
Warm with Ice Cream: Reheat a cookie in the microwave for 10-15 seconds and top with a scoop of vanilla ice cream. The contrast between warm cookie and cold ice cream is absolutely heavenly.
Cookie Sandwich: Split a cookie horizontally and fill it with cookie butter spread or vanilla buttercream for an over-the-top dessert that’s pure indulgence.
Coffee Shop Pairing: Serve alongside espresso, cappuccino, or a vanilla latte. The caramelized notes in the cookie butter complement coffee beautifully.
Gift Boxes: Wrap individual cookies in cellophane bags tied with ribbon. Stack them in a decorative box for a thoughtful homemade gift that looks professionally made.
Dessert Board Addition: Include these cookies on a dessert charcuterie board with brownies, fruit, nuts, and other treats for variety at parties.
Recipe Variations
Double Chocolate Version
Replace ½ cup of the all-purpose flour with Dutch-process cocoa powder for chocolate cookie butter cookies. Use dark chocolate chips for an intensely chocolatey experience. The result is a deeper, richer flavor profile.
White Chocolate Cranberry
Swap the regular chocolate chips for white chocolate chips and add ½ cup of dried cranberries. The tartness of the cranberries creates a lovely contrast with the sweet cookie butter.
Peanut Butter Swirl
Add ¼ cup of creamy peanut butter to the dough mixture and swirl in some peanut butter chips. The combination of cookie butter and peanut butter might sound unusual, but it’s surprisingly delicious.
Salted Caramel Addition
Fold in ½ cup of salted caramel chips along with the chocolate chips. Finish by sprinkling flaky sea salt on top of the warm cookies for a sweet-and-salty masterpiece.
Mini Cookie Version
Instead of 8 large cookies, divide the dough into 16-20 smaller portions. Reduce the baking time to 8-10 minutes. These mini versions are perfect for cookie trays or when you want portion control.
Make-Ahead Tips
Cookie dough freezes exceptionally well, making this recipe ideal for advance preparation. Shape the dough balls using the split method, then place them on a parchment-lined baking sheet and freeze until solid (about 2 hours). Transfer the frozen dough balls to a freezer-safe bag or container where they’ll keep for up to 3 months.
When you’re ready to bake, there’s no need to thaw—simply add 2-3 minutes to the baking time and bake directly from frozen. This means you can have fresh, warm cookies ready in under 15 minutes whenever a craving strikes.
Already-baked cookies also freeze beautifully. Let them cool completely, then wrap individually in plastic wrap and place in a freezer-safe container. They’ll maintain their quality for up to 2 months. Thaw at room temperature for about an hour, or warm briefly in the microwave for that just-baked taste.
For short-term storage, keep cooled cookies in an airtight container at room temperature for up to 5 days. They’ll stay remarkably soft thanks to the moisture from the cookie butter.
Notes
Cold butter is important. Unlike many cookie recipes that call for softened butter, this one works best with cold butter. It helps control spreading and creates those thick, substantial cookies. Cut it into cubes so it mixes more easily.
Don’t skip the cake flour. While you could use all all-purpose flour, the cake flour is what gives these cookies that signature tender, almost melt-in-your-mouth quality. It’s worth buying if you don’t already have it.
Cookie butter brands matter. Lotus Biscoff is the gold standard here. Other brands may have different consistency or flavor that could affect the final result. Stick with Biscoff for the best outcome.
Underbaking is your friend. These cookies continue to cook on the hot pan after leaving the oven. If they look fully baked in the oven, they’ll be overdone once cooled. Trust the process and remove them when they still look slightly underdone.
Size adjustments work easily. Want smaller or larger cookies? Simply adjust the dough portions and baking time accordingly. Smaller cookies need less time, while larger ones need a bit more.
The swirl technique isn’t mandatory. If you don’t have a round cookie cutter or glass, don’t stress. The cookies will still taste incredible even if they’re not perfectly circular. The rustic, uneven look has its own charm.
Frequently Asked Questions
Can I make these without a stand mixer?
Absolutely! You can use a hand mixer or even mix by hand with a wooden spoon. The dough is thick, so it requires some arm strength if mixing manually, but it’s definitely doable.
What if I can’t find cookie butter emulsion?
Simply use vanilla extract instead. The cookies won’t have quite as intense a cookie butter flavor, but they’ll still be delicious. You could also add an extra tablespoon of cookie butter to compensate.
Why are my cookies spreading too much?
This usually means the butter was too warm or the dough wasn’t chilled enough. If your kitchen is very warm, refrigerate the shaped dough balls for 15-20 minutes before baking to help them hold their shape.
Can I use crunchy cookie butter instead of creamy?
Yes, though the texture will be slightly different with small bits throughout. Creamy cookie butter creates a more uniform texture, but crunchy adds extra interest if you prefer it.
How do I prevent the cookies from sticking to the pan?
Always use parchment paper or silicone baking mats—they’re essential. Avoid using just butter or oil to grease the pan, as the cookies may still stick due to their soft texture.
Can I make these gluten-free?
You can substitute a 1-to-1 gluten-free flour blend for both the all-purpose and cake flour. The texture may be slightly different, but they should still turn out well. Look for blends that contain xanthan gum.
Why do I need both baking soda and baking powder?
Each leavening agent serves a different purpose. Baking soda helps with browning and spread, while baking powder provides lift and thickness. Together, they create the ideal texture for these bakery-style cookies.
Prep Time: 10 minutes
Bake Time: 10 minutes
Cooling Time: 20 minutes
Total Time: 40 minutes
Course: Dessert
Cuisine: American
Servings: 8 large cookies
Keywords: cookie butter cookies, Biscoff cookies, bakery style cookies, giant cookies, soft cookies
Nutrition (per cookie):
- Calories: 553 kcal
- Carbohydrates: 76g
- Protein: 6g
- Fat: 25g
- Saturated Fat: 13g
- Cholesterol: 83mg
- Sodium: 352mg
- Potassium: 80mg
- Fiber: 1g
- Sugar: 44g
- Vitamin A: 419 IU
- Calcium: 50mg
- Iron: 2mg


