Introduction
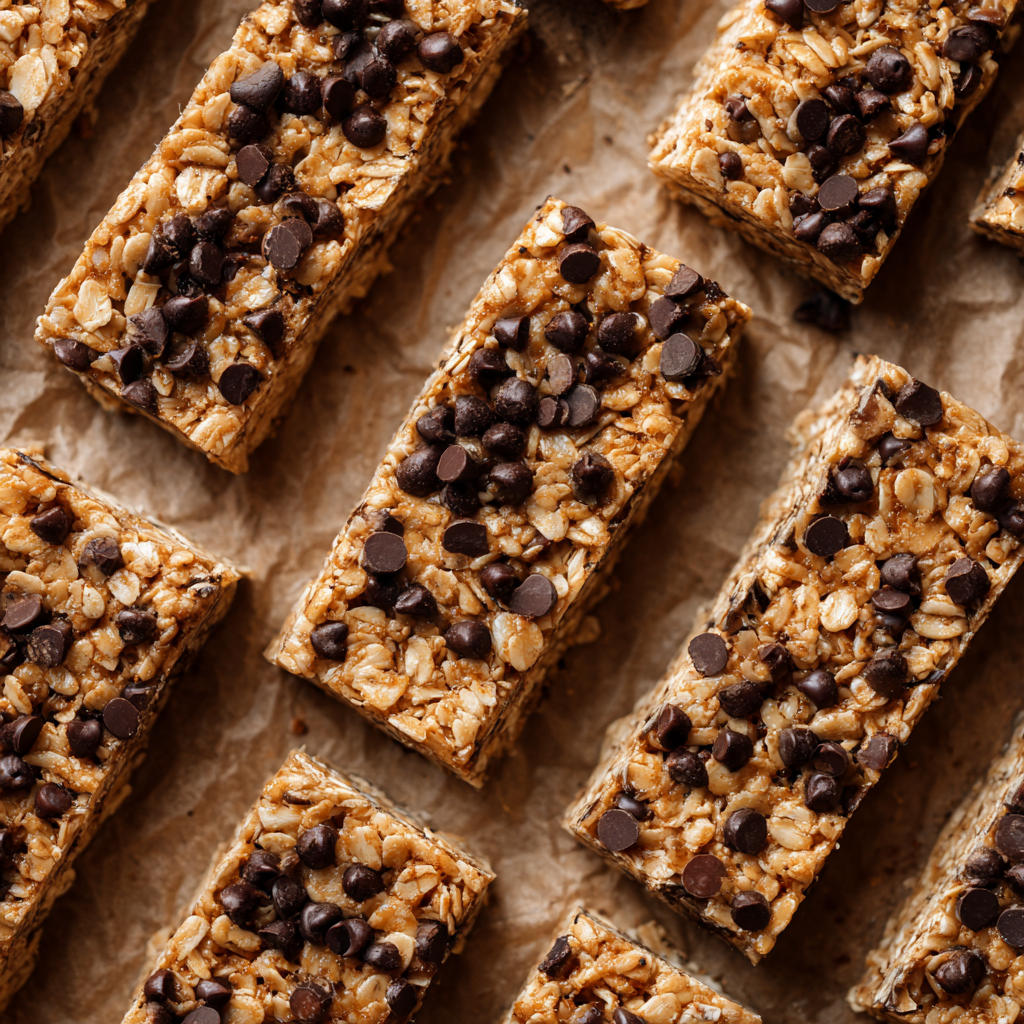
Relive those lunch-box memories with these no-bake Copycat Chewy Granola Bars—soft, chewy, and studded with mini chocolate chips. With only seven ingredients and no baking required, they’re the ultimate shortcut treat for kids’ snacks, after-school energy bites, or even a sweet grab-and-go breakfast. The blend of quick-cooking oats and crisp puffed rice cereal gives them both chew and crunch, while honey, brown sugar, and butter bring warm, caramel-like richness. Pressed into a pan and chilled until firm, they’re satisfying, homemade, and far tastier than the store-bought version.
Why You’ll Love This Recipe
- Ultra-simple: Just 7 ingredients and no oven required — ideal for beginners.
- Snack-friendly texture: Chewy from oats, crisp from puffed rice, and easy to bite.
- Nostalgic appeal: Reminiscent of classic lunch-box granola bars — made better.
- Customizable mix-ins: You can easily swap in dried fruit, nuts or seeds to vary flavors.
- Perfect for families: Kids will love the mini chocolate chips on top, and you’ll love controlling the quality.
- Pre-make friendly: Make ahead, chill, slice and store for a week of easy snacks.
Ingredients
- 2 ½ cups puffed rice cereal (e.g., Rice Krispies)
- 1 ½ cups quick-cooking / instant oats (not old-fashioned)
- ⅓ cup honey
- ⅓ cup packed brown sugar (light or dark)
- ⅓ cup salted butter
- 2 tsp vanilla extract
- ¼ cup mini chocolate chips (or enough to cover the top)
Instructions
- Line the pan: Line an 8×8 or 9×9 inch baking pan with foil, leaving enough overhang for easy removal. Lightly spray the foil with non-stick spray.
- Combine dry ingredients: In a large bowl, mix together the puffed rice cereal and quick-cooking oats. Set aside.
- Melt wet ingredients: In a saucepan over medium heat, melt together the honey, brown sugar and butter. Bring to a gentle simmer (ensure it doesn’t overflow) and continue cooking for about 2 minutes. Remove from heat and stir in the vanilla extract.
- Mix: Pour the melted sugar-honey-butter mixture over the bowl of cereal and oats. Stir thoroughly until everything is evenly coated.
- Press into pan: Transfer the mixture into the prepared pan. Press it down firmly and evenly so that it’s tightly compacted.
- Add chocolate chips: Immediately sprinkle the mini chocolate chips on top of the pressed mixture. Do not mix them in (they can melt) — just top them.
- Chill: Refrigerate the pan for 1–2 hours until the bars are set and firm.
- Slice & serve: Use the foil overhang to lift the slab from the pan. Place on a cutting board and slice into bars of your preferred size. Serve and enjoy!
You Must Know
- Use correct oats: Quick-cooking or instant oats are required; old-fashioned oats are too thick and will result in a harder texture.
- Press firmly: If you don’t press the mixture down well, the bars will crumble and won’t hold shape.
- Chocolate chips only on top: Mixing the chips into the hot mixture may cause melting and the bars lose visual impact.
- Chill time matters: The refrigeration step is what allows the bars to firm up and hold together when sliced.
- Watch melting point: The butter/honey mixture will be hot and sticky — use caution and allow some cooling before mixing to avoid burns.
Storage Tips
- Room temperature: Store in an airtight container at room temperature for up to 1 week. Use parchment or wax paper between layers to prevent sticking.
- Refrigerator: To extend lifespan and maintain firmness, store in fridge in airtight container for up to 2 weeks.
- Freezer: Wrap each bar individually in plastic wrap or parchment, then place in a freezer bag/airtight container. Freeze for up to 3 months. Allow to sit at room-temperature ~10-15 minutes before eating.
Ingredient Substitutions
- Honey: For a vegan version, replace honey with maple syrup or agave—but note texture may change slightly.
- Butter: Use a plant-based butter alternative for dairy-free version.
- Mini chocolate chips: Use your favorite variety (dairy-free, dark chocolate, white chocolate) or omit for less sweetness.
- Add-ins: Stir in dried fruits (cranberries, raisins), chopped nuts (almonds, pecans), seeds (chia, flax) into the oat/cereal mixture before pressing for extra texture and nutrition.
- Salt: If using unsalted butter, add a pinch of sea salt to balance sweetness.
Serving Suggestions
- For lunchboxes: Wrap individual bars in parchment or wax paper for easy grab-and-go snacks.
- With yogurt: Serve alongside a bowl of plain Greek yogurt and fresh berries for a balanced snack or light breakfast.
- As dessert: Warm slightly in microwave for ~10 seconds so chocolate chips soften, then serve with a drizzle of peanut butter or fruit compote.
- Presentation tip: Arrange bars on a decorative platter with clusters of fresh berries or a few mint sprigs for snack-table appeal.
Pro Tips
- Line pan with foil overhang—makes it easy to lift out the entire slab and slice cleanly.
- Use a flat bottom cup or spatula to press mixture—ensures uniform thickness, good visual result.
- Cool the melted mixture slightly before pouring over the oats/cereal so you’re not scrambling and can press immediately.
- Chill fully before slicing—cutting too early will cause bars to crumble or fall apart.
- Store correctly—even if at room temperature, keep bars in a cool, dry spot; if the environment is warm they may soften.
Frequently Asked Questions
→ Can I bake these granola bars instead of refrigerate?
No — this version is designed as a no-bake recipe, so refrigeration is the setting method rather than oven baking. Baking would change texture and chewiness.
→ Can I use regular old-fashioned oats instead of quick-cooking?
It’s not recommended — quick/instant oats yield the ideal chewy texture; old-fashioned oats may remain too firm.
→ Do the bars have to be chilled for 2 hours?
At minimum ~1 hour will work, but 1–2 hours is best to allow full setting. If you slice too early they may fall apart.
→ My bars seem sticky/soft after slicing—what did I do wrong?
Likely they weren’t pressed tightly enough or chilled long enough. Also check that your butter/honey mixture was hot enough to bind properly and that you compacted firmly into the pan.
→ Are these suitable for freezing and how do I thaw?
Yes — freeze wrapped individually up to 3 months. Thaw at room temperature for 10–15 minutes before eating to restore chewiness.
These Copycat Chewy Granola Bars bring back the childhood favorite in a homemade, wholesome way—simple, delicious, and ready when you are.


