Introduction
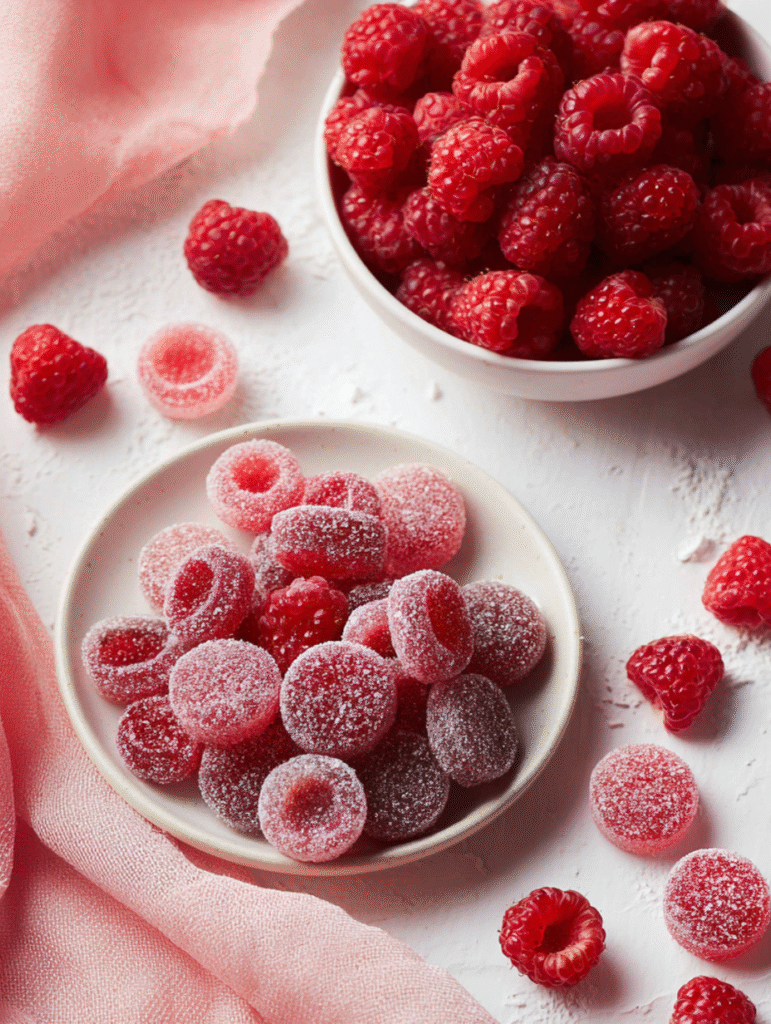
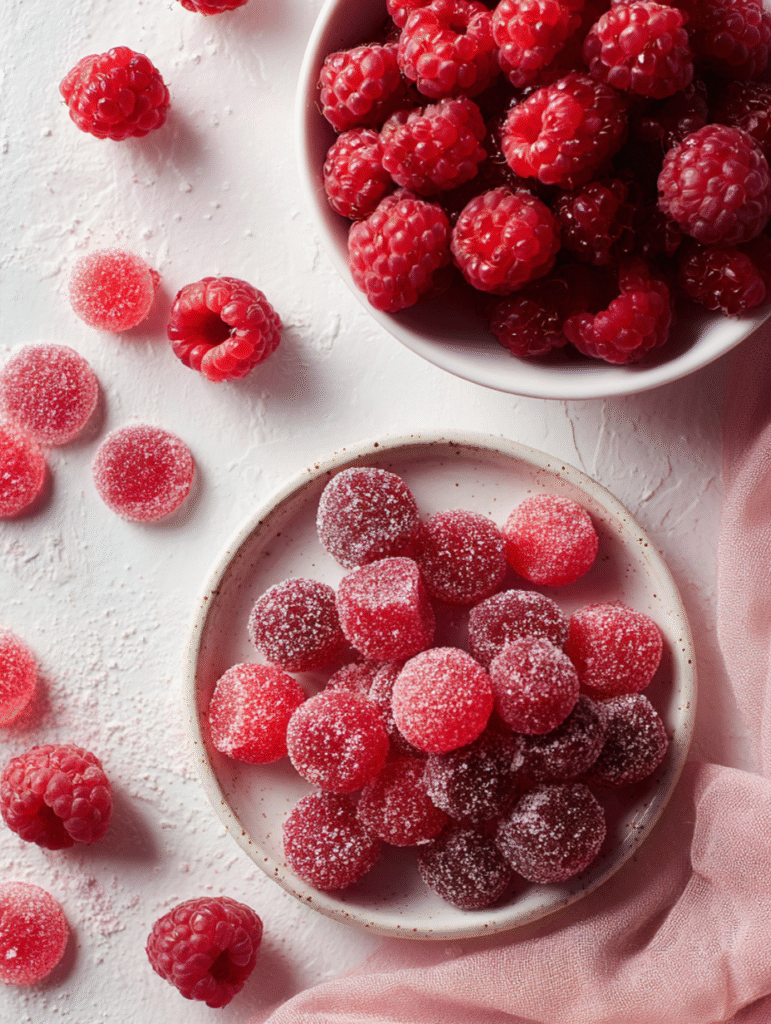
These Raspberry Pectin Gummies bring together vibrant berry flavour, chewy candy texture, and a totally vegan‑friendly base — made with real raspberries and set with pectin instead of gelatin. As you bite in, you’ll experience a burst of bright raspberry sweetness, followed by that satisfying chew that candy lovers crave. The sugar coating adds a gentle spark of crunch before the soft centre. They’re perfect for snack time, gifting, or when you want a homemade treat that feels special but isn’t overly complicated. With vibrant colour, clean ingredients and a joy‑filled process, this recipe feels like candy‑making magic in your own kitchen.
Why You’ll Love This Recipe
- Real fruit flavour: Made with pureed raspberries for a natural, aromatic berry note rather than artificial taste.
- Gelatin‑free & vegan friendly: Uses fruit pectin instead of animal‑based gelatin, making it inclusive for many diets.
- Chewy, nostalgic texture: The pectin creates that classic gummy bite — firm yet tender.
- Customisable fun: Use moulds, different shapes, or even coating variations (sugar, freeze‑dried fruit powder) for personalised treats.
- Make‑ahead & gift‑worthy: Store for later or package beautifully for friends, family or special occasions.
- Fewer preservatives, more hands‑on joy: You control the ingredients, colours and flavour intensity — a treat you’ll feel proud of.
Ingredients
- 18–20 oz (≈525 g) fresh raspberries or 20–22 oz frozen raspberries, thawed
- 1 ¾ cups (≈350 g) granulated sugar, plus extra for coating
- 3 Tbsp corn syrup (or an invert syrup substitute)
- 6 Tbsp regular fruit pectin (high‑methoxyl type, not “low sugar/no sugar” variety)
- ½ cup (≈120 ml) filtered water
- 1 tsp baking soda
- ¼ cup (≈60 ml) filtered water (for dissolving pectin & baking soda)
- 1 tsp powdered citric acid (dissolved in a little water at the end)
- Optional: extra coating flavours (e.g., sugar + freeze‑dried raspberry powder)
Instructions
- Prep your moulds or pan: Choose silicone candy moulds (~3 mL each) or line a 9×9‑inch silicone or parchment‑lined baking pan. Place on a tray or heat‑proof surface.
- Purée the raspberries: Blend the fresh or thawed raspberries until smooth. Strain through a fine‑mesh sieve to remove seeds, yielding about 1½ cups of seed‑free raspberry purée.
- Start the sugar mixture: In a medium heavy‑bottomed saucepan, combine the raspberry purée, granulated sugar and corn syrup. Heat over medium to medium‑high, stirring so the sugar dissolves and the mixture comes to a boil.
- Prepare pectin mixture: In a separate small saucepan, combine the fruit pectin, baking soda and ¼ cup water. Stir and bring to a simmer; the mixture will foam up.
- Combine: Pour the pectin mixture into the saucepan with the raspberry‑sugar syrup. Attach a candy thermometer, and continue cooking, stirring frequently and scraping the sides and bottom so nothing burns, until the mixture reaches ~230–240 °F (110–115 °C) — this ensures the right chewy texture.
- Finish the set: Once the target temperature is reached, remove from heat and quickly stir in the citric acid (dissolved in a small bit of water). The pectin gelling begins immediately, so you must act fast.
- Pour into moulds: Immediately funnel the hot gummy mixture into your prepared moulds or pan. If using a pan, you’ll later cut into pieces.
- Set completely: Let the gummies cool undisturbed for at least 2 hours (or ideally overnight) until fully firm.
- Unmould and coat: Pop the gummies from the moulds (or cut your slab into pieces). Roll each one in granulated sugar (or sugar + freeze‑dried raspberry powder) to prevent sticking and add that classic candy finish.
- Store and enjoy: Once coated, set them on a tray and allow them to “rest” for a bit to firm further, then store as detailed below.

You Must Know
- The type of pectin matters: Use a regular high‑sugar fruit pectin (HM) — low‑sugar or no‑sugar pectin behaves differently and may fail.
- The temperature is key: Reaching 230‑240 °F ensures the right set and chew. Going too low may result in gummy that is too soft; too high can make it hard.
- Timing matters: After adding citric acid, the setting process begins immediately — have your moulds ready and pour quickly.
- Strain the purée: Removing seeds prevents gritty texture and helps smooth finish.
- Do not reduce sugar: The sugar is integral to structure and texture—reduction may cause setting failure.
Storage Tips
Store coated gummies in an airtight container. At room temperature, they’ll keep up to 1 week in a cool, dry place (humidity may cause sticking). In the refrigerator, they’ll last 2–3 weeks (texture will be firmer). For longer storage, freeze in a single layer until solid, then transfer to a freezer‑safe container for up to 3 months. Thaw at room temperature for a few minutes before serving.
Ingredient Substitutions
- Corn syrup alternative: You may substitute glucose syrup or golden syrup if corn syrup isn’t available (honey not recommended as flavour and texture change).
- Fruit variation: Swap raspberries for strawberries or other berries with similar acidity and pectin content — you’ll need to adjust for pH differences.
- Sugar coating variation: Instead of plain granulated sugar, combine sugar with finely ground freeze‑dried raspberry powder, or a sprinkle of citric acid for a sour kick.
- Mould option: If silicone candy moulds aren’t available, use a lined baking pan, let set and then cut into cubes.
- Nut‑free and allergy‑friendly: The base recipe already avoids gelatin and nuts; simply ensure coatings and oils used are allergy‑safe if needed.
Serving Suggestions
Arrange the gummies in a small glass jar or pretty box for gifting. Pair with herbal tea (mint or chamomile complement the raspberry flavour) or a sparkling elderflower drink for a sophisticated treat. On a dessert platter, add fresh raspberries and dark chocolate shavings for contrast. For kids, silicone moulds in fun shapes make these a playful after‑school snack.
Pro Tips
- Pre‑warm your pouring vessel (mould/cup) by rinsing with boiling water and drying — this helps the hot mixture pour more smoothly without beginning to set prematurely.
- Keep a reliable candy thermometer clipped to your pan so you hit the target temperature accurately.
- Work on a heat‑proof surface and wear gloves or handle with caution — candy mixture is very hot.
- If you notice the candy mixture thickening too much before pouring, slightly warm the moulds and speed up the pouring process.
- Let the finished gummies “dry” uncovered at room temperature for a few hours before sealing an airtight container to maintain chew and prevent excessive stickiness.

Frequently Asked Questions
→ Can I use frozen raspberries?
Yes — thaw them fully and you may need slightly more (use ~20‑22 oz) because frozen can be more watery. Strain well to match volume of seedless purée.
→ Could I use gelatin instead of pectin?
Yes you could, but this recipe is designed for pectin setting and vegan‑friendly. Gelatin will produce a different texture — more typical gummy bear style rather than jam‑like chew.
→ Why did my gummies not set?
Common issues: wrong pectin type, didn’t reach correct temperature, acidity (pH) too low or high. Make sure you used the correct pectin, hit 230‑240 °F, used baking soda + citric acid correctly.
→ Can I reduce the sugar?
This is a candy recipe and the sugar plays structural role; reducing it risks improper setting and texture changes.
→ How long to let them set before coating and storing?
Wait at least 2 hours (ideally overnight) until fully firm, then unmould and coat. After coating, let them sit a little longer before sealing container.
Bursting with real raspberry flavour and a delightfully chewy texture, these Raspberry Pectin Gummies are homemade candy done right — fun to make, joyful to eat, and perfect for a sweet moment anytime.


