Two Halloween seasons ago, I was desperately searching for a treat that would satisfy both my teenage niece’s sophisticated palate and her younger brother’s love for all things gruesome. After several failed attempts at finding the perfect balance, inspiration struck during a late-night baking session. The contrast between elegant red velvet cake and dramatically dripping “blood” created exactly the sinister sophistication I was seeking.
The first batch disappeared within minutes at our family Halloween party, with adults sneaking seconds while kids shrieked with delighted horror at the realistic blood drips. These cake pops have since become my signature Halloween contribution, earning requests from neighbors, coworkers, and even my local coffee shop owner who spotted them on my social media.
Why These Sinister Sweets Will Possess Your Taste Buds
Perfectly Portioned Decadence: Each bite-sized pop delivers the rich, complex flavors of classic red velvet cake without the commitment of a full slice. Moreover, the compact size allows guests to sample multiple Halloween treats without feeling overwhelmed.
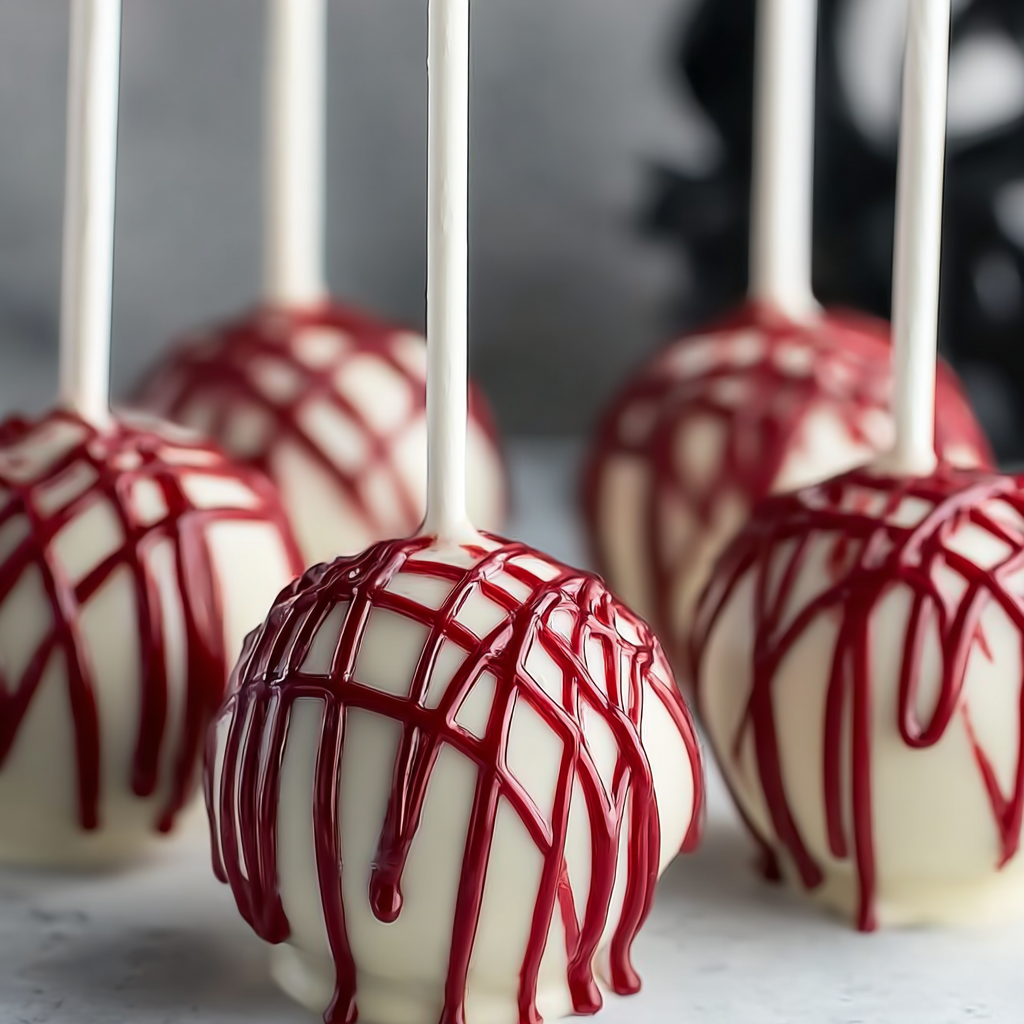
Instagram-Worthy Drama: The striking visual contrast between pristine white chocolate coating and crimson “blood” drizzles creates an irresistible photo opportunity. Additionally, the realistic gore effect never fails to elicit gasps and compliments from party guests.
Make-Ahead Convenience: These pops actually improve in flavor and texture when made a day ahead, making party planning significantly easier. Furthermore, they transport beautifully without the mess associated with traditional frosted cakes.
Sophisticated Horror Appeal: Unlike typical Halloween candies, these treats appeal equally to children and adults, bridging generational taste preferences with their elegant yet spooky presentation.
Essential Ingredients & Serving Information
Serves: 10-12 people (makes approximately 24-30 cake pops)
Cake Pop Foundation:
- 1 box red velvet cake mix (18.25 oz)
- Ingredients specified on cake mix box (typically eggs, oil, and water)
- ½ cup cream cheese frosting (store-bought or homemade)
Coating and Assembly:
- 24-30 cake pop sticks or lollipop sticks
- 2 cups high-quality white chocolate chips
- 2 tablespoons coconut oil (for smoother melting)
Blood Effect Creation:
- ¼ cup red candy melts or additional white chocolate
- Red gel food coloring (for coloring chocolate)
- 1 tablespoon corn syrup (for glossy, dripping effect)
Elegant Serving Companions:
- Chilled champagne or sparkling cider
- Rich coffee or espresso
- Fresh berries for palate cleansing
- Dark chocolate squares for flavor contrast
Detailed Step-by-Step Instructions
Creating the Perfect Cake Base
- Cake Preparation: Prepare red velvet cake according to package directions in a 9×13 inch pan. The larger surface area promotes faster, more even cooling than round pans.
- Complete Cooling Phase: Allow cake to cool completely in the pan for at least 2 hours. Rushing this step will result in soggy cake pops that won’t hold their shape properly.
Transforming Cake into Pop-able Perfection
- Crumbling Technique: Remove cake from pan and crumble into fine, uniform pieces using clean hands. Avoid large chunks that could create weak spots in your finished pops.
- Binding Magic: Add cream cheese frosting gradually, starting with just ¼ cup and mixing thoroughly. The mixture should hold together when squeezed but not feel overly wet or sticky.
- Texture Testing: Perform the “squeeze test”—a properly mixed handful should hold its shape without cracking or feeling mushy. Adjust frosting quantity as needed.
Shaping and Chilling Process
- Perfect Portioning: Using a small cookie scoop or tablespoon, portion mixture into uniform balls approximately 1.5 inches in diameter. Consistency in size ensures even coating later.
- Hand Rolling: Gently roll each portion between your palms to create smooth, round spheres. Place completed balls on parchment-lined baking sheets, ensuring they don’t touch.
- Essential Freezing: Freeze shaped balls for exactly 1 hour. This timing creates the ideal firmness for dipping without making them too hard to insert sticks.
White Chocolate Coating Mastery
- Melting Preparation: Combine white chocolate chips with coconut oil in a microwave-safe bowl. The oil creates a smoother, more workable consistency that coats evenly.
- Proper Melting Technique: Microwave in 30-second intervals, stirring between each session until completely smooth. Overheating can cause the chocolate to seize and become unusable.
- Stick Insertion: Dip each lollipop stick ½ inch into melted chocolate, then insert into frozen cake balls. This “glue” prevents pops from sliding off sticks during coating.
Creating the Blood Effect
- Blood Mixture Preparation: Melt red candy melts or tint remaining white chocolate with red gel coloring. Add corn syrup for authentic dripping consistency.
- Artistic Drizzling: Using a spoon or squeeze bottle, create random drip patterns on each white-coated pop. Vary the drip lengths and thickness for realistic blood effects.
Spectacular Presentation Ideas
Transform these sinister sweets into the centerpiece of your Halloween display by arranging them in a gothic candelabra or antique cake stand. The height variation creates visual drama while the flickering candlelight enhances the blood-red dripping effect.
For a more theatrical presentation, create a “crime scene” dessert table using yellow caution tape, chalk outlines drawn on black tablecloth, and evidence markers numbered beside each cake pop variety. This interactive theme encourages guests to become part of the spooky narrative.
Consider displaying them in test tubes or small glass vials filled with black sand for a mad scientist laboratory aesthetic. The clinical presentation creates an intriguing contrast with the gory appearance of the treats themselves.
Wickedly Creative Variations
Midnight Black Velvet Pops
Replace red velvet cake mix with chocolate cake mix and add black food coloring to the batter. Drizzle with bright red “blood” for a dramatic reverse color scheme that’s equally striking.
Double Horror Effect
Create both red and white “blood” drizzles using strawberry and white chocolate. The dual-color effect suggests both fresh and aged blood for extra gruesome appeal.
Gourmet Adult Version
Add 2 tablespoons of quality bourbon to the cake mixture before baking. The subtle alcohol enhancement elevates these treats for sophisticated adult Halloween parties.
Vegan Vampire Bites
Use vegan red velvet cake mix and dairy-free cream cheese frosting. Substitute coconut cream for traditional cream cheese to maintain the same rich texture and binding properties.
Mini Bloody Bites
Form smaller, truffle-sized balls for elegant finger food at cocktail parties. Reduce stick size or eliminate entirely for pop-in-mouth convenience.
Strategic Make-Ahead Planning
Three Days Before: Bake and crumble cake, then store covered at room temperature. This actually improves the texture by allowing moisture to distribute evenly throughout the crumbs.
Two Days Ahead: Form cake balls and freeze. Once frozen solid, transfer to freezer bags for space-efficient storage until ready to dip.
Day Before Party: Complete white chocolate coating and blood drizzling. Store finished pops in refrigerator, bringing to room temperature 30 minutes before serving for optimal texture.
Transportation Strategy: Use styrofoam blocks or cake pop stands to keep pops upright during transport. Cover loosely with plastic wrap to protect blood drizzles from smudging.
Critical Success Notes (Notas)
Cake-to-Frosting Ratio: Start conservatively with frosting additions—you can always add more, but too much creates mushy, unworkable mixture that won’t hold its shape during dipping.
Chocolate Temperature Management: Maintain melted chocolate at proper dipping consistency by rewarming in 15-second microwave intervals as needed. Cold chocolate won’t coat smoothly.
Humidity Considerations: High humidity can prevent chocolate from setting properly and cause blood drizzles to slide off. Work in air-conditioned environments when possible during humid weather.
Food Safety Awareness: If using corn syrup in blood mixture, consume cake pops within 3 days to prevent texture changes. Pure chocolate drizzles last longer but lack the glossy authenticity.
Frequently Asked Questions
Why do my cake pops keep falling off their sticks? This usually happens when the cake mixture is too wet or when sticks aren’t properly “glued” with chocolate before insertion. Ensure proper cake-to-frosting ratio and always dip sticks in melted chocolate first.
How can I prevent cracks in my white chocolate coating? Cracks typically occur when frozen cake balls are too cold when dipped. Let them sit at room temperature for 5-10 minutes after removing from freezer, or use chocolate at slightly warmer temperature.
What’s the secret to realistic-looking blood drizzles? The key is varying drip thickness and letting gravity create natural patterns. Work quickly while chocolate coating is still slightly soft, and don’t overthink the placement—random looks more authentic.
Can I use candy melts instead of real chocolate? Yes, but the flavor won’t be as rich. Candy melts are easier to work with for beginners since they’re more forgiving with temperature, but real chocolate provides superior taste and appearance.
How long do these cake pops stay fresh? Properly stored at room temperature, they maintain optimal texture and flavor for 4-5 days. Refrigerated pops last up to a week but should return to room temperature before serving.
Can I freeze finished cake pops? Absolutely! Freeze completed pops for up to 3 months in airtight containers. Thaw at room temperature for 30 minutes before serving—the texture remains perfect.
What if my red food coloring isn’t creating deep enough blood color? Gel food coloring works better than liquid for intense colors. Start with small amounts and gradually increase, as too much can affect chocolate texture. Red candy melts often provide more consistent color results.


