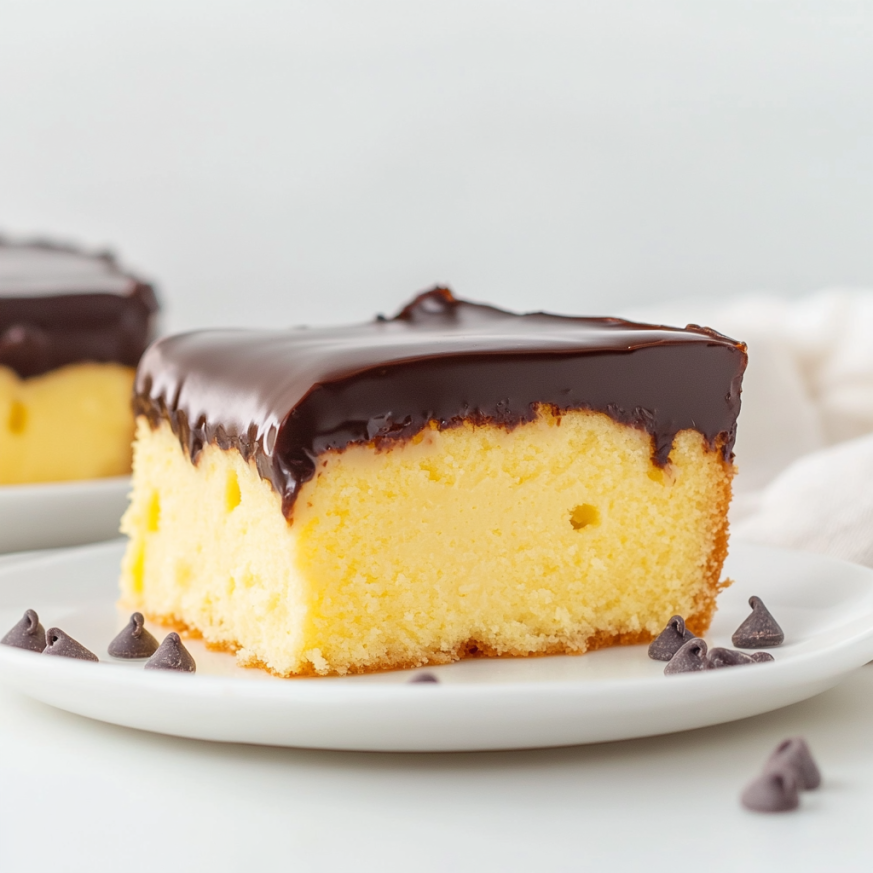
There’s something magical about the moment you cut into a Boston Cream Poke Cake and reveal those beautiful layers – golden cake dotted with creamy vanilla pudding, all crowned with glossy chocolate ganache. This dessert holds a special place in my heart because it was the first “fancy” cake I ever attempted for my sister’s graduation party. I remember nervously poking holes in that cake, worried I might ruin it, only to discover that this technique creates one of the most foolproof yet impressive desserts you can make.
What started as an ambitious attempt to recreate the classic Boston cream pie has become my most requested recipe. Friends and family constantly ask me to bring “that incredible poke cake” to gatherings, and honestly, I never mind the request. Watching people’s faces light up with that first bite – when they experience the perfect harmony of textures and flavors – never gets old.
Why This Recipe Will Become Your Secret Weapon
This Boston Cream Poke Cake delivers all the elegance of its famous pie counterpart with none of the fussy techniques. Unlike traditional Boston cream pie that requires careful pastry layers and precise assembly, this version uses the ingenious poke cake method to infuse every bite with creamy vanilla goodness.
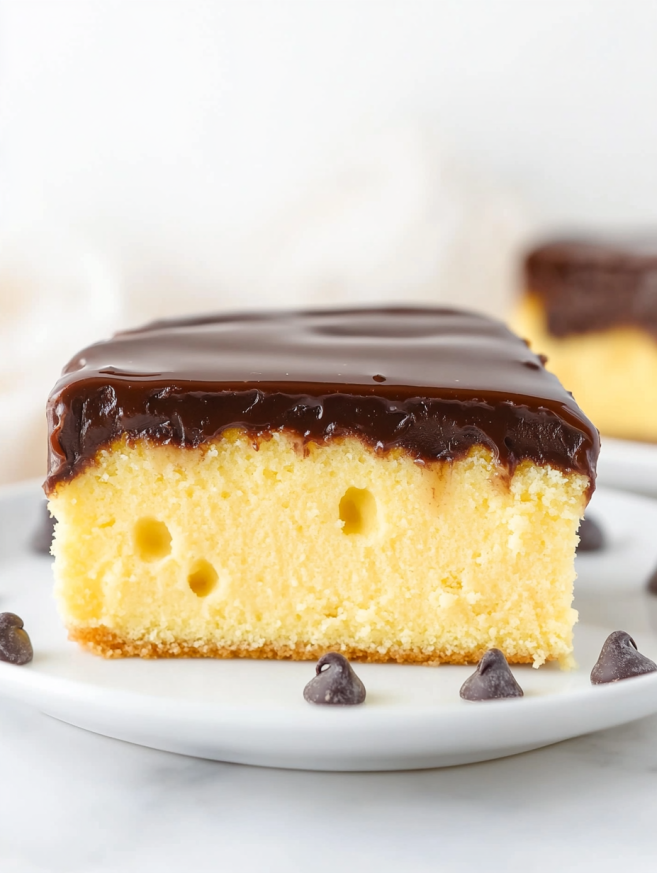
Furthermore, the convenience factor makes this dessert absolutely brilliant for entertaining. You can prepare it entirely ahead of time, and it actually improves as it sits, allowing the flavors to meld beautifully. The cake absorbs the pudding perfectly, creating pockets of silky custard throughout each slice.
Additionally, the visual impact is undeniable. When you serve this cake, the glossy chocolate ganache catches the light beautifully, while each slice reveals those gorgeous layers that look like they came from a professional bakery. Yet behind this impressive appearance lies a surprisingly simple technique that even novice bakers can master with confidence.
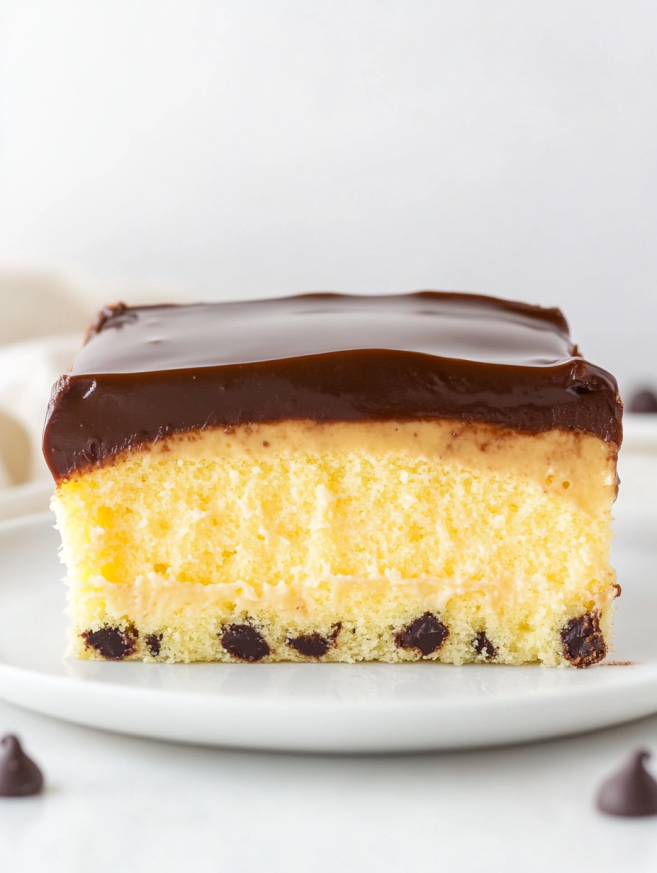
The genius of this recipe lies in its three-part harmony: the tender vanilla cake provides the perfect foundation, the French vanilla pudding adds luxurious creaminess, and the rich chocolate ganache creates that decadent finishing touch that ties everything together.
Essential Ingredients & Timing Information
Prep Time: 20 minutes
Cook Time: 25 minutes
Chill Time: 3 hours 30 minutes
Total Active Time: 45 minutes
Serves: 12 generous portions
For the Cake Base
- 1 (15.25-ounce) box yellow cake mix
- ⅔ cup unsalted butter, melted
- 1 cup whole milk
- 4 large eggs
For the Vanilla Filling
- 4 cups whole milk
- 2 (3.4-ounce) packages French vanilla instant pudding mix
For the Chocolate Ganache
- 1¼ cups heavy cream
- 2 tablespoons unsalted butter
- 12 ounces dark chocolate chips
Perfect Serving Companions: Fresh strawberries, vanilla ice cream, or simply enjoy it on its own – this cake needs no embellishment to shine.
Step-by-Step Instructions
Preparing the Cake Foundation
Begin by preheating your oven according to the cake mix package directions (typically 350°F) and generously greasing a 9×13-inch baking dish. Using butter or cooking spray ensures easy serving later.
In a large mixing bowl, whisk together the cake mix, melted butter, whole milk, and eggs until the batter becomes smooth and well combined. The addition of extra milk and melted butter creates a richer, more tender cake than the standard box mix preparation.
Pour the batter into your prepared baking dish, spreading it evenly with a spatula. Bake according to package directions, usually 23-28 minutes, or until a toothpick inserted in the center comes out clean or with just a few moist crumbs.
Creating the Perfect Poke Pattern
Once baked, allow the cake to cool for at least 30 minutes before proceeding. This cooling period is essential – the cake needs to be cool enough to handle but still slightly warm for optimal pudding absorption.
Using the handle end of a wooden spoon, create large, round holes throughout the entire surface of the cake. Space these holes approximately ½ to 1 inch apart, ensuring even distribution across the entire cake. Don’t be shy about making these holes fairly deep – they should go about ¾ of the way through the cake.
Preparing the Creamy Filling
In a large bowl, whisk together the whole milk and both packages of French vanilla instant pudding mix until the mixture becomes thick and smooth. Work quickly during this step, as instant pudding sets rapidly once mixed.
Immediately pour the pudding mixture over the cake while it’s still liquid. Using an offset spatula, gently spread the pudding across the surface, making sure it fills all the holes you’ve created. The pudding will continue to thicken as it sits, so work efficiently but don’t rush.
Refrigerate the cake for at least 1 hour before adding the ganache layer. This chilling time allows the pudding to set properly and prevents it from mixing with the chocolate ganache.
Crafting the Chocolate Ganache
In a large microwave-safe bowl, combine the heavy cream and 2 tablespoons of butter. Microwave for 2-3 minutes, or until the mixture is steaming hot but not boiling. Watch carefully to prevent overflow.
Add the chocolate chips to the hot cream mixture and let it stand undisturbed for 5 minutes. This resting period allows the chocolate to soften completely. Then, whisk vigorously until the ganache becomes smooth, glossy, and completely homogeneous.
Allow the ganache to cool for about 10-15 minutes until it’s still pourable but slightly thickened. Pour it evenly over the chilled cake, and gently tilt the pan to spread the ganache without disturbing the pudding layer beneath.
Final Chilling and Setting
Cover the completed cake and refrigerate for at least 2 hours before serving. This final chilling period allows all the layers to set properly and makes clean slicing much easier.
Creative Serving Suggestions
This show-stopping dessert deserves presentation that matches its elegance. For special occasions, cut the cake into neat squares and plate them individually, drizzling any extra ganache around the plate for a restaurant-quality presentation.
During casual gatherings, serve directly from the baking dish with a large serving spoon, allowing guests to admire the beautiful layers as you portion out each serving. The cake’s impressive appearance makes it perfect for potluck dinners where you want to contribute something memorable.
Consider garnishing individual servings with fresh berries for color contrast, or add a small dollop of whipped cream for extra indulgence. The rich chocolate and vanilla flavors also pair beautifully with coffee or espresso for adult dinner parties.
Delicious Recipe Variations
Chocolate Lovers’ Version
Replace the yellow cake mix with chocolate cake mix and use chocolate pudding instead of vanilla for an intensely chocolatey experience that rivals any bakery creation.
Strawberry Boston Cream
Add 1 cup of diced fresh strawberries to the pudding mixture and use white chocolate chips in the ganache for a fruity twist on the classic combination.
Salted Caramel Variation
Replace the vanilla pudding with butterscotch pudding and add a pinch of sea salt to the ganache for a sophisticated flavor profile that balances sweet and salty perfectly.
Individual Portion Version
Make this recipe in cupcake form by baking the batter in muffin tins, poking holes in each cupcake, and topping with smaller amounts of pudding and ganache for perfect party portions.
Make-Ahead Tips
This cake is actually designed to be made ahead, making it perfect for stress-free entertaining. The complete cake can be assembled up to 2 days in advance and stored covered in the refrigerator. The flavors continue to develop and improve over time.
For longer storage, you can freeze the completed cake for up to 1 month. Thaw overnight in the refrigerator before serving. The texture remains remarkably good after freezing, though the ganache may lose some of its glossy appearance.
Additionally, you can prepare components separately if needed. The baked cake (without holes) can be wrapped and frozen for up to 3 months, while the ganache can be made up to 3 days ahead and gently rewarmed before using.
Important Notes
Different cake mix brands may have varying baking times and temperatures, so always check the package directions for your specific brand. Duncan Hines, Betty Crocker, and Pillsbury may each require slight adjustments to timing.
When making the ganache, ensure your cream is hot enough to melt the chocolate completely, but avoid boiling, which can cause the mixture to separate. If your ganache does break, try whisking in a tablespoon of room temperature cream to bring it back together.
The size and depth of your poke holes significantly impact how much pudding the cake absorbs. Don’t make them too small, or you won’t get that signature creamy texture throughout each slice.
lation.
Frequently Asked Questions
Q: Can I use homemade pudding instead of instant pudding mix? A: While possible, instant pudding works best for poke cakes because it sets quickly and maintains the right consistency. Homemade pudding may be too thin and won’t fill the holes properly.
Q: What happens if I don’t let the cake cool enough before poking holes? A: If the cake is too warm, it may crumble when you poke holes, and the hot cake can cause the pudding to break down. Always wait at least 30 minutes for proper cooling.
Q: Can I make this cake gluten-free? A: Yes! Simply substitute your favorite gluten-free yellow cake mix and follow the same instructions. The pudding and ganache are naturally gluten-free.
Q: Why did my ganache turn out grainy? A: This usually happens when the cream isn’t hot enough to melt the chocolate completely, or if the mixture gets overheated. Try reheating gently and whisking vigorously, or add a tablespoon of warm cream.
Q: How far in advance can I poke the holes in the cake? A: You can poke holes immediately after the 30-minute cooling period. Don’t wait too long, as the cake becomes harder to pierce cleanly as it cools completely.
Q: Can I use milk chocolate instead of dark chocolate for the ganache? A: Absolutely! Milk chocolate creates a sweeter, milder ganache. You might want to reduce the amount slightly since milk chocolate is softer than dark chocolate.
Q: What’s the best way to get clean slices when serving? A: Use a sharp knife wiped clean between cuts, and make sure the cake is well-chilled. Dipping the knife in warm water and wiping it dry between cuts also helps create cleaner edges.
Q: Can I double this recipe for a larger crowd? A: Yes, but you’ll need two 9×13-inch pans rather than one larger pan. The cake layers won’t bake evenly in an oversized pan, and the pudding distribution becomes difficult to manage.
Nutritional Information (per serving):
- Calories: 430
- Carbohydrates: 22g
- Fat: 35g
- Protein: 9g
Note: Chill times can vary and are not included in the total active time calcu