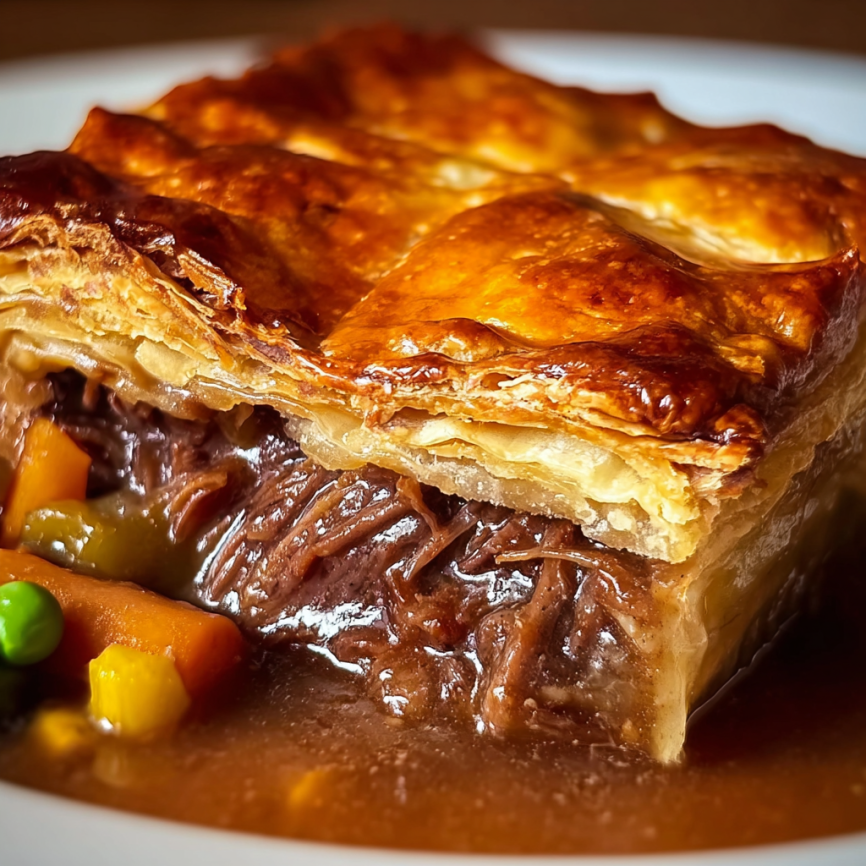
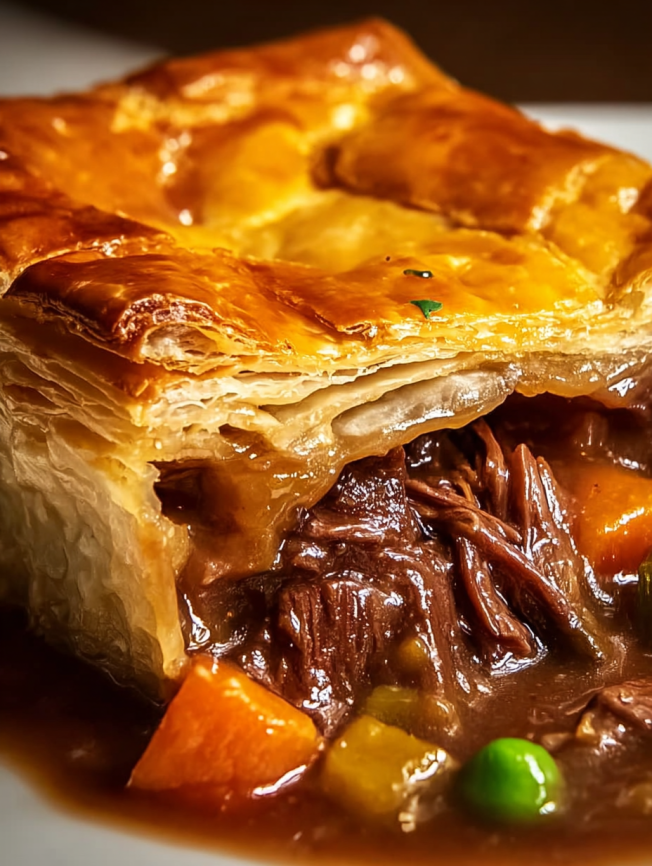
Last summer, after hosting a backyard barbecue that left me with nearly two pounds of leftover brisket, I found myself staring into the refrigerator wondering how to transform yesterday’s star into tonight’s dinner sensation. Traditional reheating seemed like a crime against such beautiful smoked meat, and that’s when inspiration struck – what if I could capture all that smoky, tender goodness under a flaky golden crust? The first bite of this pot pie convinced my entire family that leftovers could be even better than the original meal.
What makes this recipe truly extraordinary is how it elevates humble leftovers into something that feels completely new and exciting. Moreover, the subtle heat from fresh jalapeños adds just enough warmth to complement the rich brisket without overwhelming the comforting nature of traditional pot pie.
Why This Recipe Will Transform Your Leftover Game
Leftover Luxury: Instead of simply reheating yesterday’s brisket, this recipe transforms it into an entirely new dining experience that’s actually more impressive than the original meal. Furthermore, the slow-cooked meat that’s already been perfectly seasoned creates a depth of flavor that you simply can’t achieve with fresh ingredients.
Perfect Heat Balance: The jalapeños provide just enough warmth to make things interesting without overpowering the comfort food nature of the dish. Additionally, removing the seeds gives you control over the heat level, making it accessible for families with varying spice tolerances.
Comfort Food Innovation: This recipe takes the beloved concept of chicken pot pie and gives it a sophisticated twist that appeals to both traditionalists and adventurous eaters. The familiar format makes it approachable, while the unique ingredients make it memorable and exciting.
Impressive Yet Practical: While this pot pie looks and tastes like something from an upscale restaurant, it actually uses simple techniques and readily available ingredients, making it perfect for home cooks who want to create something special without complicated procedures.
Premium Ingredients for Maximum Flavor
Hearty Filling Foundation
- 1 pound cooked beef brisket, pulled into bite-sized pieces (leftover smoked brisket is ideal)
- 2 fresh jalapeños, seeds removed and finely chopped (adjust quantity to taste)
- 1 medium yellow onion, diced (about 1 cup when chopped)
- 1 cup frozen corn kernels (adds sweetness and texture)
- 1 cup frozen green peas (provides color and freshness)
- 2 cups rich beef broth (use high-quality broth for best results)
Essential Seasonings
- 1 teaspoon garlic powder (complements the smoky brisket flavors)
- 1 teaspoon dried thyme (adds earthy complexity)
- Salt and freshly ground black pepper to taste
Golden Crust Topping
- 1 sheet refrigerated pie crust, thawed if frozen (or homemade if preferred)
Perfect Pairings: This rich, hearty pot pie pairs beautifully with simple sides that won’t compete with its bold flavors. Consider a crisp green salad with vinaigrette, roasted Brussels sprouts, or creamy coleslaw to balance the richness and heat.
Step-by-Step Instructions for Pot Pie Perfection
Essential Preparation
Preheat your oven to 400°F (200°C), ensuring it reaches full temperature while you prepare the filling. This high heat is crucial for achieving that perfectly golden, flaky crust while heating the filling through completely.
Building the Flavor Base
Heat a large skillet over medium heat and add the diced onion and finely chopped jalapeños. Cook these aromatics for about 5 minutes, stirring occasionally, until the onions become translucent and the jalapeños soften and become fragrant. This step releases the essential oils from the peppers and creates the flavor foundation for your filling.
Creating the Rich Filling
Add the pulled brisket pieces to the skillet along with the frozen corn and peas. Pour in the beef broth and add the garlic powder and dried thyme. Season generously with salt and freshly ground black pepper, remembering that this mixture needs to be well-seasoned to flavor the entire pie.
Stir everything together thoroughly, ensuring all ingredients are evenly distributed. Allow the mixture to simmer for approximately 10 minutes, stirring occasionally. During this time, the flavors will meld beautifully, and some of the liquid will reduce to create the perfect consistency – not too soupy, but with enough moisture to keep everything tender.
Assembly and Crust Application
Transfer the hot brisket mixture to a standard 9-inch pie dish, spreading it evenly to ensure uniform cooking. Carefully unroll your thawed pie crust and lay it over the filling, making sure it covers the entire surface with some overhang around the edges.
Trim any excess crust to about ½ inch beyond the rim of the dish, then fold this overhang under itself and crimp the edges decoratively to create a proper seal. This prevents the filling from bubbling over and creates an attractive finished appearance.
Final Touches and Baking
Using a sharp knife, cut several slits or create a decorative pattern in the top crust. These vents are essential for allowing steam to escape during baking, preventing the crust from becoming soggy and ensuring even cooking throughout.
Place the assembled pot pie in your preheated oven and bake for 25-30 minutes, until the crust is beautifully golden brown and the filling is bubbling actively around the edges. The crust should sound hollow when tapped gently.
Critical Cooling Period
Remove the pot pie from the oven and allow it to cool for at least 5 minutes before cutting and serving. This cooling period is absolutely crucial – the filling retains heat intensely and needs time to set slightly for clean slicing and safe eating temperatures.
Creative Serving and Presentation Ideas
Present this impressive pot pie family-style by placing the entire dish in the center of the table, allowing everyone to admire the golden crust before cutting into individual portions. Garnish each serving with a sprinkle of fresh chopped cilantro or green onions for added color and freshness.
For more formal dining, cut the pot pie into neat wedges and serve on individual plates accompanied by a small side salad or pickled vegetables. The contrast between the rich, warm pie and crisp, acidic accompaniments creates a perfectly balanced meal.
Consider serving it alongside traditional barbecue sides like mac and cheese or baked beans for a complete comfort food experience that celebrates both the pot pie format and the brisket’s barbecue origins.
Delicious Recipe Variations
Southwestern Fiesta Style
Add diced bell peppers and corn to the filling, season with cumin and chili powder, and include black beans for extra protein. Top with pepper jack cheese before adding the crust for an extra layer of flavor and heat.
Smoky Mushroom Addition
Include sautéed mushrooms – shiitake, cremini, or button mushrooms all work beautifully – to add earthiness and umami depth that complements the smoked brisket perfectly. The mushrooms also help stretch the meat further if needed.
Cheese Lover’s Version
Stir shredded sharp cheddar or smoked gouda into the filling before adding the crust. The cheese melts into the broth, creating an incredibly rich and indulgent pot pie that takes comfort food to the next level.
Lighter Vegetable-Forward Option
Increase the vegetables by adding diced carrots, celery, and green beans while slightly reducing the amount of brisket. This creates a more balanced dish that’s still satisfying but incorporates more nutritious elements.
Smart Make-Ahead and Storage Strategies
This pot pie is excellent for advance preparation and actually benefits from resting time. You can prepare the entire filling up to two days ahead of time – simply store it covered in the refrigerator and add the crust when ready to bake. Cold filling may require an additional 10-15 minutes of baking time.
For even more convenience, you can assemble the entire pot pie, cover tightly with plastic wrap, and refrigerate for up to 24 hours before baking. Remove from refrigeration 30 minutes before baking to take the chill off, then bake as directed.
Leftover pot pie portions keep beautifully for up to four days in the refrigerator and reheat well in either the microwave or oven. For oven reheating, cover with foil to prevent the crust from over-browning and heat at 350°F until warmed through.
Professional Tips for Perfect Results
Brisket Preparation: If your leftover brisket seems dry, add a splash of beef broth or barbecue sauce when incorporating it into the filling. The additional moisture will be absorbed during the simmering process and create a more tender final result.
Heat Level Management: Jalapeño heat can vary significantly from pepper to pepper. Start with less and taste the filling before adding the crust – you can always add more heat, but you can’t take it away once it’s in there.
Crust Success: If your pie crust starts browning too quickly during baking, tent it loosely with aluminum foil for the remaining cooking time. This prevents burning while allowing the filling to finish heating through.
Steam Vent Importance: Don’t skip cutting vents in the top crust. Without proper steam release, the crust can become soggy from trapped moisture, ruining the textural contrast that makes pot pie special.
Frequently Asked Questions
What if I don’t have leftover brisket? You can substitute any leftover slow-cooked beef like pot roast, chuck roast, or even leftover steak. Alternatively, rotisserie chicken works wonderfully, though it will create a different but equally delicious flavor profile.
Can I make this vegetarian? Absolutely! Replace the brisket with hearty mushrooms, lentils, or plant-based meat alternatives. Use vegetable broth instead of beef broth and add extra seasonings to compensate for the missing meat flavors.
How do I prevent a soggy bottom crust? Make sure your filling isn’t too liquidy before adding the crust – it should be moist but not soupy. Additionally, you can pre-bake the bottom crust for 10 minutes before adding the filling if you prefer extra insurance against sogginess.
Can I freeze this pot pie? Yes! Assemble the entire pot pie, wrap tightly in plastic wrap and aluminum foil, then freeze for up to three months. Bake directly from frozen, adding 20-30 minutes to the cooking time and covering with foil if the crust browns too quickly.
What’s the best way to reheat individual slices? For best results, reheat in a 350°F oven for 15-20 minutes until heated through. Microwave reheating works but may make the crust less crispy. Cover with a damp paper towel when microwaving to prevent drying out.
How can I tell when the pot pie is fully cooked? The crust should be golden brown, and the filling should be bubbling actively around the edges. An instant-read thermometer inserted into the center should read 165°F to ensure the filling is properly heated throughout.
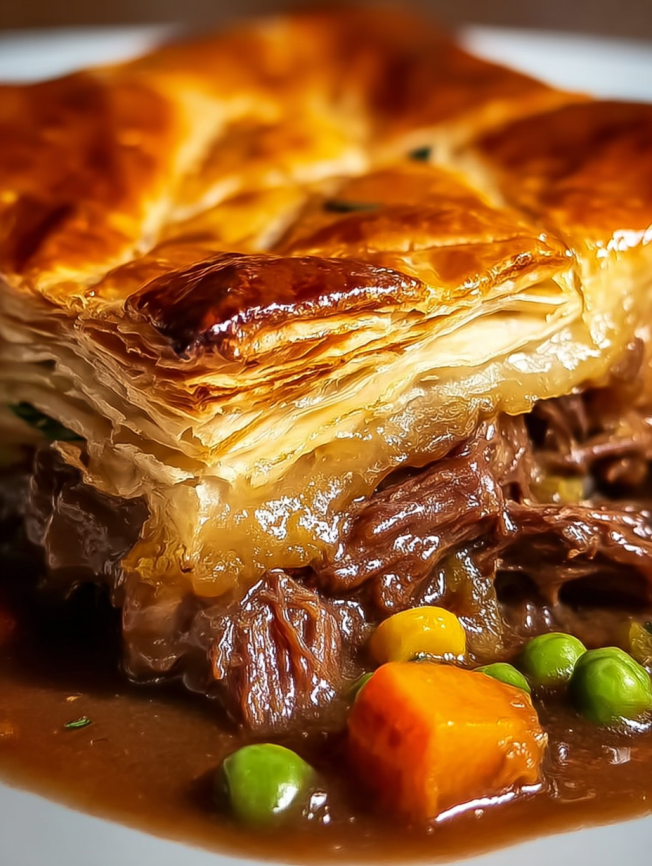
Can I use puff pastry instead of pie crust? Definitely! Puff pastry creates a lighter, flakier topping that many people prefer. Just follow the same assembly method and baking instructions – the puff pastry will brown beautifully and create an elegant presentation.
Recipe Summary
- Prep Time: 20 minutes
- Cook Time: 35 minutes
- Total Time: 55 minutes
- Serves: 6 generous portions
- Difficulty: Moderate
- Cuisine: American Comfort Food with Southwestern flair
Required Equipment: Standard 9-inch pie dish, large skillet, sharp knife for chopping, cutting board
Nutritional Information (per serving): 445 calories, 22g fat, 32g carbohydrates, 28g protein
Allergy Information: Contains gluten (pie crust), may contain dairy (depending on pie crust brand), contains spicy peppers (jalapeños). Always check pie crust ingredients for specific allergens and dairy content.