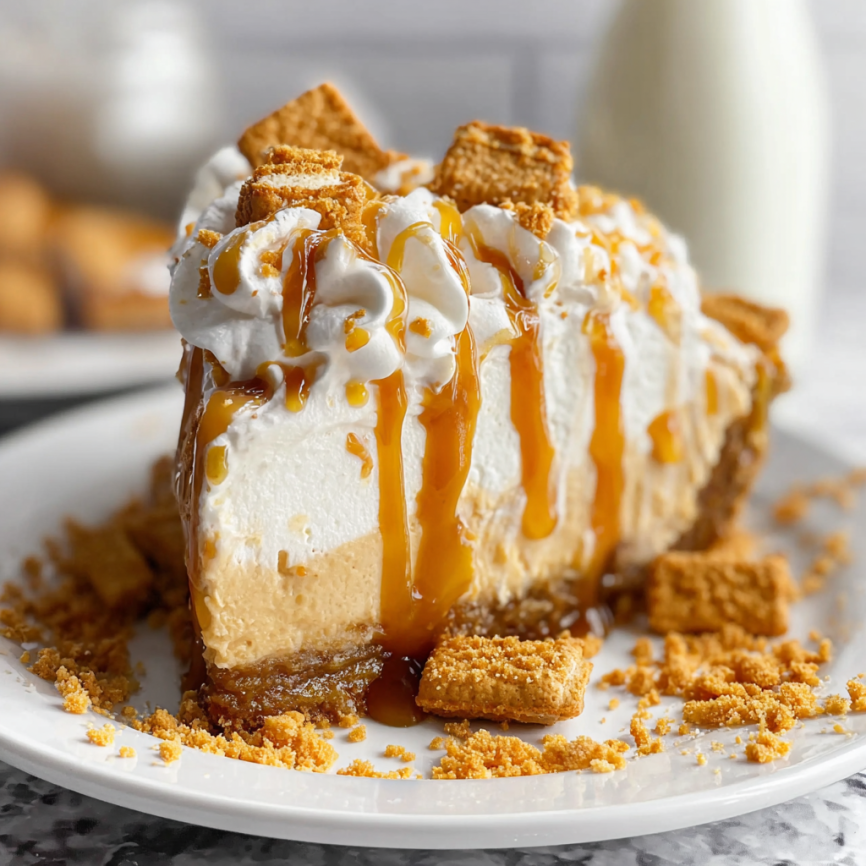
I’ll never forget the sweltering summer afternoon when my mother-in-law arrived for dinner and casually mentioned she was bringing “something special” for dessert. What emerged from her refrigerator was nothing short of spectacular – layers upon layers of creamy butterscotch heaven that looked like it came from the finest bakery. When she revealed it was a no-bake creation that took only thirty minutes to assemble, I knew I had to learn her secret. That first spoonful, with its perfect balance of rich butterscotch, fluffy cream, and crunchy cinnamon crust, convinced me that sometimes the most impressive desserts are also the simplest to make.
This dessert has since become my go-to for every special occasion, from birthday parties to holiday gatherings. Moreover, its stunning layered appearance never fails to draw gasps of admiration from guests who assume I spent hours creating such an elaborate dessert.
Why This Dessert Will Become Your Secret Weapon
No-Bake Convenience: During hot summer months or when oven space is at a premium, this dessert delivers bakery-quality results without generating any additional heat in your kitchen. Furthermore, the hands-off preparation means you can focus on other meal components while this chills to perfection.
Make-Ahead Marvel: This dessert actually improves with time, making it perfect for entertaining and meal planning. Additionally, the fact that it needs several hours to set means you can prepare it the day before your event, eliminating last-minute dessert stress completely.
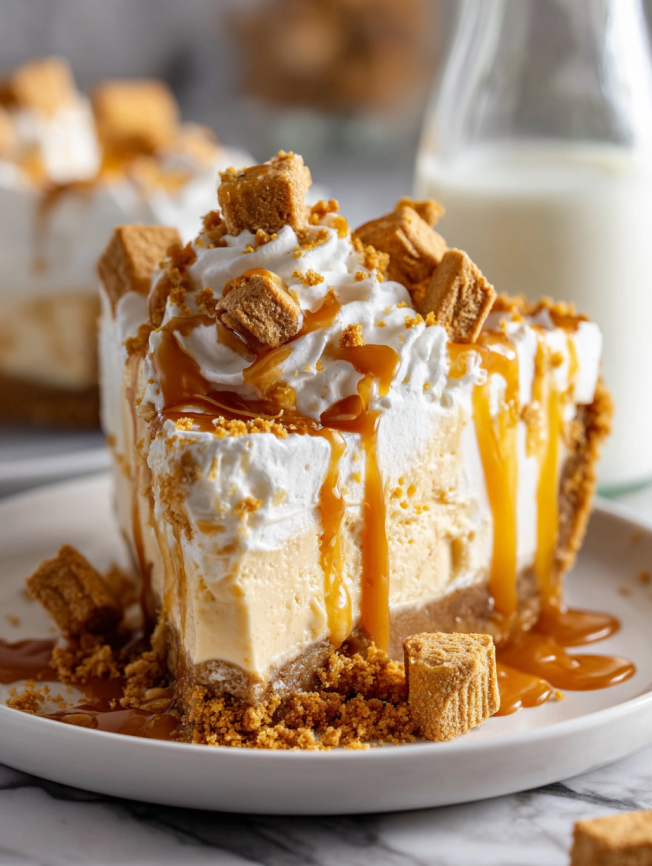
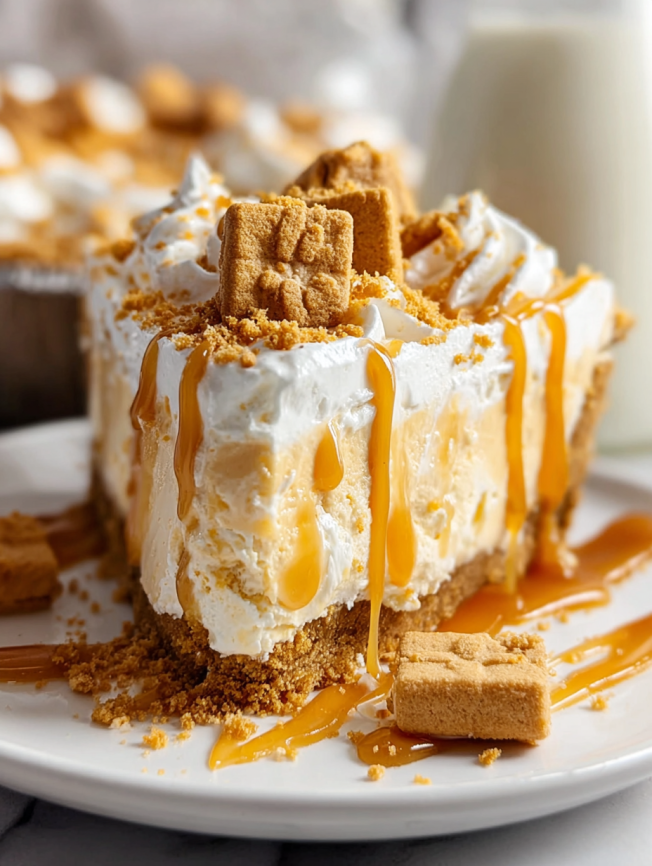
Impressive Visual Impact: The beautiful layers visible through a glass dish create a dessert that looks incredibly sophisticated and restaurant-worthy. Each slice reveals distinct layers that make every serving look professionally crafted.
Foolproof Success: Unlike temperamental baked desserts that can fall, burn, or fail to set properly, this recipe delivers consistent, perfect results every single time, making it ideal for both novice and experienced home cooks.
Premium Ingredients for Maximum Indulgence
Cinnamon Crust Foundation
- 1½ cups cinnamon graham cracker crumbs (creates the perfect spiced base)
- 3 tablespoons granulated sugar (adds extra sweetness and binding power)
- 6 tablespoons melted butter (provides richness and helps bind the crust)
Creamy Dream Layer
- 2 (8 oz) blocks cream cheese, softened to room temperature (essential for smooth mixing)
- ¾ cup powdered sugar (creates silky texture without grittiness)
- 1 teaspoon pure vanilla extract (enhances all other flavors)
- 1 cup heavy whipping cream plus 2 tablespoons (divided for different uses)
Butterscotch Paradise
- 3.4 oz instant butterscotch pudding mix (the star flavor component)
- ¾ cup chopped butterscotch chips, divided (adds texture and concentrated flavor)
- 8 oz Cool Whip topping (creates the perfect light, airy finish)
Perfect Presentation: This dessert shines when served in a clear glass dish that showcases the beautiful layers. Individual glass cups or mason jars also create stunning individual portions perfect for parties or special dinners.
Step-by-Step Instructions for Layered Perfection
Creating the Cinnamon Crust
In a medium mixing bowl, combine the cinnamon graham cracker crumbs, granulated sugar, and melted butter. Stir thoroughly until the mixture resembles wet sand and holds together when pressed. The butter should be evenly distributed throughout, creating a cohesive mixture that will form a stable base.
Press this mixture firmly and evenly into the bottom of a 9×13-inch baking dish or your chosen serving vessel. Use the bottom of a measuring cup or clean hands to ensure an even, compact layer that will hold up under the weight of the creamy layers above.
Building the Cream Cheese Layer
In a large mixing bowl, beat the softened cream cheese and powdered sugar together using an electric mixer on medium speed until completely smooth and free of lumps. This process typically takes 3-4 minutes and is crucial for achieving the silky texture that makes this dessert special.
Add the vanilla extract and mix until fully incorporated. In a separate bowl, whip 1 cup of heavy cream until stiff peaks form – this usually takes 2-3 minutes with an electric mixer. Gently fold the whipped cream into the cream cheese mixture using a spatula, maintaining as much air as possible for a light, fluffy texture.
Preparing the Butterscotch Component
Follow the package instructions for the instant butterscotch pudding, typically combining the mix with cold milk and whisking for 2 minutes until thickened. Allow it to set for about 5 minutes to achieve the proper consistency.
Once set, gently fold in half of the chopped butterscotch chips, reserving the remainder for garnishing. This adds delightful texture surprises and intensifies the butterscotch flavor throughout the layer.
Assembly Magic
Spread exactly half of the cream cheese mixture evenly over the prepared crust, using a spatula to create a smooth, level surface. Next, carefully spoon half of the butterscotch pudding over the cream layer, spreading gently to avoid disturbing the layer beneath.
Repeat this process with the remaining cream cheese mixture and butterscotch pudding, creating distinct, beautiful layers. Take care with each layer to maintain clean lines that will be visible when served.
The Grand Finale
Spread the Cool Whip evenly over the final butterscotch layer, creating attractive swirls and peaks with your spatula. Sprinkle the remaining butterscotch chips over the surface for both visual appeal and added flavor. If desired, drizzle with caramel sauce for an extra touch of elegance.
Essential Chilling Time
Cover the entire dish tightly with plastic wrap and refrigerate for at least 3 hours, though overnight is even better. This chilling time allows all layers to set properly and the flavors to meld together into the perfect harmonious dessert.
Creative Presentation and Serving Ideas
Transform this dessert into an elegant centerpiece by serving it in a beautiful glass trifle bowl, which showcases the stunning layers from every angle. Garnish each individual serving with a drizzle of caramel sauce and a sprinkle of cinnamon for restaurant-quality presentation.
For casual family gatherings, cut into generous squares and serve directly from the baking dish, allowing everyone to see the beautiful cross-section of layers. Provide both dessert spoons and forks, as the varied textures make both useful for enjoying every component.
Consider creating individual portions in mason jars or clear glasses for parties – these portable servings look incredibly professional and eliminate the need for cutting and plating during busy entertaining moments.
Delicious Recipe Variations
Chocolate Lover’s Version
Replace the butterscotch pudding with chocolate pudding and substitute chocolate chips for butterscotch chips. Add a layer of chocolate cookie crumbs between the cream layers for extra indulgence.
Caramel Apple Twist
Use vanilla pudding and add diced, cinnamon-coated apples to the pudding layer. Replace the butterscotch chips with caramel bits and drizzle with additional caramel sauce for a fall-inspired variation.
Berry Bliss Adaptation
Incorporate fresh or frozen berries into vanilla pudding layers and use berry-flavored chips or white chocolate chips. This creates a lighter, fruitier version perfect for summer gatherings.
Peanut Butter Paradise
Combine butterscotch pudding with a layer of peanut butter cream (made by folding peanut butter into part of the cream cheese mixture) and garnish with chopped peanut butter cups for the ultimate indulgent experience.
Smart Make-Ahead and Storage Strategies
This dessert is actually better when made ahead, as the extended chilling time allows flavors to develop and layers to set perfectly. You can prepare it up to two days in advance without any loss of quality – in fact, many people prefer the texture after overnight chilling.
Store covered in the refrigerator for up to four days, though it rarely lasts that long once people discover it. The Cool Whip topping may lose some of its peak texture after day three, but the dessert remains delicious.
For longer storage, individual portions can be frozen for up to one month. Thaw in the refrigerator overnight before serving, though the texture may be slightly different from fresh preparation.
Professional Tips for Perfect Results
Temperature Matters: Ensure your cream cheese is fully softened to room temperature before mixing to avoid lumps in your cream layer. Cold cream cheese will create an uneven, chunky texture that’s difficult to smooth out.
Whipping Technique: Don’t over-whip your cream – stop as soon as stiff peaks form. Over-whipped cream can become grainy and may separate when folded into other ingredients.
Layer Integrity: When spreading each layer, use a gentle touch to avoid disturbing the layers beneath. An offset spatula works particularly well for creating smooth, even layers.
Pudding Consistency: Allow the pudding to set for the full recommended time before using. Runny pudding will mix with other layers instead of maintaining distinct separation.
Frequently Asked Questions
Can I use homemade whipped cream instead of Cool Whip? Absolutely! Homemade whipped cream actually creates a more luxurious texture and flavor. Whip 1 cup heavy cream with 2 tablespoons powdered sugar until stiff peaks form. Keep in mind that homemade whipped cream may not hold its shape quite as long as Cool Whip.
What if my cream cheese layer has lumps? If lumps persist after mixing, push the mixture through a fine-mesh strainer or use an immersion blender briefly to smooth it out. Prevention is best – ensure your cream cheese is fully softened before beginning.
Can I make this gluten-free? Yes! Simply substitute gluten-free graham crackers for regular ones when making the crumb crust. Check that your pudding mix is also gluten-free, as some brands may contain gluten-containing ingredients.
How far ahead can I make this? This dessert can be made up to 2 days ahead of serving for optimal results. The flavors actually improve with time, and the layers set more perfectly with extended chilling.
Why is my pudding layer runny? Ensure you’re following the pudding package directions exactly, using the correct amount of cold milk and whisking for the full recommended time. Let it set for 5 minutes before using – rushing this step can result in runny pudding.
Can I substitute different pudding flavors? Certainly! Vanilla, chocolate, caramel, or even pistachio pudding work beautifully. Adjust your mix-ins and garnishes accordingly to complement your chosen flavor.
What’s the best way to cut clean slices? Use a sharp knife dipped in warm water and wiped clean between cuts. This prevents the layers from dragging and creates neat, professional-looking portions.
Recipe Summary
- Prep Time: 30 minutes
- Cook Time: None (no-bake)
- Chill Time: 3+ hours
- Total Time: 3.5+ hours
- Serves: 12 generous portions
- Difficulty: Beginner-Friendly
- Method: No-bake layered dessert
- Cuisine: American
Required Equipment: Large mixing bowls, electric mixer, 9×13-inch baking dish or trifle bowl, spatulas for spreading
Nutritional Information (per serving): 290 calories, 20g fat, 26g carbohydrates, 3g protein, 22g sugar
Allergy Information: Contains dairy (cream cheese, whipping cream, Cool Whip), gluten (graham crackers), and may contain soy (Cool Whip). Always check specific product labels for individual dietary restrictions and allergen information.


