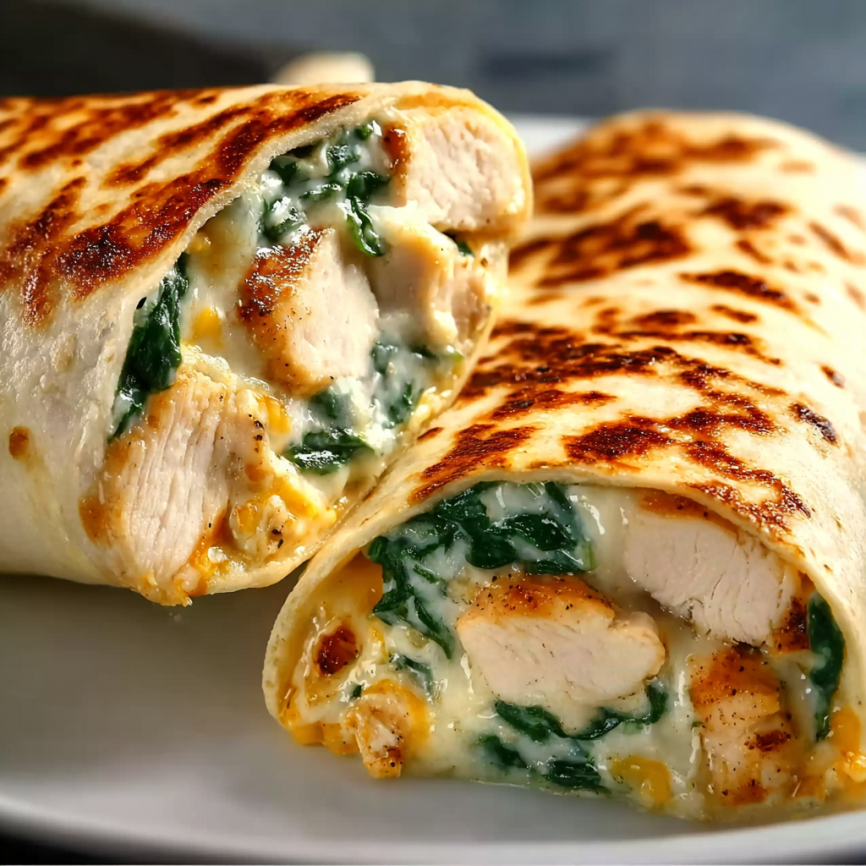
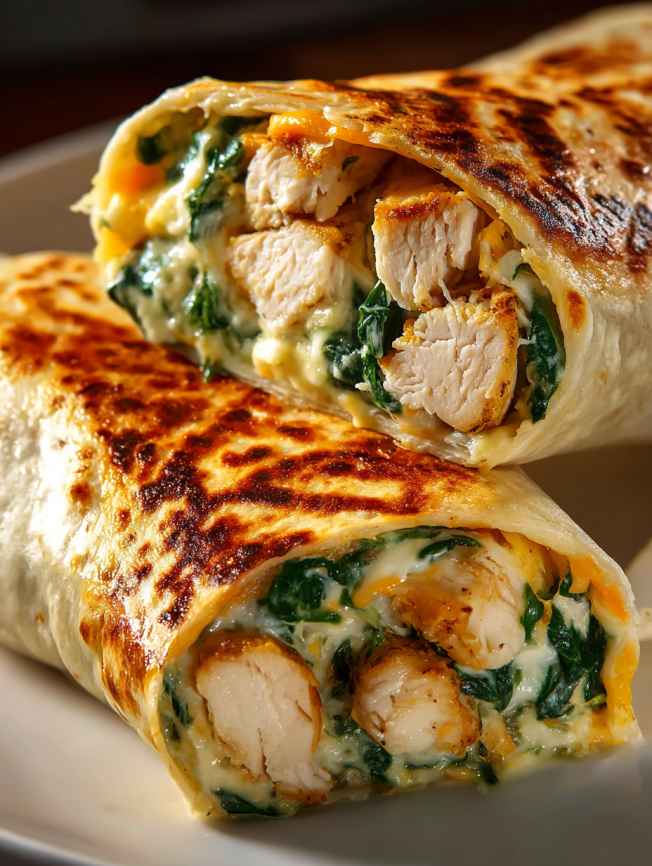
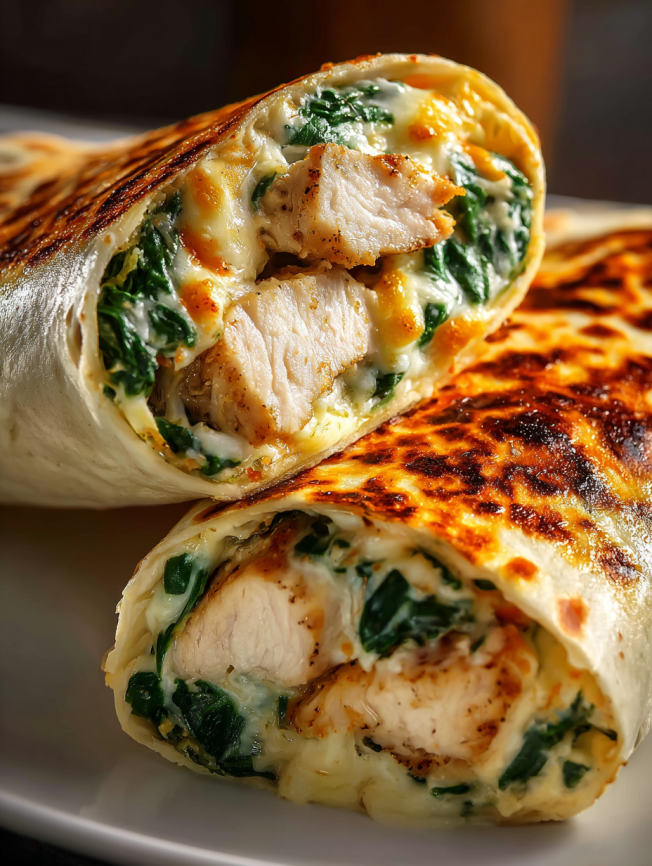
Some of my most treasured family recipes were born from necessity and a well-stocked refrigerator. These cheese garlic chicken wraps emerged during a particularly hectic week when I needed something satisfying, quick, and guaranteed to please everyone at the dinner table. What started as a creative way to use leftover chicken has evolved into one of our most-requested meals. The combination of creamy garlic-infused cheese, tender chicken, and fresh spinach wrapped in a golden, crispy tortilla creates the perfect balance of comfort and nutrition that makes busy weeknights feel special.
Why This Recipe Will Transform Your Meal Planning
These wraps represent the ultimate fusion of convenience and indulgence, delivering restaurant-quality flavors in just 35 minutes. The creamy, garlicky filling provides incredible richness while the pan-seared exterior adds a satisfying textural contrast that elevates simple ingredients into something extraordinary.
What makes this recipe particularly valuable is its incredible adaptability to different schedules and preferences. Prepare the filling hours ahead for quick assembly during busy evenings, or customize the ingredients based on what’s available in your refrigerator. Additionally, the recipe scales beautifully whether you’re feeding a family of four or hosting a casual dinner party.
The nutritional profile adds another compelling reason to love these wraps. Packed with high-quality protein from chicken and cheese, plus vitamins from fresh spinach, they provide sustained energy without feeling heavy. Furthermore, the make-ahead friendly nature means you can batch-cook for multiple meals throughout the week.
Essential Ingredients
Scale: 1x | 2x | 3x
Main Components
- 4 medium flour tortillas – Choose burrito-size for easy wrapping and better portion control
- 300g cooked chicken breast – Rotisserie chicken works perfectly for convenience
- 2 large garlic cloves – Minced finely for even distribution throughout the filling
- 200g cream cheese – Room temperature for easier mixing and smoother texture
- 150g sharp cheese – Mozzarella for mildness or cheddar for tang, freshly grated preferred
- 100g fresh baby spinach – Thoroughly washed and completely dried
- 1 tablespoon Provençal herbs – Or Italian seasoning for similar Mediterranean flavor
- Sea salt and freshly ground black pepper – To taste
- 1 tablespoon olive oil – For pan-searing the assembled wraps
Perfect Serving Companions
- Garlic aioli or tzatziki for dipping
- Fresh cucumber and tomato salad
- Crispy sweet potato fries or roasted vegetables
- Chilled white wine or sparkling water with lime
- Mixed greens salad with balsamic vinaigrette
Step-by-Step Instructions
Preparing the Creamy Filling
Start by ensuring your cream cheese is at room temperature, which allows for easier mixing and creates a smoother final texture. In a large mixing bowl, combine the softened cream cheese with the finely minced garlic, working the mixture until it becomes completely smooth and aromatic.
Next, fold in the grated cheese and Provençal herbs, seasoning generously with salt and pepper. Taste the mixture at this stage to ensure the garlic and herb flavors are well-balanced – you want a rich, flavorful base that will complement the other ingredients beautifully.
Incorporating the Protein and Greens
Add the diced cooked chicken to the creamy cheese mixture, stirring gently to coat each piece thoroughly. The chicken should be evenly distributed throughout the creamy base, ensuring every bite contains protein and flavor.
Finally, fold in the fresh spinach leaves, being careful not to overmix which could bruise the delicate greens. The spinach adds both nutritional value and a pleasant textural contrast to the rich, creamy filling.
Cooking the Filling
Heat olive oil in a large skillet over medium heat until it shimmers slightly. Add the prepared filling mixture and cook for 5-7 minutes, stirring occasionally to prevent sticking while allowing the flavors to meld together beautifully.
During this cooking process, the cream cheese will become more cohesive, the spinach will wilt slightly, and the garlic will mellow into a sweet, aromatic base. Remove from heat and allow to cool slightly before assembling the wraps.
Assembly Technique
Lay each tortilla flat on a clean work surface, positioning them so the bottom edge is closest to you. Spoon approximately one-quarter of the warm filling across the center of each tortilla, leaving adequate space on the sides for proper wrapping.
Starting from the bottom edge, roll each tortilla tightly around the filling, tucking in the sides as you roll to create neat, secure packages. The filling should be completely enclosed with no gaps or openings.
Achieving Golden Perfection
Using the same skillet, cook the assembled wraps seam-side down first for 2-3 minutes until golden brown and crispy. Carefully flip each wrap and cook for another 2-3 minutes until all sides are evenly browned and heated through.
The exterior should be golden and slightly crispy while the interior remains warm and creamy. Remove from heat and let rest for 2-3 minutes before cutting to prevent the filling from spilling out.
Creative Serving Ideas
Transform these wraps into an elegant appetizer by cutting them into smaller pinwheel slices, arranging them on a platter with various dipping sauces. This presentation works beautifully for parties or casual entertaining.
Create a complete meal by serving alongside a fresh salad and roasted vegetables. The richness of the wraps pairs perfectly with crisp, acidic elements like cucumber salad or pickled vegetables that cleanse the palate.
For a fun family dinner, set up a “wrap bar” with different sauce options like garlic aioli, ranch dressing, or spicy mayo, allowing everyone to customize their dining experience according to their preferences.
Delicious Variations
Mexican-Inspired Version
Replace Provençal herbs with cumin and paprika, add diced jalapeños and cilantro, then serve with salsa verde and sour cream for an authentic south-of-the-border experience.
Mediterranean Style
Include sun-dried tomatoes, fresh basil, and feta cheese in the filling. Serve with olive tapenade and a Greek salad for a complete Mediterranean feast.
Buffalo Chicken Version
Mix hot sauce into the cream cheese base and add diced celery to the filling. Serve with blue cheese dressing and celery sticks for classic buffalo flavors.
Veggie-Packed Option
Double the spinach and add sautéed mushrooms, bell peppers, or zucchini for extra vegetables and nutrition while maintaining the same creamy, satisfying character.
Make-Ahead Tips
The filling can be prepared up to 24 hours in advance and stored in the refrigerator, making weeknight assembly incredibly quick and efficient. Simply warm it gently in a skillet before assembling the wraps for best results.
Assembled wraps can be stored in the refrigerator for up to 8 hours before cooking. Wrap them individually in plastic wrap to prevent drying out, then cook directly from cold – just add an extra minute to each side.
Cooked wraps freeze beautifully for up to three months when wrapped tightly in plastic wrap and foil. Thaw overnight in the refrigerator and reheat in a skillet or oven until heated through and crispy.
Professional Tips
Room temperature ingredients mix more easily and create better texture in the final filling. Take cream cheese out of the refrigerator 30-60 minutes before cooking for optimal results.
Don’t overfill the tortillas, as this makes rolling difficult and can cause bursting during cooking. Less filling that’s properly distributed works better than overstuffed wraps.
Cook over medium heat rather than high heat to ensure the filling heats through completely while the exterior browns evenly. High heat can burn the outside while leaving the interior cold.
Allow the cooked wraps to rest briefly before cutting – this prevents the hot filling from spilling out and makes for cleaner, more attractive presentation.
Frequently Asked Questions
Can I use leftover rotisserie chicken for this recipe? Absolutely! Rotisserie chicken is actually ideal because it’s already seasoned and tender. Simply remove the skin and dice the meat into bite-sized pieces for easy incorporation.
What if I don’t have Provençal herbs? Italian seasoning works as an excellent substitute, or create your own blend using dried oregano, thyme, and basil. Fresh herbs work too – just use about three times the amount.
Can I make these wraps without cooking the filling first? While possible, cooking the filling briefly helps meld the flavors and ensures the spinach wilts properly. This step also helps the cream cheese bind everything together more effectively.
How do I prevent the tortillas from cracking when rolling? Warm the tortillas slightly in the microwave for 10-15 seconds or in a dry skillet to make them more pliable. Cold tortillas are more likely to crack during rolling.
Can I bake these instead of pan-frying? Yes! Brush the assembled wraps with olive oil and bake at 200°C for 12-15 minutes, turning once halfway through. The texture will be slightly different but still delicious.
What’s the best way to reheat leftover wraps? Reheat in a skillet over medium heat for 2-3 minutes per side, or in a 180°C oven for 8-10 minutes. Avoid microwaving as it makes the tortilla soggy.
Recipe Details:
- Total Time: 25-35 minutes
- Prep Time: 15-20 minutes
- Cook Time: 10-15 minutes
- Yield: 4 servings
- Diet: Can be made Gluten-Free
- Method: Pan-frying
- Cuisine: International Fusion
Nutrition Per Serving:
- Calories: 350-400
- Protein: 25-30g
- Fat: 20g (10g saturated, 8g unsaturated)
- Carbohydrates: 30g
- Fiber: 3g
- Sugar: 2g
- Sodium: 600-800mg
- Cholesterol: 70mg


