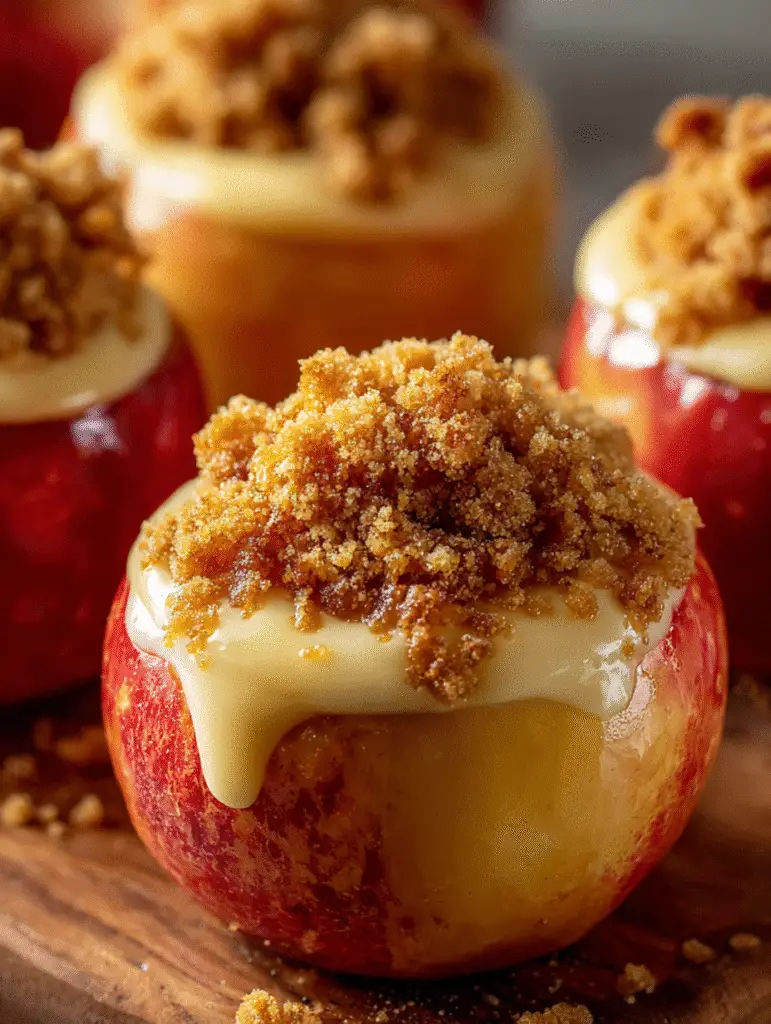
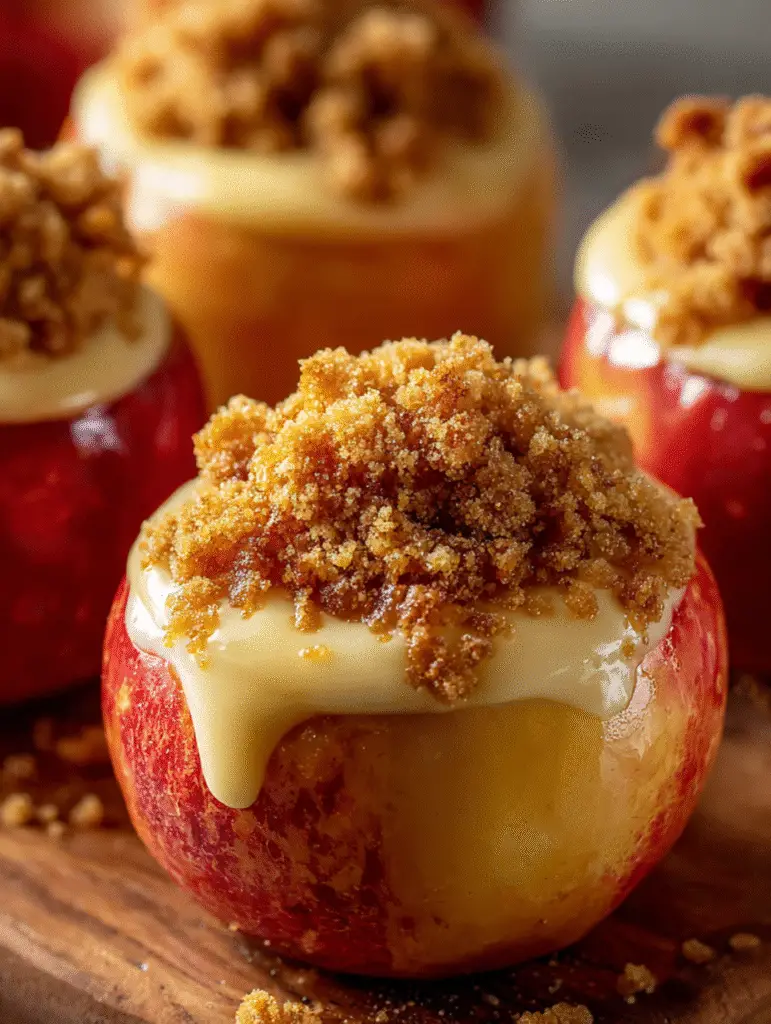
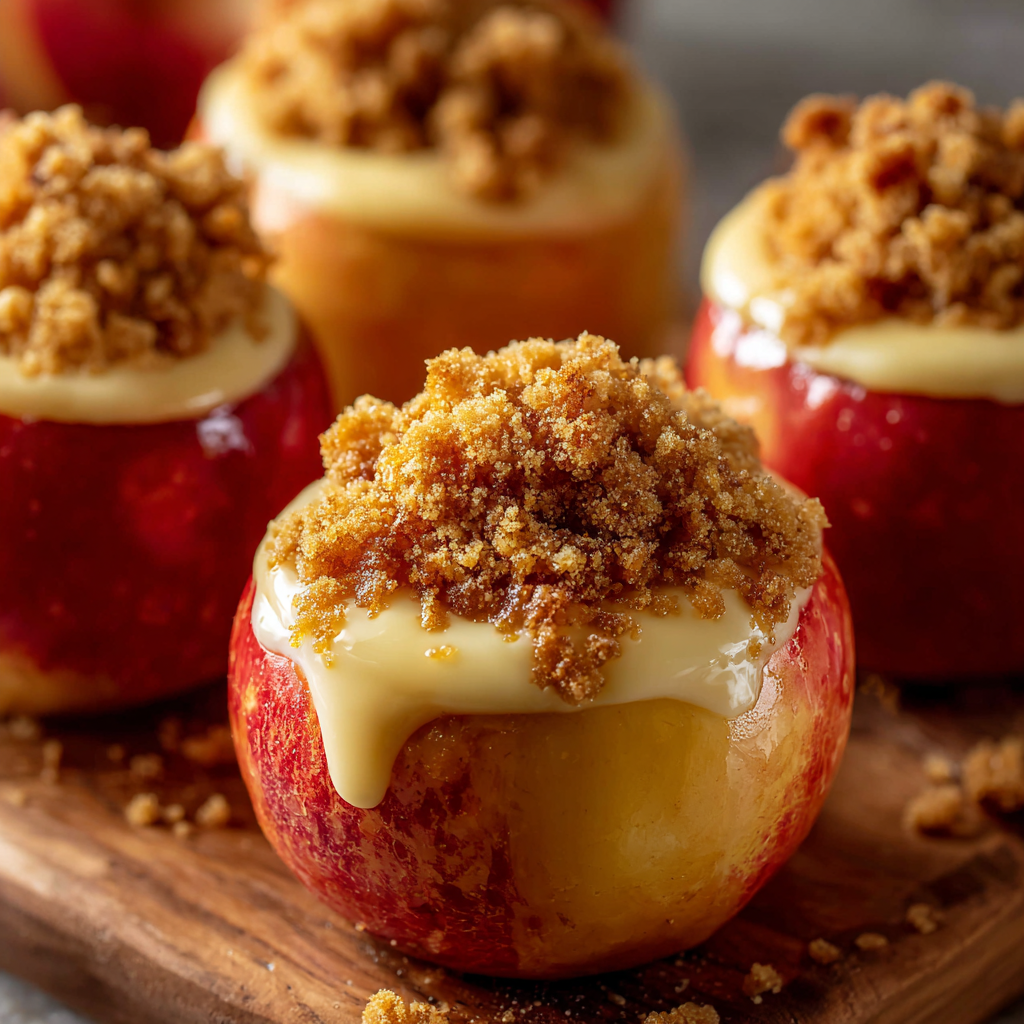
There’s something magical about the combination of warm, tender baked apples and rich, creamy cheesecake filling. The first time I made these Cheesecake Stuffed Baked Apples, I was searching for a dessert that felt both comforting and sophisticated—something that would impress guests but didn’t require hours in the kitchen. As the apples baked and filled my home with the incredible aroma of cinnamon and butter, I knew I’d discovered something special. When I took that first bite, the contrast between the soft, sweet apple and the tangy cheesecake center was absolutely perfect.
This recipe has since become my go-to whenever I want to serve something memorable without the stress. Whether it’s a cozy family dinner or a holiday gathering, these stuffed apples never fail to delight.
Why You’ll Love This Recipe
It’s surprisingly simple to make. Despite looking like an elegant restaurant dessert, this recipe comes together in just 45 minutes from start to finish. Furthermore, the preparation is straightforward enough for beginners while still being impressive enough for experienced bakers.
The flavor combination is irresistible. The tartness of the apples perfectly balances the rich, sweet cheesecake filling. Meanwhile, the buttery graham cracker topping adds a delightful crunch that mimics a classic cheesecake crust.
It’s a versatile dessert. You can easily customize these apples to suit different tastes and dietary needs. Additionally, they work beautifully as individual servings, which makes plating and portion control effortless.
It offers comfort and indulgence in one bite. There’s something deeply satisfying about a warm, baked apple dessert. However, the addition of cheesecake filling elevates it from homestyle comfort to something truly decadent.
Ingredients
For the Stuffed Apples:
- 4 Apples (Granny Smith or Honeycrisp recommended)
- 8 oz Cream cheese, softened
- 1/4 cup Sugar (adjust to taste)
- 1 tsp Vanilla extract
- 1 tsp Cinnamon
- 1 tbsp Lemon juice
For the Topping:
- 1/2 cup Graham cracker crumbs
- 2 tbsp Butter, melted
- Additional cinnamon for sprinkling
Step-by-Step Instructions
Preparing Your Workspace
Begin by preheating your oven to 375°F (190°C). This ensures your oven reaches the perfect temperature by the time your apples are ready to bake. Meanwhile, gather all your ingredients and equipment so everything flows smoothly.
Preparing the Apples
Wash each apple thoroughly under cool running water, then pat them dry with a clean towel. Next, carefully core the apples using an apple corer or a sharp paring knife, making sure to leave the bottom intact. This creates a well that holds the cheesecake filling without leaking during baking. Be careful not to pierce through the bottom, as this would cause the filling to escape.
Making the Cheesecake Filling
In a medium mixing bowl, combine the softened cream cheese, sugar, vanilla extract, and a pinch of cinnamon. Using a hand mixer or sturdy wooden spoon, beat the mixture until it’s completely smooth and creamy with no lumps remaining. The cream cheese must be at room temperature for this step; otherwise, you’ll end up with a lumpy filling that doesn’t blend properly.
Stuffing the Apples
Spoon the cheesecake mixture generously into each cored apple, filling them all the way to the top. Press down gently with the back of your spoon to ensure the filling is well-packed and reaches the bottom of the cavity. Don’t worry if some filling mounds slightly above the top—it will settle beautifully as it bakes.
Creating the Topping
In a small bowl, combine the graham cracker crumbs with melted butter and a sprinkle of cinnamon. Mix thoroughly until the crumbs are evenly coated and resemble wet sand. This buttery topping will become golden and crispy in the oven, providing that essential textural contrast.
Final Assembly
Place your stuffed apples upright in a baking dish, spacing them slightly apart. Generously top each apple with the graham cracker mixture, pressing lightly so it adheres to the cheesecake filling. Then, drizzle lemon juice over and around the apples. The lemon juice serves two purposes: it enhances the overall flavor and prevents the apples from browning during baking.
Baking to Perfection
Transfer the baking dish to your preheated oven and bake for 25-30 minutes. You’ll know they’re ready when the apples are tender enough to pierce easily with a fork and the cheesecake filling has set. The graham cracker topping should be golden brown and fragrant. Once done, remove them from the oven and let them cool for about 5-10 minutes before serving. This brief resting period allows the filling to firm up slightly, making them easier to plate and eat.
Serving Suggestions
These Cheesecake Stuffed Baked Apples are delicious on their own, but there are several ways to take them to the next level. Serve each apple warm with a generous scoop of vanilla ice cream on the side—the contrast between hot and cold is absolutely divine. Alternatively, drizzle them with warm caramel sauce or a dusting of powdered sugar for extra sweetness.
For a more elegant presentation, place each apple on an individual dessert plate with a small pool of caramel sauce beneath it. Garnish with a sprig of fresh mint and perhaps a few extra graham cracker crumbs scattered artfully around the plate. If you’re serving these for a special occasion, consider adding a dollop of whipped cream flavored with a touch of cinnamon or vanilla.
These stuffed apples also pair wonderfully with hot beverages like coffee, spiced chai tea, or hot apple cider, making them perfect for autumn and winter gatherings.

Recipe Variations
Chocolate Lover’s Version
Mix 2 tablespoons of cocoa powder into the cheesecake filling and add mini chocolate chips throughout. Top with crushed chocolate graham crackers instead of regular ones for a double chocolate experience.
Nutty Delight
Add 1/4 cup of finely chopped pecans or walnuts to the graham cracker topping. You can also fold some chopped nuts into the cheesecake filling itself for added crunch and flavor.
Berry Bliss
Swirl 2 tablespoons of strawberry or raspberry preserves into the cheesecake filling before stuffing the apples. The fruity tanginess complements the apples beautifully.
Maple Pecan
Replace the vanilla extract with maple extract in the filling, and add chopped pecans to the topping. Drizzle with pure maple syrup before serving for an autumn-inspired treat.
Pumpkin Spice
Add 2 tablespoons of pumpkin puree and 1/2 teaspoon of pumpkin pie spice to the cheesecake filling. This variation is perfect for fall celebrations and Thanksgiving desserts.
Make-Ahead Tips
These Cheesecake Stuffed Baked Apples are best enjoyed fresh from the oven, but you can definitely prepare components ahead of time to save stress on busy days.
Prep the filling in advance: Make the cheesecake filling up to 24 hours ahead and store it in an airtight container in the refrigerator. When you’re ready to bake, simply bring it to room temperature for easier stuffing.
Core the apples early: You can core the apples up to 4 hours before baking. Brush the insides with lemon juice to prevent browning, then cover them tightly with plastic wrap and refrigerate until needed.
Complete assembly ahead: Stuff the apples completely (including the topping) and refrigerate them for up to 2 hours before baking. When ready to serve, simply pop them in the preheated oven straight from the fridge, adding an extra 5 minutes to the baking time.
Storing leftovers: Store any leftover baked apples in an airtight container in the refrigerator for up to 3 days. Reheat individual apples in the microwave for 30-45 seconds or in a 350°F oven for about 10 minutes until warmed through.
Notes
Choosing the right apples: Granny Smith apples are ideal because their tartness balances the sweet filling perfectly, and they hold their shape well during baking. Honeycrisp apples offer a sweeter alternative with a lovely crisp texture. Avoid very soft varieties like Red Delicious, as they may become mushy when baked.
Cream cheese temperature matters: Always use softened cream cheese at room temperature. Cold cream cheese won’t mix smoothly and will result in a lumpy filling. If you forget to take it out ahead of time, cut it into small cubes and microwave for 10-15 seconds (check frequently to avoid melting).
Don’t skip the lemon juice: The lemon juice not only prevents browning but also adds a bright flavor note that cuts through the richness of the cheesecake filling. It’s a small ingredient that makes a noticeable difference.
Gluten-free option: To make this recipe gluten-free, simply substitute regular graham crackers with gluten-free graham crackers. The texture and flavor remain just as delicious.
Serving temperature: While these apples are incredible warm, they’re also enjoyable at room temperature or even chilled. Each temperature offers a slightly different experience, so feel free to experiment based on your preference.

Frequently Asked Questions
Can I use different types of apples? Absolutely! While Granny Smith and Honeycrisp are recommended for their texture and flavor balance, you can use any firm baking apple. Fuji, Gala, and Pink Lady apples all work well. Just avoid very soft varieties that might collapse during baking.
My cheesecake filling is too thick to pipe or spoon easily. What should I do? This usually means your cream cheese was too cold. Let it sit at room temperature for another 10-15 minutes, then beat it again. If it’s still too thick, you can add a tablespoon of heavy cream or milk to thin it slightly.
Can I make these dairy-free? Yes, substitute the cream cheese with dairy-free cream cheese (like brands made from cashews or almonds) and use plant-based butter for the topping. The results are surprisingly similar to the traditional version.
How do I know when the apples are done baking? The apples should be tender when pierced with a fork but still hold their shape. They shouldn’t be so soft that they collapse. The cheesecake filling will appear set rather than jiggly, and the graham cracker topping will be golden brown.
Can I freeze these stuffed apples? While you can freeze them after baking, the texture of the apples may become slightly softer upon thawing. If you do freeze them, wrap each apple individually in plastic wrap, then place them in a freezer-safe container for up to 2 months. Thaw in the refrigerator overnight and reheat gently in the oven.
What if I don’t have graham crackers? You can substitute with crushed digestive biscuits, vanilla wafers, or even crushed gingersnap cookies for a spicier variation. Each option brings its own unique flavor to the dessert.
The filling leaked out of my apples during baking. What went wrong? This typically happens when the bottom of the apple gets pierced during coring, or if the apples were overfilled. Make sure to leave the bottom intact and fill the apples just to the top without overpacking them.
Nutrition Facts (Per Serving)
Please note: This nutritional information is approximate and should not be used as definitive health advice.
- Calories: 300
- Total Fat: 15g
- Total Carbohydrate: 40g
- Protein: 5g
Recipe Details:
- Prep Time: 15 minutes
- Cook Time: 30 minutes
- Total Time: 45 minutes
- Category: Desserts
- Difficulty: Easy
- Cuisine: American
- Yield: 4 servings (4 stuffed apples)
- Dietary: Vegetarian

