Prep Time: 30 minutes | Cook Time: 0 minutes | Total Time: 1 hour | Yield: 4 cups
My Sweet and Salty Obsession
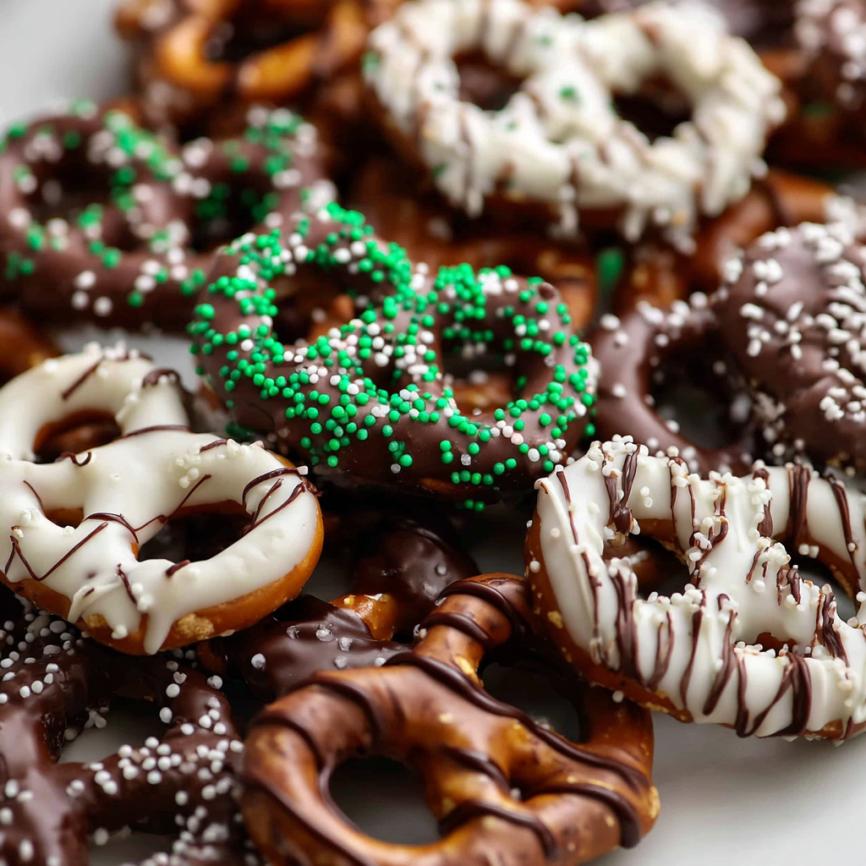
Some of my most cherished childhood memories revolve around standing in my mother’s kitchen, watching her transform ordinary pretzels into glistening, chocolate-coated treasures. The contrast between sweet, velvety chocolate and crunchy, salty pretzels creates pure magic in every bite. Years later, I still find myself reaching for this simple yet satisfying combination whenever I need a quick treat or impressive gift.
What started as a rainy afternoon activity with my kids has evolved into our family’s go-to recipe for holidays, teacher gifts, and spontaneous indulgences. The beauty lies not only in the incredible flavor but also in how this recipe welcomes creativity and experimentation.
Why This Recipe Will Become Your New Favorite
Effortless Elegance
Despite their professional appearance, these chocolate-covered pretzels require no special baking skills or complicated techniques. Within minutes, you’ll transform basic ingredients into stunning treats that look like they came from an upscale candy shop.
Endless Customization Possibilities
This base recipe serves as your canvas for countless variations. Whether you prefer white chocolate elegance, dark chocolate sophistication, or milk chocolate comfort, each option delivers exceptional results. Furthermore, the topping possibilities are virtually limitless.
Perfect for Every Occasion
These versatile treats work beautifully for casual snacking, elegant party platters, holiday gift-giving, or fundraising events. Additionally, they store exceptionally well, making them ideal for advance preparation.
Budget-Friendly Luxury
Creating homemade chocolate-covered pretzels costs significantly less than purchasing premium versions while delivering superior taste and freshness. Moreover, you control every ingredient, ensuring quality and flavor preferences.
Essential Ingredients
Chocolate Foundation
- 8 ounces (226g) premium chocolate – semi-sweet or white chocolate (two 4-ounce bars), finely chopped
- 1/2 teaspoon vegetable oil or coconut oil – for smooth, glossy coating
Pretzel Base
- 4 cups pretzels – any shape or size you prefer
Creative Toppings (Optional)
- Colorful sprinkles for festive appeal
- Crushed candy canes for holiday sparkle
- Chopped nuts for added texture
- Oreo cookie crumbs for cookies-and-cream flavor
- Toffee bits for caramel notes
Step-by-Step Instructions
Setting Up Your Workspace
Begin by lining a large baking sheet with parchment paper, ensuring complete coverage. This preparation prevents sticking and makes cleanup effortless. Having everything ready before melting chocolate is crucial since the coating process moves quickly once you begin.
Mastering the Chocolate Melting Process
Microwave Method (Recommended)
Place finely chopped chocolate and oil in a medium heat-proof bowl. For easiest dipping, use a glass 2-cup liquid measuring cup—its depth makes the coating process significantly smoother.
Microwave in 20-second increments, stirring thoroughly after each interval. This gentle approach prevents overheating, which can cause chocolate to seize or become grainy. Continue until the mixture achieves complete smoothness and glossy consistency.
Double Boiler Alternative
If you prefer traditional methods, melt chocolate and oil in a double boiler over simmering water. Stir constantly until smooth, then remove from heat. This method offers more control but takes slightly longer.
The Art of Perfect Coating
Dip each pretzel completely into the melted chocolate, ensuring full coverage. Using a fork, lift the pretzel out while allowing excess chocolate to drip back into the bowl. Gently tap the fork against the bowl’s edge to remove surplus coating—this prevents unsightly puddles around your finished pretzels.
Carefully slide the coated pretzel onto the prepared baking sheet using a toothpick to help guide it off the fork. Work efficiently since chocolate begins setting quickly at room temperature.
Adding Final Touches
While the chocolate coating remains wet, immediately add your chosen toppings. Sprinkles, crushed nuts, or other decorative elements need to be applied within seconds for proper adhesion. This timing creates the difference between professional-looking treats and amateur attempts.
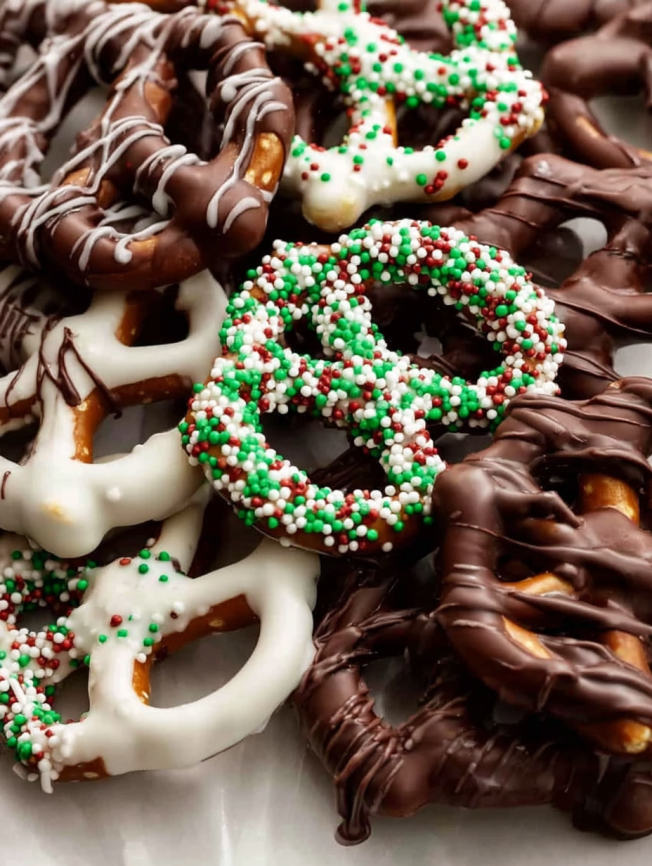
For extra visual appeal, drizzle contrasting chocolate over the set pretzels using a squeeze bottle or fork. This additional layer adds sophistication and allows for creative patterns.
Serving Suggestions
Elegant Presentation Ideas
Arrange finished pretzels on tiered serving platters for impressive displays at parties or gatherings. Alternatively, package them in clear cellophane bags tied with ribbon for thoughtful homemade gifts that rival store-bought confections.
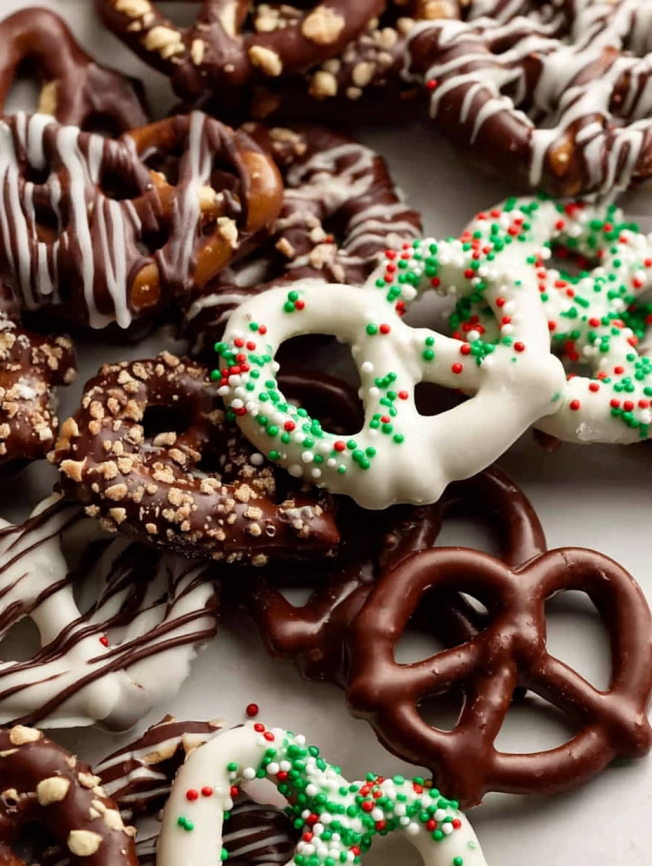
Create themed color schemes by matching sprinkle colors to specific occasions—red and green for Christmas, pastels for Easter, or team colors for sports events.
Perfect Pairing Options
These treats complement coffee, hot chocolate, or dessert wines beautifully. They also make excellent additions to dessert charcuterie boards alongside fresh fruits, nuts, and other confections.
Creative Recipe Variations
Chocolate Variety Exploration
Experiment with different chocolate types to discover your preferences. Dark chocolate provides sophisticated intensity, while milk chocolate offers comforting sweetness. White chocolate creates elegant, vanilla-forward treats that showcase colorful toppings beautifully.
Seasonal Adaptations
Transform basic pretzels into holiday specialties by incorporating seasonal elements. Crushed peppermint candy creates festive winter treats, while pastel sprinkles and Easter-themed decorations make perfect spring confections.
Gourmet Flavor Combinations
Elevate your pretzels with sophisticated topping combinations. Try sea salt flakes on dark chocolate for adult sophistication, or coconut flakes on white chocolate for tropical appeal. Chopped bacon on milk chocolate creates an irresistible sweet-and-savory experience.
Make-Ahead Tips
Advanced Preparation Strategies
These pretzels actually improve with time as flavors meld and chocolate develops optimal texture. Prepare them up to one week in advance, storing in airtight containers at room temperature for best results.
Freezing Guidelines
For longer storage, layer finished pretzels between parchment paper sheets in freezer-safe containers. They’ll maintain quality for up to three months frozen. Thaw at room temperature or in the refrigerator—though the chocolate may appear slightly dull after thawing, the taste remains unaffected.
Storage Optimization
Room temperature storage works best for maintaining chocolate’s appealing appearance and snap. However, refrigerated storage extends shelf life to two weeks while keeping pretzels perfectly edible, though condensation may affect visual appeal.
Essential Notes
Chocolate Selection Matters
Quality chocolate produces superior results in both taste and appearance. Seek out 4-ounce baking chocolate bars from reputable brands like Baker’s or Ghirardelli, found in grocery store baking aisles. These products melt smoothly and provide consistent results.
Avoid chocolate chips entirely—their stabilizers prevent proper melting and create coating difficulties. Similarly, while candy melts work functionally, they lack the rich flavor and smooth texture of real chocolate.
Oil Addition Importance
Vegetable oil creates the ideal consistency for smooth coating, while coconut oil works but produces slightly thicker results. Never substitute butter, which can cause chocolate to seize and become unusable.
If using chocolate melting wafers, skip the oil addition since these products are formulated to melt smoothly without assistance.
Temperature Control Success
Working in moderate room temperatures produces best results. Extremely hot kitchens can prevent chocolate from setting properly, while very cold environments may cause premature hardening during the coating process.
Frequently Asked Questions
Why won’t my chocolate melt smoothly?
Overheating is the most common culprit behind seized or grainy chocolate. Always use short microwave intervals with thorough stirring between each heating. Additionally, ensure no water contacts the chocolate, as even tiny amounts can cause seizing.
Can I use chocolate chips instead of bar chocolate?
Chocolate chips contain stabilizers that prevent proper melting for coating purposes. These additives help chips maintain their shape during baking but create coating difficulties. Stick with quality baking chocolate bars for best results.
How do I prevent chocolate from becoming too thick?
Adding the recommended oil amount helps maintain proper consistency. If chocolate thickens during use, reheat gently in short microwave bursts while stirring. Working in small batches also prevents cooling and thickening issues.
What’s the best way to store leftover melted chocolate?
Refrigerate unused melted chocolate in a covered container for up to one week. Reheat gently when ready to use again, adding a small amount of oil if needed to restore smooth consistency.
Why do my pretzels look streaky after storage?
Chocolate bloom—white or gray streaking—occurs due to temperature fluctuations but doesn’t affect safety or taste. Store finished pretzels in consistent temperatures to minimize blooming, though it’s primarily a cosmetic concern.
Can I make these with sugar-free chocolate?
Sugar-free chocolate works well for coating, though results may vary by brand. Some sugar-free chocolates require different melting techniques, so follow package directions carefully. The taste and texture will differ slightly from traditional versions.
How far in advance can I make these for gifts?
These pretzels maintain peak quality for one week at room temperature, making them perfect for advance gift preparation. Package them in airtight containers or gift bags just before giving to ensure maximum freshness and appeal.
What should I do if chocolate becomes too hot?
Remove overheated chocolate from heat source immediately and stir in small amounts of room-temperature chocolate to cool it down. This tempering technique can often rescue overheated chocolate before it becomes unusable.


