Total Time: 35 minutes | Yield: 12 mozzarella sticks | Servings: 4-6
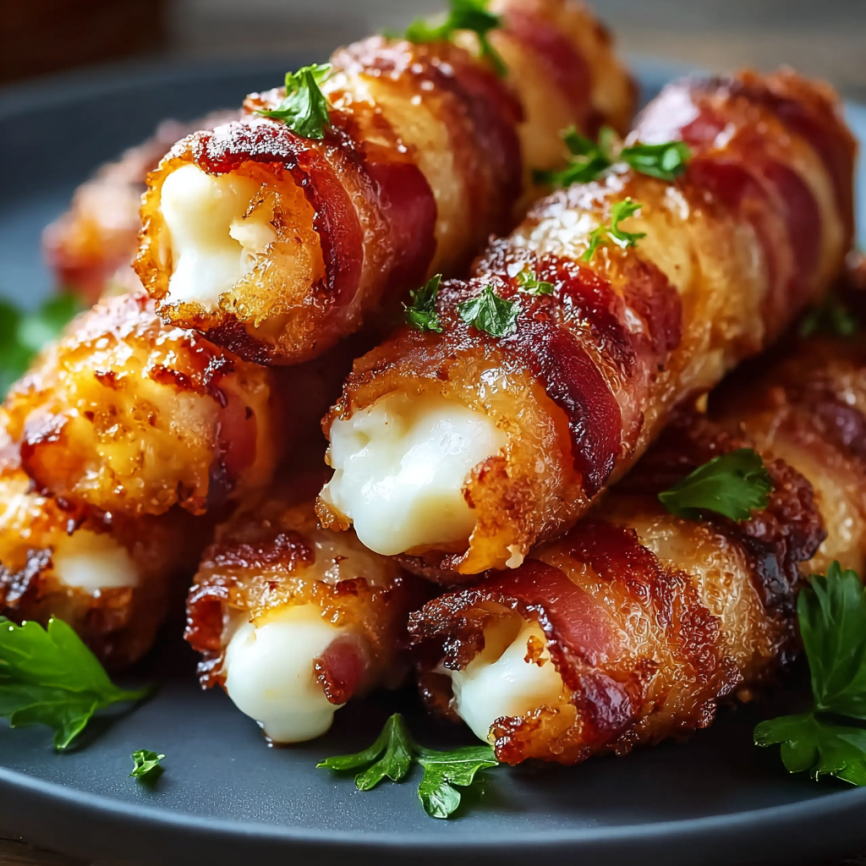
I’ll never forget the moment these bacon-wrapped mozzarella sticks made their debut at my Super Bowl party. As soon as I set the platter down, a hush fell over the room—followed immediately by the sound of everyone reaching for seconds. These aren’t your average mozzarella sticks from the freezer aisle. By wrapping each stick in crispy bacon before coating and frying, you create an indulgent appetizer that’s simultaneously crunchy, savory, and gloriously cheesy. The bacon adds a smoky depth that elevates the simple mozzarella into something truly spectacular.
Why You’ll Love This Recipe
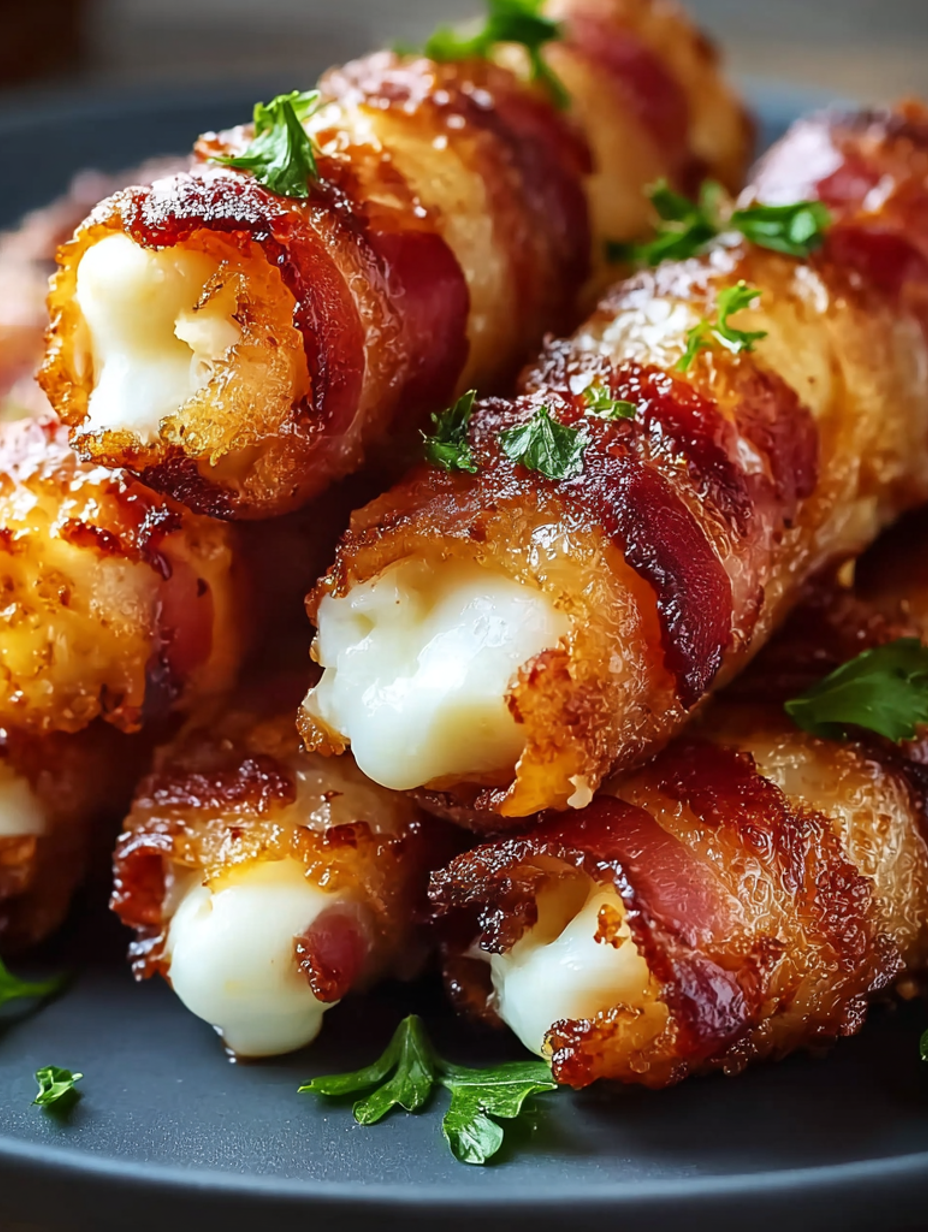
These bacon-wrapped mozzarella sticks check every box for the perfect party appetizer. First, they deliver that coveted contrast of textures—crispy bacon and crunchy breadcrumb coating on the outside, with warm, stretchy mozzarella inside. Beyond the incredible texture, the flavor combination is simply unbeatable. The salty, smoky bacon perfectly complements the mild, creamy cheese, while the seasoned breadcrumb coating adds extra dimension.
What makes this recipe particularly special is the double-cooking method. By pan-frying first and then finishing in the oven, you achieve maximum crispiness on the bacon while ensuring the cheese melts completely without oozing out. This technique delivers restaurant-quality results every single time.
The Secret to Perfect Bacon Wrapping
The key to success lies in choosing the right bacon and wrapping technique. Regular-cut bacon works better than thick-cut here because it crisps up more evenly and wraps more securely around the cheese. Additionally, stretching each bacon slice slightly as you wrap helps it adhere better and reduces excess fat. This attention to detail ensures your bacon stays put during cooking rather than unwrapping in the pan.
Ingredients
Main Components:
- Mozzarella Sticks: 12 (use string cheese for best results)
- Bacon: 12 slices (regular-cut, not thick-cut)
- Large Eggs: 2, beaten
- Olive Oil: For frying (about ½ cup)
Breading Station:
- All-Purpose Flour: 1 cup
- Breadcrumbs: 1 cup (panko creates extra crunch)
- Garlic Powder: 1 teaspoon
- Onion Powder: 1 teaspoon
- Paprika: 1 teaspoon
- Salt: ½ teaspoon, or to taste
- Black Pepper: ½ teaspoon
For Serving:
- Toothpicks: For securing bacon
- Dipping Sauces: Marinara, ranch, or spicy mayo
Step-by-Step Instructions
Step 1: Prepare Your Workspace
Begin by preheating your oven to 400°F (200°C) so it’s ready when you need it. Line a baking sheet with parchment paper and set it aside. Next, set up your breading station with three shallow bowls or plates, which makes the coating process much more efficient. Having everything organized before you start prevents the chaos of searching for ingredients with messy hands.
Step 2: Wrap the Mozzarella Sticks
Take one slice of bacon and wrap it around a mozzarella stick in a spiral pattern, slightly overlapping as you go. The bacon should cover most of the cheese, leaving just the very ends exposed. Secure both ends with toothpicks, pushing them through the bacon and into the cheese to hold everything in place.
Repeat this process with all remaining mozzarella sticks and bacon. If your bacon slices are particularly long, you can trim them slightly to avoid too much overlap, which can lead to uneven cooking. The goal is a single, even layer of bacon around each stick.
Step 3: Create Your Breading Station
In the first shallow bowl, combine the flour with the garlic powder, onion powder, paprika, salt, and pepper. Whisk everything together until the seasonings are evenly distributed throughout the flour. This seasoned flour creates the foundation of flavor for your coating.
In the second bowl, beat the eggs thoroughly until the yolks and whites are completely combined. Adding a tablespoon of water to the eggs can help create a thinner coating that adheres better. Pour the breadcrumbs into the third bowl. For extra crunch, consider using panko breadcrumbs instead of regular Italian breadcrumbs.
Step 4: Coat the Bacon-Wrapped Sticks
Working with one stick at a time, roll it first in the seasoned flour mixture, coating it completely and shaking off any excess. The flour helps the egg adhere to the bacon. Next, dip the floured stick into the beaten eggs, turning to coat all sides thoroughly. Let any excess egg drip back into the bowl.
Finally, roll the egg-coated stick in the breadcrumbs, pressing gently to help the crumbs adhere. Make sure the entire surface is covered with an even layer of breadcrumbs. Place the breaded stick on a clean plate and repeat with all remaining sticks. For an extra-thick coating, you can double-bread them by repeating the egg and breadcrumb steps.
Step 5: Pan-Fry for Crispy Perfection
Pour enough olive oil into a large frying pan to reach about ¼ inch up the sides. Heat the oil over medium heat until it shimmers and a breadcrumb dropped in sizzles immediately. Carefully place 3-4 bacon-wrapped sticks in the hot oil, being careful not to overcrowd the pan, which can lower the oil temperature and result in soggy coating.
Fry for 3-4 minutes on the first side, resisting the urge to move them too early. You want the bacon to crisp up and the coating to turn a deep golden brown. Using tongs, carefully flip each stick and fry the other side for another 3-4 minutes. The bacon should be crispy and the breadcrumbs should be deeply golden.
Once fried, transfer the sticks to a paper towel-lined plate to drain excess oil. Repeat the frying process with the remaining sticks, adjusting the heat if needed to maintain consistent temperature.
Step 6: Finish in the Oven
Transfer all the fried mozzarella sticks to your prepared baking sheet, arranging them in a single layer without touching. Slide the baking sheet into your preheated oven and bake for 5-7 minutes. This final step ensures the cheese inside melts completely into that perfect gooey consistency without causing it to burst through the coating.
Watch carefully during the last couple minutes—you’ll see the sticks puff slightly as the cheese melts. Remove them from the oven as soon as they’re heated through. Let them cool for just 2-3 minutes before serving, as the cheese inside will be molten hot.
Serving Suggestions
These bacon-wrapped beauties shine brightest when served immediately with an array of dipping sauces. Classic marinara sauce offers a tangy, tomato-based contrast to the rich cheese and bacon. Ranch dressing provides cool, creamy relief, while spicy mayo or sriracha aioli adds heat that cuts through the richness.
For entertaining, arrange the sticks on a wooden board or platter with small bowls of various dipping sauces scattered around. Garnish the platter with fresh basil leaves or parsley for a pop of color. They also work wonderfully as part of an appetizer spread alongside buffalo wings, stuffed mushrooms, and a veggie tray with dip.
If you’re serving these as a main course rather than an appetizer, pair them with a crisp Caesar salad or a simple arugula salad with lemon vinaigrette. The fresh greens provide a nice balance to the indulgent fried cheese.
Creative Variations to Try
Italian Herb Version
Add 1 tablespoon of Italian seasoning to your breadcrumb mixture and serve with warm marinara and pesto for dipping. This creates a distinctly Italian flavor profile.
Spicy Jalapeño Kick
Mix finely diced jalapeños into the breadcrumbs and use pepper jack cheese sticks instead of mozzarella. Serve with chipotle ranch for an extra spicy experience.
BBQ Bacon Style
Brush the bacon with barbecue sauce before wrapping and add smoked paprika to the flour mixture. Serve with additional BBQ sauce and ranch for dipping.
Everything Bagel Coating
Replace half the breadcrumbs with everything bagel seasoning for a fun twist. This creates a savory, sesame-forward flavor that’s incredibly addictive.
Pretzel-Crusted Version
Use crushed pretzels instead of breadcrumbs for an ultra-crunchy coating with a slightly salty flavor. Serve with honey mustard or beer cheese dip.
Make-Ahead Tips
These mozzarella sticks are fantastic for advance preparation, making party hosting much easier. You can wrap the sticks in bacon and complete all the breading up to 24 hours before cooking. Simply arrange them on a baking sheet, cover tightly with plastic wrap, and refrigerate until ready to fry.
For even longer storage, freeze the breaded (but not cooked) sticks on a baking sheet until solid, then transfer to a freezer bag. They’ll keep for up to 2 months frozen. When ready to cook, fry them directly from frozen, adding an extra minute or two to each side. The oven time remains the same.
If you want to serve these at a party without last-minute frying, you can fry and bake them up to 2 hours ahead. Keep them warm in a 200°F oven until serving time. While they’re best fresh, this method keeps them reasonably crispy and allows you to enjoy your guests rather than standing over the stove.
Notes
Bacon Selection: Regular-cut bacon works best because it wraps more easily and crisps up better than thick-cut. If you only have thick-cut bacon, consider partially cooking it for 2-3 minutes before wrapping to help it render some fat and become more pliable.
Cheese Temperature: Keep the mozzarella sticks cold until you’re ready to wrap them. Cold cheese is less likely to melt and leak during cooking. Some people even freeze the wrapped and breaded sticks for 30 minutes before frying for extra insurance against cheese blowouts.
Oil Temperature: Maintaining the right oil temperature is crucial. Too hot, and the coating burns before the bacon crisps. Too cool, and you’ll end up with greasy, soggy sticks. A thermometer helps—aim for 350°F.
Toothpick Safety: Remember to warn your guests about the toothpicks! You can remove them after baking if you prefer, though they help keep everything together during serving.
Air Fryer Option: For a lighter version, you can air fry these at 400°F for 10-12 minutes, flipping halfway through. They won’t be quite as crispy as pan-fried, but they’re still delicious with fewer calories.
Prep Time: 20 minutes
Cook Time: 15 minutes
Total Time: 35 minutes
Yield: 12 bacon-wrapped mozzarella sticks
Servings: 4-6 people
Nutrition (Per Stick)
- Calories: 250
- Fat: 18g
- Carbohydrates: 15g
- Protein: 13g
- Sodium: 550mg
- Fiber: 1g
- Cholesterol: 60mg
Storage Instructions
While these are definitely best enjoyed fresh and hot, you can store leftovers if needed. Let the sticks cool completely, then place them in an airtight container with paper towels between layers to absorb moisture. Refrigerate for up to 3 days.
To reheat, avoid the microwave, which makes them soggy. Instead, place the sticks on a baking sheet and reheat in a 375°F oven for 8-10 minutes, or until the bacon crisps up again and the cheese melts. You can also reheat them in an air fryer at 350°F for 5-6 minutes for the crispiest results.
For freezing already-cooked sticks, cool them completely and freeze in a single layer on a baking sheet. Once frozen solid, transfer to a freezer bag for up to 2 months. Reheat from frozen in a 375°F oven for 15-18 minutes.
Frequently Asked Questions
Q: Can I bake these instead of frying?
A: Yes, though they won’t be quite as crispy. Arrange the breaded sticks on a wire rack set over a baking sheet and bake at 400°F for 18-20 minutes, flipping halfway through. Lightly spray them with cooking oil before baking for better browning.
Q: Why does my cheese keep leaking out?
A: This usually happens when the cheese gets too warm before cooking or if there are gaps in the coating. Keep the sticks cold, ensure complete coverage with breading, and don’t overcook them. Some cooks freeze the breaded sticks for 30 minutes before frying for extra security.
Q: Can I use turkey bacon instead?
A: While you can use turkey bacon, it won’t crisp up as well as regular bacon and has a different flavor. If using turkey bacon, you may want to cook it partially before wrapping to ensure it gets crispy enough.
Q: What’s the best cheese to use?
A: String cheese (which is mozzarella) works perfectly because it’s pre-portioned, melts beautifully, and has the right moisture content. You can also use cheddar, pepper jack, or even brie for different flavor profiles, though these cheeses have different melting points.
Q: How do I prevent the breadcrumbs from falling off?
A: Make sure each stick goes through all three coating steps thoroughly, and press the breadcrumbs firmly onto the surface. Letting the breaded sticks rest in the refrigerator for 15-20 minutes before frying helps the coating set and adhere better.
Q: Can I make these gluten-free?
A: Absolutely! Use gluten-free flour and gluten-free breadcrumbs or crushed gluten-free crackers. The recipe works exactly the same way with these substitutions.
Q: What dipping sauces pair best with these?
A: Classic marinara is always a winner, but ranch dressing, honey mustard, spicy mayo, garlic aioli, and buffalo sauce all work wonderfully. For something different, try cranberry sauce or hot pepper jelly for a sweet-savory contrast.
Q: How many should I make per person?
A: As an appetizer, plan for 2-3 sticks per person. If serving these as a main course or for a group of enthusiastic eaters, consider 4-5 per person. They’re so delicious that people always want more than expected!


