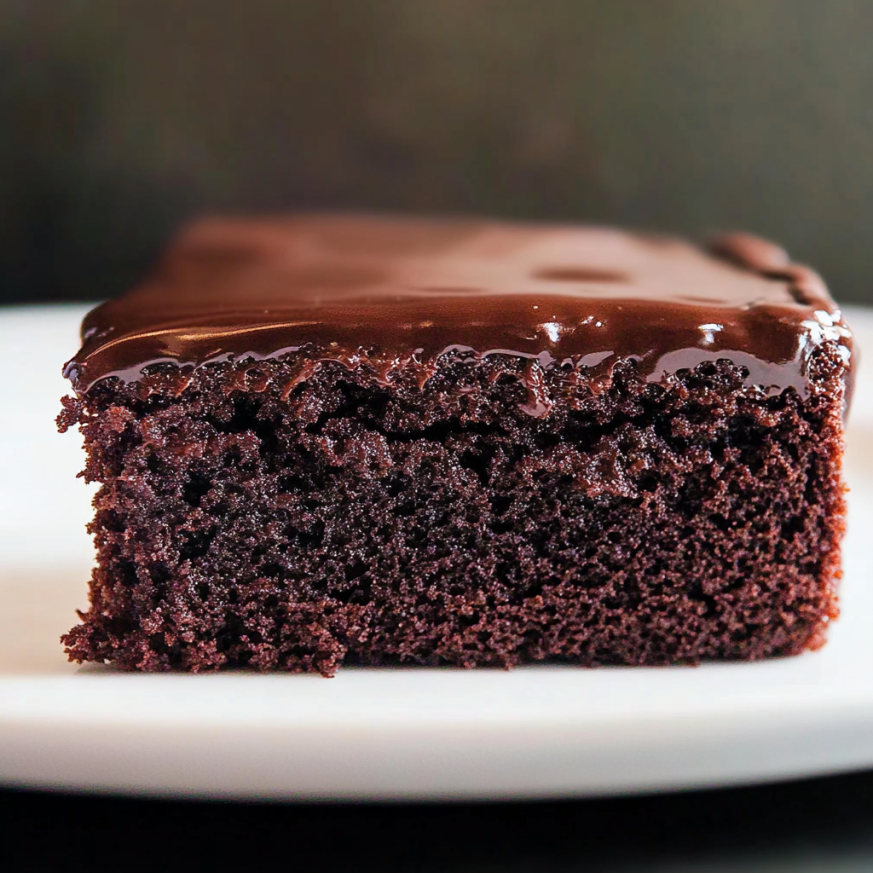
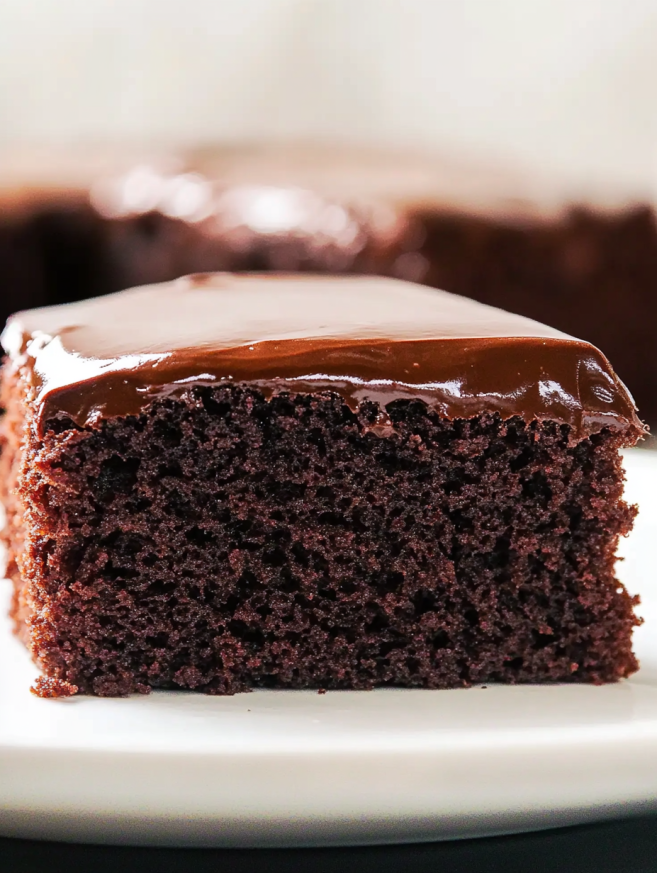
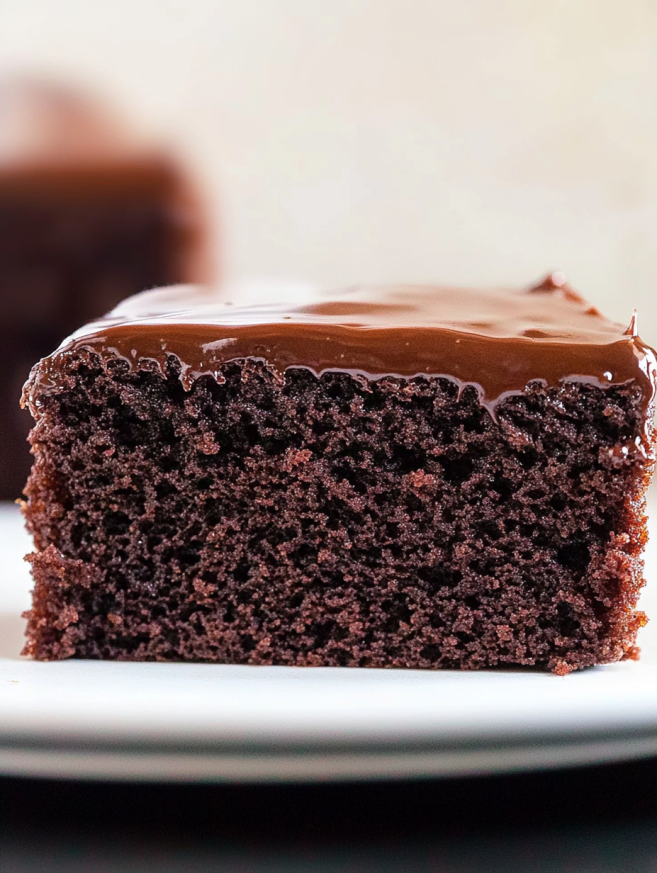
Growing up, my grandmother would tell stories about the Great Depression, when families had to get creative with whatever ingredients they could find. One of her most treasured recipes was this remarkable chocolate cake that required no eggs, butter, or milk – just simple pantry staples that somehow transformed into pure magic. Recently, while rummaging through her old recipe box, I discovered her handwritten card for “Depression Cake,” and it immediately transported me back to her cozy kitchen filled with the aroma of chocolate and love.
Why You’ll Fall in Love with This Recipe
This isn’t just any chocolate cake – it’s a testament to resourcefulness and incredible flavor. What makes this recipe absolutely irresistible is how it defies every baking rule you’ve ever learned. Without traditional ingredients like eggs or dairy, this cake somehow emerges from the oven incredibly moist, rich, and deeply chocolatey.
Furthermore, the simplicity is genuinely refreshing in our world of complicated recipes. You won’t need to soften butter, separate eggs, or worry about ingredient temperatures. Instead, you’ll create wells in your dry ingredients and pour liquids directly into them – a technique that feels almost magical when you watch it come together.
Additionally, this recipe is naturally vegan and can easily accommodate various dietary restrictions. The result is a cake that tastes like it took hours of preparation, yet requires minimal effort and basic ingredients you likely already have at home.
Essential Ingredients & Serving Information
Prep Time: 15 minutes
Bake Time: 30 minutes
Total Time: 45 minutes
Serves: 9 generous portions
For the Cake Batter
- 1½ cups all-purpose flour
- 1 cup granulated sugar
- ⅓ cup unsweetened cocoa powder
- 1 teaspoon baking soda
- ½ teaspoon salt
- 1 cup water
- ⅓ cup vegetable oil
- 1 tablespoon white vinegar
- 1 teaspoon vanilla extract
For the Chocolate Icing
- 1 cup powdered sugar
- 2 tablespoons unsweetened cocoa powder
- 2 tablespoons vegetable oil
- 1 pinch salt
- 2 tablespoons hot water (plus extra if needed)
- ½ teaspoon vanilla extract
Perfect Serving Companions: Fresh berries, vanilla ice cream, whipped cream, or a simple dusting of powdered sugar.
Step-by-Step Instructions
Preparing the Cake
Begin by preheating your oven to 350°F and greasing an 8×8-inch baking pan thoroughly. Alternatively, you can line it with parchment paper for easier removal later.
Next, combine all dry ingredients in a large mixing bowl. Whisk together the flour, sugar, cocoa powder, baking soda, and salt until evenly distributed. This step ensures your cake will have consistent flavor throughout.
Now comes the fun part – creating three wells in your dry mixture. Using a spoon or your finger, make three separate indentations in the flour mixture. Pour the vegetable oil into one well, white vinegar into the second, and vanilla extract into the third.
Subsequently, pour the water over the entire mixture and stir until the batter becomes smooth. Don’t worry if it looks thin – this is exactly what creates the cake’s incredible moisture.
Transfer the batter into your prepared pan, spreading it evenly. Bake for 30-35 minutes, or until a toothpick inserted in the center comes out clean or with just a few moist crumbs.
Creating the Perfect Icing
While your cake cools completely, prepare the chocolate icing. Start by whisking together powdered sugar, cocoa powder, and salt in a medium bowl.
Then, add the vegetable oil, vanilla extract, and 2 tablespoons of hot water. Mix vigorously until the icing becomes smooth and glossy. If the consistency seems too thick, gradually add more hot water, one teaspoon at a time, until you achieve your desired consistency.
Finally, pour the icing over the completely cooled cake, allowing it to drip naturally down the sides for a rustic, homestyle appearance.
Creative Serving Suggestions
This versatile cake shines in numerous presentation styles. For casual family dinners, serve it directly from the pan with a dollop of vanilla ice cream. The contrast between the rich chocolate and creamy vanilla creates a delightful experience.
During special occasions, consider cutting the cake into elegant squares and plating them individually with fresh raspberries or strawberries. The tartness of the berries beautifully complements the deep chocolate flavor.
Moreover, this cake makes an excellent base for trifles. Simply cube the cake, layer it with pudding and whipped cream in glass bowls, and you’ll have an impressive dessert that looks far more complicated than it actually is.
Delicious Recipe Variations
Spiced Depression Cake
Add ½ teaspoon ground cinnamon and ¼ teaspoon cayenne pepper to the dry ingredients for a subtle warming kick that enhances the chocolate flavor.
Coffee-Enhanced Version
Replace the water with strong brewed coffee (cooled to room temperature) for an intensely rich, mocha-flavored cake that coffee lovers will adore.
Fruit-Studded Variation
Fold in ½ cup of mini chocolate chips, dried cherries, or chopped walnuts just before transferring the batter to the pan. These additions provide delightful texture contrasts.
Citrus Twist
Add 1 tablespoon of orange zest to the batter and replace the vanilla in the icing with orange extract for a sophisticated flavor combination.
Make-Ahead Tips
This cake actually improves with time, making it perfect for advance preparation. Once completely cooled and iced, cover the cake tightly with plastic wrap or store it in an airtight container. It will stay fresh at room temperature for up to three days.
For longer storage, wrap individual slices in plastic wrap and freeze for up to three months. When you’re ready to enjoy, simply thaw at room temperature for about 30 minutes.
Additionally, you can prepare the dry ingredients mixture several days ahead and store it in an airtight container. When you’re ready to bake, just add the wet ingredients and proceed with the recipe.
Important Notes
The vinegar in this recipe isn’t a mistake – it reacts with the baking soda to create lift and tenderness in the absence of eggs. Don’t substitute it with lemon juice, as the acidity level differs significantly.
Temperature matters for the icing. Using hot water helps dissolve the cocoa powder completely, preventing a gritty texture. However, make sure your cake is completely cool before icing to prevent melting.
Furthermore, don’t overmix the batter once you add the water. Gentle stirring until just combined will ensure a tender crumb structure.
Frequently Asked Questions
Q: Why is it called Depression Cake? A: This cake earned its name during the Great Depression when ingredients like eggs, butter, and milk were scarce or expensive. Families created this recipe using affordable pantry staples, proving that delicious desserts were still possible during difficult times.
Q: Can I make this cake in a different pan size? A: Absolutely! For a 9×13-inch pan, double the recipe and bake for 35-40 minutes. For two 8-inch round pans, divide the batter evenly and reduce baking time to 25-30 minutes.
Q: What can I substitute for vegetable oil? A: Melted coconut oil (cooled slightly), canola oil, or even applesauce work well. Each substitution will slightly alter the texture, with applesauce creating a slightly denser cake.
Q: My icing seems too thin. How can I fix it? A: Gradually add more powdered sugar, one tablespoon at a time, until you achieve your desired consistency. Alternatively, let it sit for 10 minutes – it will thicken slightly as it cools.
Q: Can I make this cake gluten-free? A: Yes! Replace the all-purpose flour with a 1:1 gluten-free flour blend. The texture may be slightly different, but the flavor remains delicious.
Q: How do I know when the cake is done? A: Insert a toothpick into the center – it should come out clean or with just a few moist crumbs. The cake will also start pulling slightly away from the pan edges when ready.
Nutritional Information (per serving):
- Calories: 323
- Carbohydrates: 54g
- Fat: 12g
- Protein: 3g