Total Time: 1 hour 15 minutes | Yield: 8-10 servings
Introduction
Halloween has always been my favorite time of year, not just for the costumes and decorations, but for the excuse to make ridiculously fun, colorful treats. Last year, I was frantically searching for a last-minute snack to bring to my daughter’s school Halloween party when I stumbled upon this popcorn recipe. It was an instant hit with both kids and adults, and I’ve been making it every October since then. The best part? My kids can help with almost every step, making it a fun family activity that results in a delicious treat.
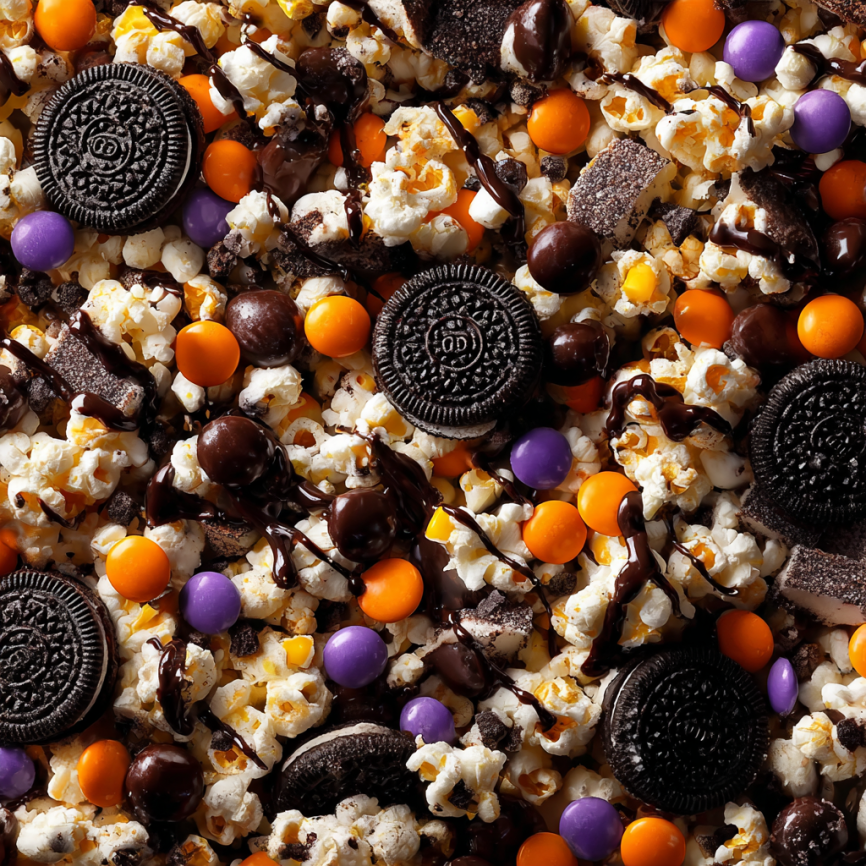
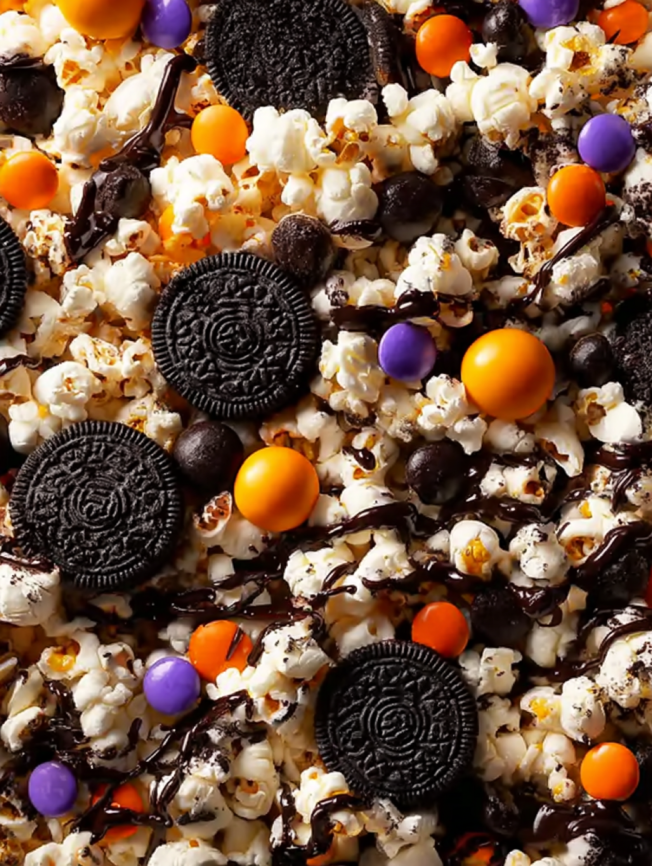
What makes this Halloween popcorn truly special is its perfect balance of sweet and salty, crunchy and chewy. The sticky-sweet candy coating clings to every kernel, while crushed Oreos, colorful M&Ms, and festive sprinkles create texture and visual appeal. It’s endlessly customizable, incredibly forgiving, and looks impressive despite being remarkably simple to make. Whether you’re hosting a Halloween bash, planning a spooky movie marathon, or looking for homemade treats to share with neighbors, this recipe delivers every time.
Why You’ll Love This Recipe
Perfect Party Snack: This eye-catching treat becomes an instant conversation starter at any Halloween gathering. The vibrant orange and black colors scream Halloween, making it both delicious and decorative on your party table.
Kid-Friendly Fun: Children love helping with this recipe, from crushing Oreos to sprinkling toppings. It’s a safe, supervised activity that gets them excited about cooking and gives them ownership of the final product.
Endlessly Customizable: Use whatever Halloween candies and treats you have on hand. There’s no wrong way to make this popcorn—every combination turns out delicious and festive.
Make-Ahead Convenience: Prepare this snack days in advance without sacrificing quality. It actually improves as it sits, allowing flavors to meld while maintaining that satisfying crunch.
Budget-Friendly: Using affordable ingredients like popcorn, candy melts, and seasonal candies makes this an economical option for feeding crowds or creating multiple gift bags for trick-or-treaters.
Ingredients
Base:
- 8-10 cups popped popcorn (about ½ cup unpopped kernels)
Coating:
- 10-12 oz candy melts in black and orange (or your choice of Halloween colors)
Toppings:
- 8-10 Halloween Oreo cookies, crushed
- 1 cup Halloween M&Ms
- ½ cup Halloween sprinkles
Optional Add-Ins:
- Mini marshmallows
- Candy corn
- Pretzel pieces
- Reese’s Pieces
- Candy eyeballs
- Chocolate chips
Step-by-Step Instructions
Preparing Your Workspace
Step 1: Set Up Your Station Line a large baking sheet or rimmed baking pan with parchment paper, wax paper, or a silicone baking mat. Having your workspace prepared before you start prevents the candy-coated popcorn from sticking and makes cleanup effortless. If making a large batch, prepare two baking sheets.
Step 2: Pop and Spread the Popcorn Pop your popcorn using your preferred method—air popper, stovetop, or microwave. Remove any unpopped kernels, as these can be hard on teeth and disrupt the texture. Spread the popped popcorn in a single, even layer across your prepared baking sheet. The more evenly distributed the popcorn, the better the candy coating will cover each piece.
Creating the Candy Coating
Step 3: Melt the Candy Following the package directions, melt your candy melts in the microwave or using a double boiler. For microwave melting, use 30-second intervals, stirring between each round to prevent burning. The candy should be smooth, glossy, and easily pourable. Black and orange candy melts create classic Halloween vibes, but purple, green, or even white can work beautifully.
Step 4: First Drizzle Layer Transfer half of the melted candy into a squeeze bottle, pastry bag, or use a spoon for drizzling. Working in a zigzag motion across the popcorn, drizzle the melted candy generously over the surface. Don’t worry about perfection—random, organic drizzles look more artistic and ensure good coverage.
Adding the Festive Toppings
Step 5: Apply First Round of Toppings While the candy drizzle is still wet and sticky, immediately sprinkle half of your crushed Oreos, M&Ms, and Halloween sprinkles over the popcorn. Work quickly so the toppings adhere properly to the melted candy. Press larger pieces gently into the candy to ensure they stick.
Step 6: First Setting Period Allow the popcorn to sit undisturbed for 30-60 minutes at room temperature. During this time, the candy coating will firm up and lock all those delicious toppings in place. Resist the temptation to touch it—patience creates better results. If you’re in a hurry, you can refrigerate it for 15-20 minutes to speed up the process.
Creating the Second Layer
Step 7: Mix and Redistribute Once the first candy layer has completely hardened, gently break up any large clusters and mix the popcorn together with your hands. This redistributes the toppings and ensures every piece gets coated. Spread the mixture back out evenly over the parchment paper in a single layer.
Step 8: Second Drizzle and Toppings Melt the remaining candy melts if they’ve solidified, or use your reserved melted candy. Drizzle this second layer over the mixed popcorn using the same zigzag technique. Immediately add the remaining crushed cookies, M&Ms, and sprinkles while the candy is still wet.
Step 9: Final Setting Let the popcorn dry completely at room temperature for another 30-60 minutes, or refrigerate for 15-20 minutes. The second layer should be completely firm before breaking apart. This double-coating method ensures every bite is packed with flavor and texture.
Finishing Touches
Step 10: Break and Serve Once fully set, use your hands to break the popcorn into bite-sized clusters. Some pieces will naturally stick together, creating those coveted candy-coated clumps everyone fights over. Transfer to a serving bowl or package in individual treat bags for gifting or party favors.
Serving Suggestions
For Halloween parties, present this festive popcorn in a large cauldron or black serving bowl surrounded by fake spider webs and plastic spiders. The theatrical presentation adds to the spooky atmosphere and makes the snack table more engaging.
Package individual portions in clear cellophane bags tied with orange and black ribbon for trick-or-treaters or party favors. Add a festive tag that says “Happy Halloween” or “Boo!” for a personal touch that guests will appreciate.
Create a snack mix station at your party with this popcorn alongside other treats like candy corn, pretzels, and nuts. Guests can customize their own mix, making it interactive and accommodating different preferences.
Serve it during Halloween movie marathons in individual paper cones or popcorn boxes. The convenient, mess-free format is perfect for eating while enjoying spooky films with family and friends.
Recipe Variations
Monster Munch Mix
Use bright green candy melts and add gummy worms, candy eyeballs, and green sprinkles. The vibrant color creates a fun “monster” theme that kids absolutely love.
Candy Corn Crunch
Skip the Oreos and load up on candy corn, candy pumpkins, and autumn-colored sprinkles. Use white, orange, and yellow candy melts to match the classic candy corn color scheme.
Chocolate Peanut Butter Version
Use chocolate candy melts and add Reese’s Pieces, mini peanut butter cups (chopped), and peanut butter chips. This satisfies chocolate-peanut butter lovers while maintaining the festive appearance.
White Chocolate Ghost Popcorn
Use only white candy melts, add mini marshmallows, and white chocolate chips. Decorate with black edible marker to create little ghost faces on some marshmallows for an adorable twist.
Adult Halloween Party Mix
Add pretzel pieces, peanuts, and a light drizzle of caramel along with the candy coating. Finish with a sprinkle of sea salt for sophisticated sweet-and-salty flavor that appeals to grown-up palates.
Make-Ahead Tips
Advance Preparation: This popcorn can be made up to 5 days before your event. Store it in an airtight container at room temperature, layering pieces between sheets of parchment paper to prevent sticking.
Candy Melt Storage: If preparing components separately, melt your candy melts just before assembly. Candy melts don’t keep well once melted and remelted, so it’s best to work with fresh batches.
Popcorn Freshness: Pop your popcorn the day you plan to coat it for optimal crunch. Day-old popcorn becomes slightly stale and won’t have that perfect texture contrast with the sweet coating.
Gift Packaging: Package the popcorn in bags or containers 1-2 days before giving. This allows the candy coating to fully set and prevents any stickiness that might occur with freshly made batches.
Humidity Considerations: In humid climates, store the popcorn with a silica gel packet in the container to absorb excess moisture. Humidity can make the candy coating sticky and less appealing.
Notes
Popcorn Selection: Use plain, lightly salted popcorn for the best flavor balance. Avoid heavily buttered or flavored popcorn, which can clash with the sweet candy coating.
Candy Melt Quality: Not all candy melts are created equal. Wilton and Ghirardelli brands melt smoothly and taste delicious. Cheaper alternatives sometimes have a waxy texture and less appealing flavor.
Color Mixing: Keep different candy melt colors separate during melting. Mixing them creates muddy brown instead of vibrant Halloween colors. Clean your spoon between colors to maintain brightness.
Crushing Cookies: Place Oreos in a zip-top bag and crush with a rolling pin or the bottom of a measuring cup. Aim for various sizes—some fine crumbs and some larger chunks—for interesting texture.
Even Distribution: Don’t pile all the toppings in one spot. Scatter them evenly across the entire batch so every handful contains a good mix of goodies.

Frequently Asked Questions
Can I use regular chocolate instead of candy melts? Yes, but add 1 tablespoon of coconut oil or shortening per cup of chocolate chips to thin it for easier drizzling. Regular chocolate tends to be thicker than candy melts when melted.
How do I prevent the popcorn from getting soggy? Make sure the popcorn is completely cooled and dry before adding the candy coating. Any residual moisture or steam will create sogginess. Also, store it in an airtight container with minimal humidity exposure.
Can I make this without the Oreos? Absolutely! The Oreos are optional. Substitute with crushed graham crackers, pretzels, or simply increase the amount of M&Ms and sprinkles for a simpler version.
Why is my candy coating not hardening? This typically happens if the candy melts were overheated or if there’s too much humidity. Try refrigerating the popcorn for 15-20 minutes to help it set faster.
How should I store leftover Halloween popcorn? Keep it in an airtight container at room temperature for up to 5 days. Avoid refrigeration, as condensation can make the coating sticky when brought back to room temperature.
Can I use microwave popcorn? Yes, but choose plain or lightly salted varieties. Avoid butter-flavored microwave popcorn, as the artificial butter flavor clashes with the sweet candy coating.
Is this recipe gluten-free? The popcorn, candy melts, and M&Ms are typically gluten-free, but regular Oreos contain gluten. Substitute gluten-free cookies or omit them entirely for a celiac-safe version. Always check labels.
Can I make this with already-bagged popcorn? Freshly popped popcorn works best, but in a pinch, pre-bagged popcorn can work. Just make sure it’s not stale and has minimal seasoning or flavoring.
Prep Time: 15 minutes | Setting Time: 1 hour | Category: Snack/Dessert | Method: No-Bake | Cuisine: American | Difficulty: Easy | Dietary: Vegetarian
Nutrition Information (Per Serving)
- Serving Size: 1 cup (about 1/8 of recipe)
- Calories: 200
- Total Fat: 8g
- Total Carbohydrates: 32g
- Protein: 2g
Nutrition information is approximate and may vary based on specific ingredients and portion sizes used.


