Yield: 17 cookies | Prep: 25 minutes | Cook: 10 minutes
Every October, my kitchen transforms into a Halloween wonderland filled with the rich aroma of chocolate and the colorful chaos of candy decorations scattered across every surface. These Halloween cookies have become the centerpiece of my spooky season baking tradition, born from my desire to create something that looked as enchanting as it tasted. Initially, I was searching for the perfect cookie to bring to my neighborhood Halloween party, something that would make both kids and adults stop in their tracks.
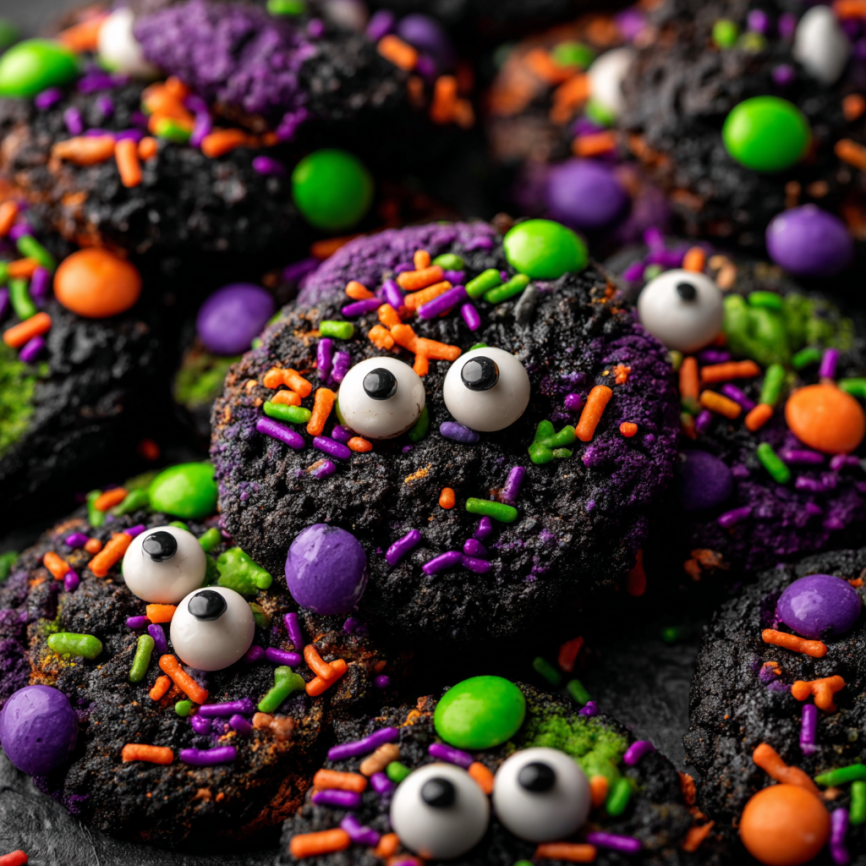
The magic happened when I combined the deep, mysterious color of black cocoa with playful Halloween candies and those wonderfully quirky candy eyeballs. What emerged from my oven was nothing short of spectacular – cookies that looked like they belonged in a witch’s kitchen but tasted like pure heaven. These treats have since become my signature Halloween recipe, requested by everyone from my children’s teachers to my coworkers.
Why These Will Become Your Go-To Halloween Cookies
Spectacular Visual Impact
These cookies are absolute showstoppers with their dramatic black color contrasted against vibrant Halloween M&Ms and whimsical candy eyeballs. Furthermore, the black cocoa powder creates an almost supernatural darkness that perfectly captures the Halloween spirit while maintaining incredible chocolate flavor.
Perfect Texture Combination
The blend of both brown and granulated sugars creates cookies with beautifully soft centers and slightly crispy edges. Additionally, using only egg yolks instead of whole eggs contributes to their rich, tender texture that melts in your mouth.
Irresistible Chocolate Flavor
Black cocoa powder delivers an intense chocolate taste that’s deeper and more complex than regular cocoa powder. Moreover, it provides that distinctive “Oreo-like” flavor that both children and adults find absolutely irresistible.
Party-Ready Convenience
With a relatively quick prep time and simple technique, these cookies are perfect for busy Halloween schedules. Consequently, you can whip up a batch even when time is tight, making them ideal for last-minute party contributions or surprise treats.
Essential Ingredients Breakdown
Dry Foundation
- 1¼ cups (156g) all-purpose flour, spooned and leveled
- 5 tbsp (35g) black cocoa powder
- ½ tsp baking powder
- ½ tsp baking soda
- ½ tsp salt
Creamy Base Components
- ¾ cup (168g) unsalted butter, softened
- ¾ cup (165g) light brown sugar, packed
- ¼ cup (50g) granulated white sugar
- 2 egg yolks, at room temperature
- 1 tsp vanilla extract
Halloween Magic Additions
- ¾ cup (170g) Halloween M&Ms
- 3 tbsp (36g) Halloween jimmie sprinkles
- Candy eyeballs for decoration
- Extra Halloween M&Ms and jimmies for additional decoration
Ingredient Quality Tips
Choose high-quality black cocoa powder for the most dramatic color and flavor impact. If you can’t locate Halloween-specific M&Ms, regular colorful varieties work perfectly fine. Ensure your butter is properly softened – it should yield to gentle pressure but not be melted.
Step-by-Step Baking Instructions
Initial Preparation
Start by preheating your oven to 350°F (175°C) and lining two baking sheets with parchment paper. This preparation ensures even baking and prevents sticking, creating perfectly shaped cookies every time.
Creating the Dry Mixture
In a medium bowl, whisk together the flour, black cocoa powder, baking powder, baking soda, and salt until completely combined. This thorough mixing prevents any cocoa powder clumps and ensures even distribution of leavening agents throughout your cookies.
Building the Cookie Base
Add the softened butter, brown sugar, and granulated sugar to a large bowl. Using an electric mixer (or stand mixer with paddle attachment), cream these ingredients together on medium speed for two full minutes until the mixture becomes light and fluffy. This creaming process is crucial for achieving the perfect cookie texture.
Next, incorporate the egg yolks and vanilla extract, mixing on medium speed for an additional two minutes until the mixture becomes pale and noticeably fluffy. This extended mixing creates the tender texture that makes these cookies so special.
Combining All Elements
Add the dry ingredient mixture to the wet ingredients, mixing on low speed just until everything comes together. Avoid overmixing at this stage, as it can result in tough cookies.
Gently fold in the Halloween M&Ms and jimmie sprinkles using a rubber spatula, ensuring even distribution throughout the dough while maintaining the integrity of the colorful candies.
Shaping and Decorating
Using a 2-tablespoon capacity cookie scoop, portion the dough into 17 equal balls. Place these dough balls on your prepared baking sheets, spacing them approximately two inches apart to allow for spreading during baking.
Press additional M&Ms, candy eyeballs, and sprinkles onto the sides and centers of each cookie dough ball, creating fun monster faces or spooky designs according to your creativity.
Baking to Perfection
Bake the cookies for 10-11 minutes, watching carefully to avoid overbaking. The cookies are done when they appear set around the edges but still look slightly soft in the center.
Allow cookies to cool on the baking sheet for 5 minutes before transferring to a wire rack for complete cooling. Note that some candy eyeballs may melt during baking and might need replacement after cooling.
Creative Serving Presentations
Halloween Party Centerpiece
Arrange these cookies on a tiered black or orange serving stand alongside other Halloween treats. Consider creating a “monster cookie garden” by standing some cookies upright in a bed of chocolate crumb “dirt” with additional candy decorations.
Spooky Gift Packaging
Package individual cookies in clear cellophane bags tied with orange and black curling ribbons. These make perfect treats for trick-or-treaters, teacher gifts, or party favors that guests will remember long after Halloween ends.
Interactive Decorating Station
Set up a cookie decorating station at your Halloween party with plain baked cookies and bowls of various candies, allowing guests to create their own spooky masterpieces while socializing.
Exciting Recipe Variations
Orange Velvet Version
Replace the black cocoa powder with regular cocoa powder and add orange food coloring to create vibrant orange cookies. Use only orange and yellow M&Ms for a cohesive autumn color scheme.
Ghostly White Cookies
Substitute the black cocoa with additional flour and add white chocolate chips instead of M&Ms. Decorate with white candy eyeballs and silver sprinkles for an elegant ghostly appearance.
Pumpkin Spice Twist
Add ½ teaspoon of pumpkin pie spice to the dry ingredients and incorporate orange-colored candies exclusively. This variation captures the warm, cozy flavors of fall alongside the chocolate richness.
Double Chocolate Intensity
Fold in ½ cup of mini chocolate chips along with the M&Ms for chocolate lovers who want maximum cocoa flavor in every bite.
Make-Ahead and Storage Solutions
Dough Preparation
Cookie dough can be prepared and shaped up to 2 days in advance. Store the shaped dough balls covered in the refrigerator, then add decorative candies just before baking for the freshest appearance.
Freezing Options
Shaped, unbaked cookies freeze beautifully for up to 3 months. Place them on baking sheets until solid, then transfer to freezer bags. Bake directly from frozen, adding 1-2 extra minutes to the baking time.
Finished Cookie Storage
Store completely cooled cookies in an airtight container at room temperature for up to one week. Layer between parchment paper to prevent decorative elements from sticking together.
Professional Baking Tips
Black Cocoa Powder: This specialized ingredient creates the signature dark color and intense flavor. Regular cocoa powder can be substituted but won’t produce the same dramatic appearance.
Cookie Cutter Trick: Immediately after baking, use a large round cookie cutter to gently reshape any cookies that spread unevenly, creating perfectly circular shapes while they’re still warm and pliable.
Candy Eye Replacement: Some candy eyeballs may melt during baking. Keep extras on hand to replace any that lose their shape, pressing them gently onto the warm cookies where they’ll adhere naturally.
Temperature Control: Ensure your oven temperature is accurate using an oven thermometer, as even small temperature variations can affect the final texture and appearance of these delicate cookies.
Frequently Asked Questions
Why do my cookies come out too dry? Dry cookies typically result from overbaking or measuring flour incorrectly. Use the spoon-and-level method for flour measurement, and remove cookies when they still appear slightly soft in the center, as they continue cooking on the hot pan.
Can I use regular cocoa powder instead of black cocoa? While you can substitute regular cocoa powder, you won’t achieve the same striking black color that makes these cookies so visually impressive. The flavor will still be delicious, but they’ll have a more traditional brown chocolate appearance.
How do I prevent the candy decorations from falling off? Press decorative candies firmly into the dough before baking, ensuring they’re well-embedded. The slight moisture in the dough helps them adhere during baking, and they’ll set in place as the cookies cool.
What’s the best way to store decorated cookies? Store decorated cookies in a single layer in an airtight container, or layer between sheets of parchment paper to prevent decorations from sticking together. Avoid stacking them directly on top of each other.
Can I make these cookies smaller for bite-sized treats? Absolutely! Use a smaller cookie scoop and reduce baking time to 8-9 minutes. Mini cookies are perfect for parties where guests want to sample multiple treats without feeling too full.
Why do some of my candy eyeballs melt during baking? Candy eyeballs are designed to hold their shape at normal baking temperatures, but some brands may be more heat-sensitive than others. Keep extras available for replacement after baking, and avoid overbaking to minimize melting.


