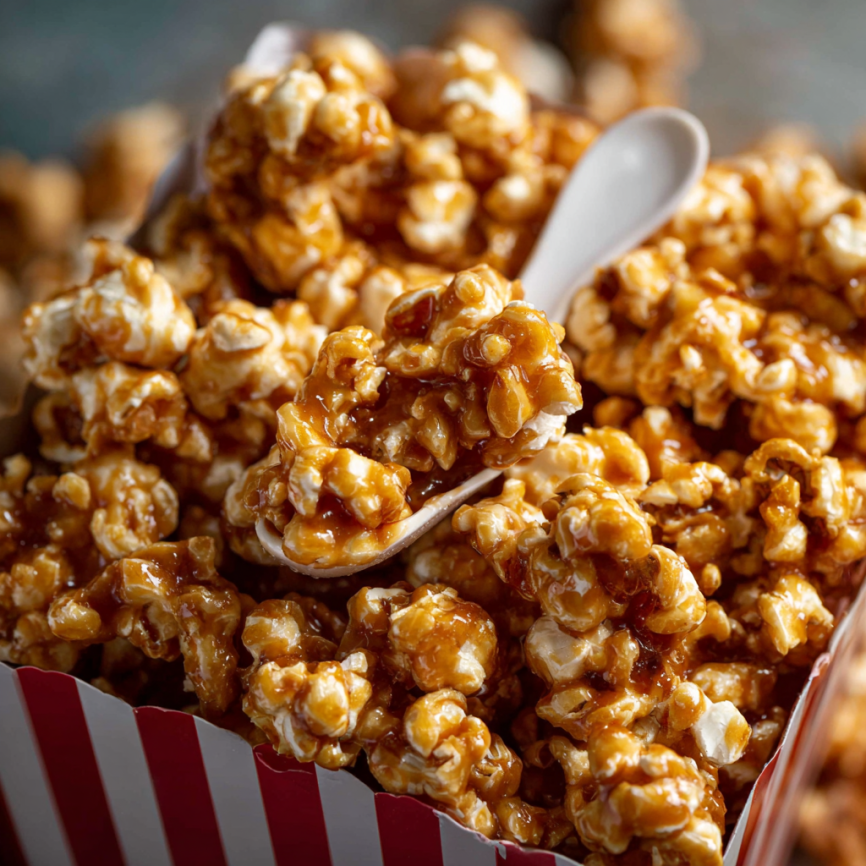
Nothing beats the intoxicating aroma of homemade caramel corn bubbling away in your kitchen. This isn’t the store-bought version that leaves you wanting more – this is the real deal that transforms simple popcorn into liquid gold-coated perfection. My love affair with caramel corn began during childhood movie nights, but it wasn’t until I discovered this foolproof recipe that I realized how easy it is to create magic at home.
What makes this recipe truly special is its simplicity combined with spectacular results. Using just six basic ingredients, you’ll create a treat that rivals any gourmet popcorn shop. The secret lies in the perfect balance of sweet, buttery caramel that coats every kernel without being overly sticky or tooth-achingly sweet.
Why This Caramel Corn Recipe Will Become Your Go-To Favorite
Irresistibly Perfect Texture
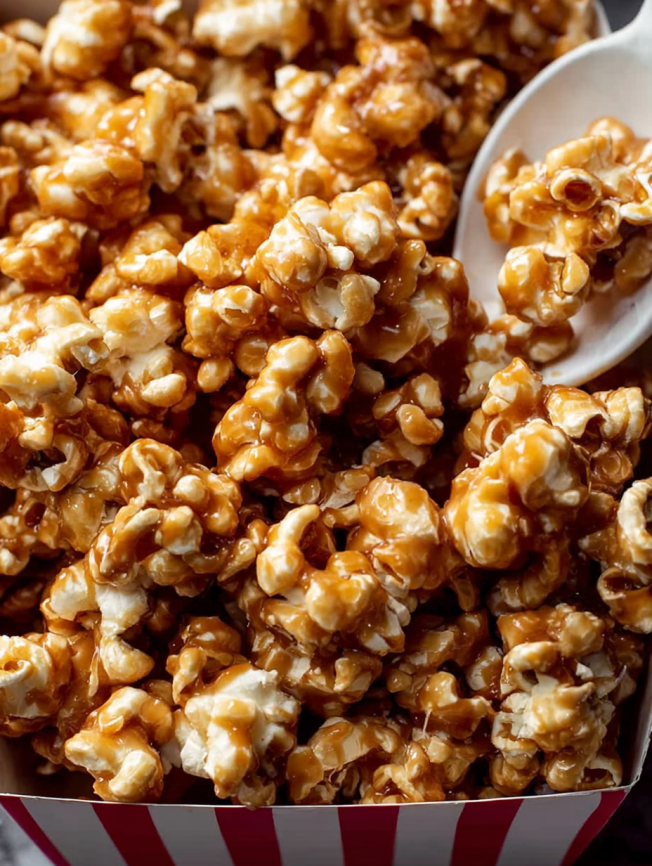
The hallmark of exceptional caramel corn lies in achieving that perfect balance between crispy and chewy. This recipe delivers exactly that – a satisfying crunch that gives way to a delightfully tender bite. Unlike many homemade versions that turn out either too hard or disappointingly soft, this method ensures each kernel is coated with just the right amount of caramel.
Made-from-Scratch Quality
Creating your own caramel sauce means controlling every aspect of flavor and quality. The rich, buttery caramel develops complex notes as it cooks, creating depth that pre-made sauces simply cannot match. Furthermore, making it yourself allows you to adjust sweetness levels and avoid unnecessary preservatives found in commercial versions.
Foolproof Success Without Special Equipment
While a candy thermometer can be helpful, this recipe is designed to work perfectly without one. The visual and timing cues provided ensure consistent results every time, making it accessible to bakers of all skill levels. Additionally, the straightforward technique means you can confidently make this treat even if you’ve never worked with caramel before.
Perfect for Any Occasion
Whether you’re planning a cozy movie night, preparing treats for a bake sale, or creating homemade gifts, this caramel corn fits every occasion. Its impressive shelf life of up to two weeks makes it ideal for advance preparation, while its crowd-pleasing appeal ensures it will disappear quickly at any gathering.
Essential Ingredients for Caramel Corn Success
Core Components
- 10-11 cups (70-75g) air-popped popcorn
- 1 cup (200g) packed light brown sugar
- ¼ cup (80g) light corn syrup
- ½ cup (113g) unsalted butter
- ½ teaspoon salt
- ⅛ teaspoon cream of tartar
- ½ teaspoon baking soda
Ingredient Quality Tips
The quality of your ingredients directly impacts the final result. Use fresh popcorn kernels for the best crunch, and ensure your brown sugar is soft and packable. Light corn syrup is essential – dark corn syrup will create an overly intense molasses flavor that competes with the caramel’s delicate sweetness.
Step-by-Step Instructions for Perfect Results
Initial Preparation
Step 1: Begin by preheating your oven to 200°F (93°C), then line one or two large baking sheets (12×17-inch) with silicone baking mats or parchment paper. This low temperature will gently finish cooking the caramel while keeping the popcorn crispy.
Step 2: Pop your corn using your preferred method and measure out 10-11 cups. Pour this into your largest mixing bowl or spread directly onto the prepared baking sheets – either approach works well.
Creating the Caramel Magic
Step 3: Combine brown sugar, corn syrup, butter, salt, and cream of tartar in a medium saucepan over medium heat. Stir constantly as the mixture heats up, watching as the butter melts and everything comes together. Once the mixture begins simmering around the edges, stop stirring and allow it to bubble undisturbed for exactly 4 minutes. If using a candy thermometer, aim for 234-235°F (112-113°C).
Step 4: Remove the caramel from heat immediately and stir in the baking soda. Don’t be alarmed when the mixture suddenly bubbles up and nearly doubles in volume – this reaction is completely normal and creates the light, airy texture that makes this caramel corn so special. Work quickly but carefully, as the mixture is extremely hot.
Coating and Baking Process
Step 5: Pour the hot caramel over your popcorn and begin stirring gently with a large spoon or spatula. This step requires patience – the caramel will seem impossible to distribute at first, but keep stirring gently. As it begins to cool slightly, it will coat more evenly. Take your time and don’t rush this crucial step.
Step 6: Spread the caramel-coated popcorn evenly across your prepared baking sheets if it isn’t already arranged there. The goal is a single layer that allows for even heating.
Step 7: Bake for one full hour, stirring gently every 20 minutes. This slow baking process allows the caramel to set properly while maintaining the popcorn’s crispness. Each stirring session helps prevent sticking and ensures even browning.
Step 8: Allow the caramel corn to cool on the pan for at least 30 minutes. During this time, the caramel will continue hardening to its final texture. Once cool enough to handle safely, break apart any large clusters that have formed.

Creative Serving Ideas
Movie Night Perfection
Serve this caramel corn in individual paper bags or small bowls for the ultimate movie night experience. The portion control helps prevent overindulging (though that might be impossible with something this delicious), while the presentation adds a fun, nostalgic touch.
Gift-Worthy Packaging
Transfer cooled caramel corn into decorative tins, mason jars, or cellophane bags tied with ribbons for thoughtful homemade gifts. The two-week shelf life makes it perfect for holiday gift-giving or teacher appreciation presents.
Party Presentation
Create an impressive snack station by serving caramel corn alongside other complementary treats like chocolate-covered pretzels, mixed nuts, or fresh fruit. The sweet and salty combination appeals to diverse taste preferences.
Exciting Recipe Variations
Nutty Additions
Transform your caramel corn by adding 1-2 cups of your favorite nuts before coating with caramel. Salted peanuts create a classic Cracker Jack-style treat, while cashews or pecans add gourmet appeal. Mixed nuts provide textural variety and sophisticated flavor complexity.
Chocolate-Drizzled Elegance
After the caramel corn has completely cooled, drizzle with melted chocolate or white chocolate for an extra layer of indulgence. Use a fork or squeeze bottle to create artistic patterns, then allow the chocolate to set before serving. This elevation transforms simple caramel corn into an elegant dessert.
Spiced Variations
Add warming spices to create seasonal variations. Incorporate ½ teaspoon ground cinnamon and ¼ teaspoon nutmeg to the caramel after removing from heat but before adding baking soda. This creates a cozy, autumn-inspired treat perfect for fall gatherings.
Make-Ahead Strategies for Busy Schedules
Extended Storage Solutions
This caramel corn maintains its quality for up to two weeks when stored in airtight containers. This exceptional shelf life makes it ideal for advance preparation, whether you’re planning for parties, gift-giving, or simply want to have a special treat on hand.
Batch Preparation Tips
The recipe doubles easily, making large-batch preparation simple for bigger events. When doubling, extend the caramel bubbling time to 7 minutes instead of 4, but maintain the same baking temperature and time. Use multiple baking sheets to avoid overcrowding.
Optimal Storage Conditions
Store completely cooled caramel corn in airtight containers at room temperature. Avoid refrigeration, which can make the caramel sticky, and keep away from humid environments that might soften the coating.
Professional Tips for Success
Equipment Recommendations
While specialized equipment isn’t required, certain tools make the process smoother. A medium saucepan with heavy bottom provides even heat distribution, while silicone baking mats offer superior non-stick properties compared to parchment paper.
Popcorn Preparation Guidelines
Use plain, air-popped popcorn without butter or seasonings. Buttered varieties can prevent the caramel from adhering properly and may result in greasy final product. If making popcorn in a brown paper bag in the microwave, use approximately ⅓ cup of kernels total, popping in batches if necessary.
Temperature and Timing Precision
The 4-minute bubbling time is crucial for proper caramel development. Too short results in caramel that won’t set properly, while too long creates overly hard coating. Trust the timing even if you don’t have a thermometer – the visual cues of steady bubbling are reliable indicators.
Important Notes for Best Results
Ingredient Substitution Guidelines
Light corn syrup is essential and cannot be omitted – it prevents crystallization and maintains the caramel’s proper texture. Dark corn syrup will create an overly intense flavor, while honey or other liquid sweeteners won’t provide the same structural benefits.
Safety Considerations
Working with hot caramel requires caution. Keep children away from the cooking area, use pot holders when handling hot equipment, and have a bowl of ice water nearby in case of accidental contact with the hot mixture.
Troubleshooting Common Issues
If your caramel seems too thick to spread, work quickly while it’s still warm – it will continue thickening as it cools. Conversely, if it seems too thin, don’t worry – the baking process will concentrate it to the proper consistency.
Frequently Asked Questions
Q: Can I make this recipe without corn syrup? A: Unfortunately, corn syrup plays a crucial role in preventing crystallization and maintaining proper texture. For a corn syrup-free alternative, consider trying a different caramel corn recipe specifically designed without this ingredient, though the results will differ significantly from this version.
Q: Why did my caramel turn grainy or crystallized? A: Crystallization typically occurs from stirring the caramel while it’s bubbling or from moisture contamination. Ensure your saucepan and utensils are completely dry, and resist the urge to stir during the 4-minute bubbling phase.
Q: Can I use microwave popcorn instead of air-popped? A: Only use plain, natural-style microwave popcorn without butter or artificial flavoring. Buttered varieties will prevent proper caramel adhesion and create a greasy final product that won’t set correctly.
Q: What should I do if my caramel corn is too sticky? A: Stickiness usually indicates the caramel wasn’t cooked long enough initially or wasn’t baked long enough to set. Try returning it to the 200°F oven for additional 15-minute intervals until it reaches the desired consistency.
Q: How can I prevent large clusters from forming? A: Stir gently but thoroughly when coating the popcorn with caramel, and break apart any clusters that form during the cooling process. The gentle stirring every 20 minutes during baking also helps prevent excessive clustering.
Q: Is it normal for the caramel to foam up dramatically when adding baking soda? A: Yes, this dramatic foaming is completely normal and expected. The baking soda creates a chemical reaction that aerates the caramel, resulting in the light, crispy coating that makes this caramel corn so special. Just be prepared for the sudden volume increase and stir carefully.


