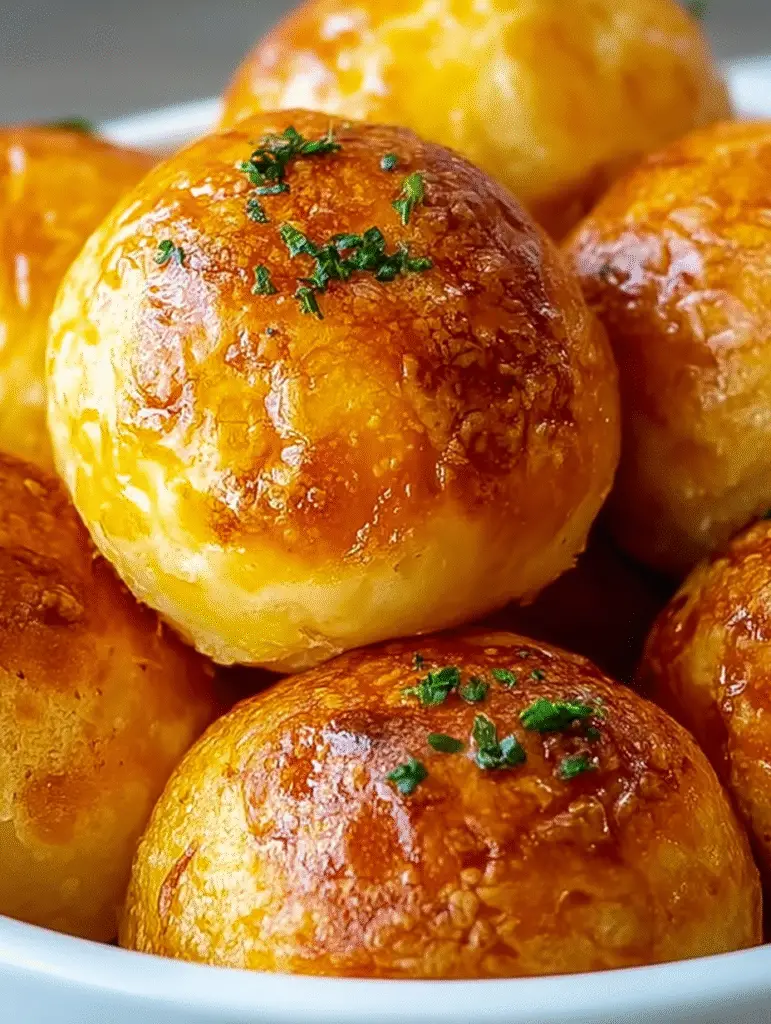
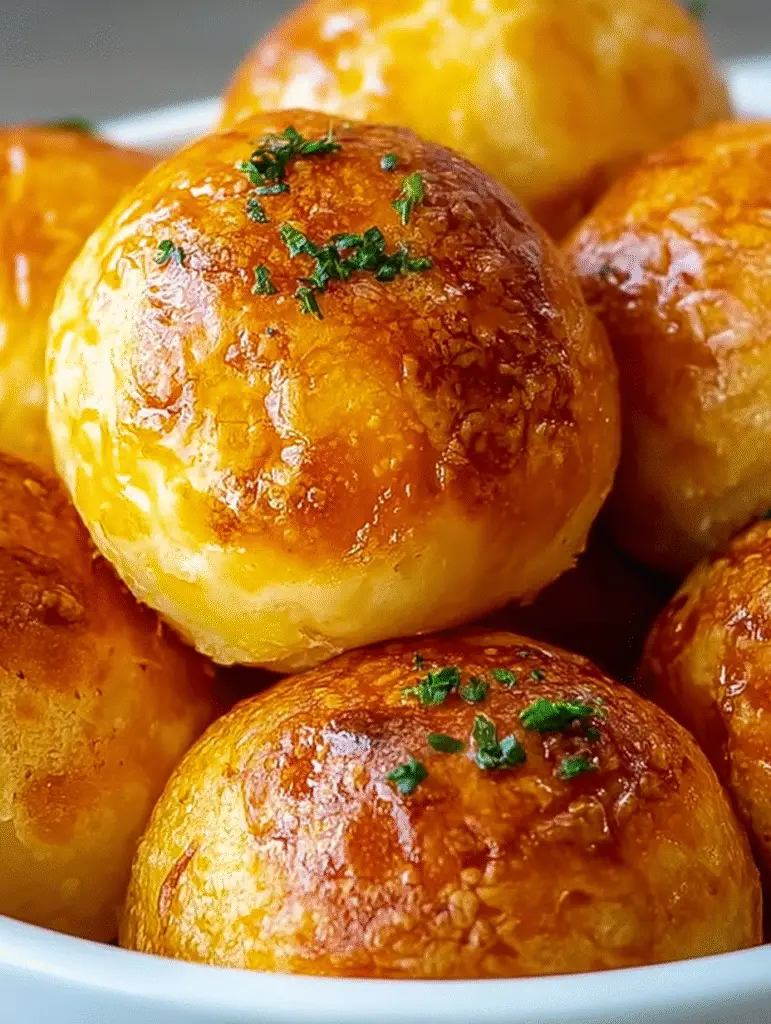
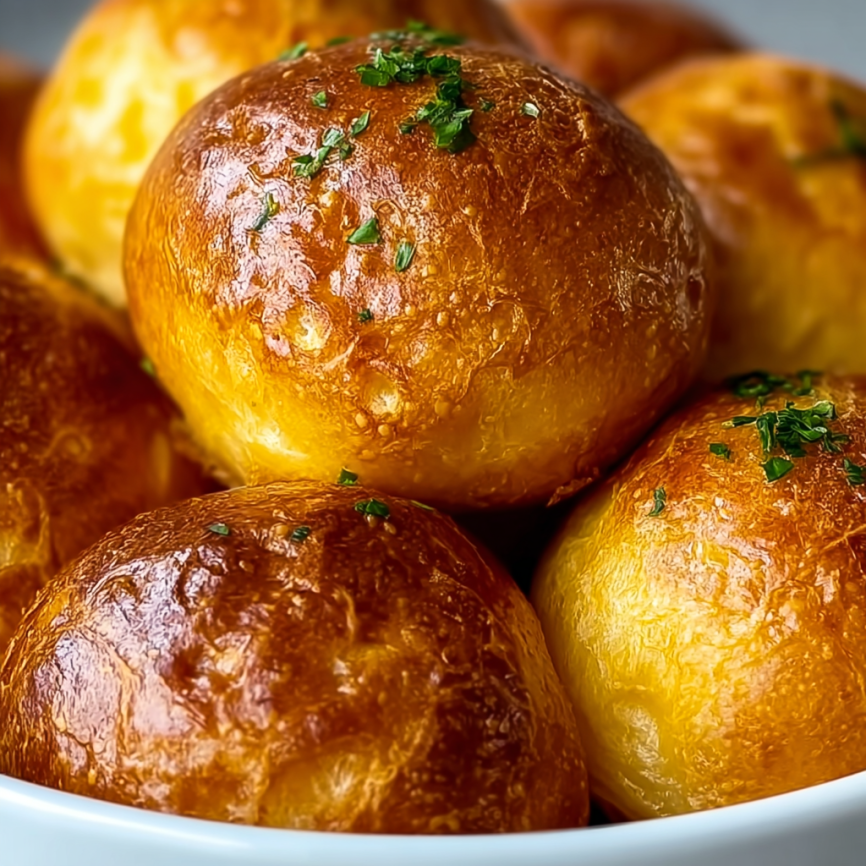
Total Time: 45 minutes | Yield: 24-28 cheese puffs
I’ll never forget the first time I made these cheese puffs for a weekend brunch. My guests kept reaching for “just one more,” and by the end of the morning, the entire batch had vanished. What started as a simple side dish turned into the star of the show, and I’ve been making them ever since. The beauty of these golden, airy bites lies in their versatility—they work equally well as a breakfast treat, an elegant appetizer, or a comforting snack that feels indulgent but isn’t fried.
Why You’ll Love These Cheese Puffs
These homemade cheese puffs check every box for busy home cooks seeking impressive yet approachable recipes. First, they require just six basic ingredients you probably already have in your kitchen. Beyond that, the dough comes together in one pot, which means minimal cleanup—always a win in my book. Since they’re baked rather than fried, you get all that crispy, cheesy satisfaction without the extra oil or guilt.
What really sets these puffs apart is their incredible versatility. Serve them alongside a steaming bowl of tomato soup for a cozy dinner, arrange them on a platter for holiday entertaining, or pack them as a protein-rich snack for busy afternoons. They’re equally at home at casual family meals and elegant dinner parties.
The Secret Behind Perfect Puffs
The magic behind these ethereal bites lies in a classic French technique called pâte à choux. Don’t let the fancy name intimidate you—it’s surprisingly simple. When you cook the flour and butter mixture, then beat in eggs, you create a dough that traps steam during baking. As a result, the puffs balloon into light, hollow shells with crispy exteriors and soft, cheesy interiors. It’s pure kitchen science at its most delicious.
Ingredients
For the Puffs:
- All-Purpose Flour: 1 cup (spooned and leveled)
- Unsalted Butter: ½ cup (1 stick)
- Whole Milk: 1 cup (don’t substitute with low-fat)
- Large Eggs: 4, at room temperature
- Sharp Cheddar Cheese: 1½ cups, grated (or a mix of Gruyère and cheddar)
- Salt: ½ teaspoon
Optional Add-Ins:
- Garlic Powder: ½ teaspoon for savory depth
- Paprika: ½ teaspoon for a subtle smoky note
- Fresh Herbs: 2 tablespoons chopped chives or parsley
Step-by-Step Instructions
Step 1: Set Up Your Workspace
Begin by preheating your oven to 400°F (200°C), ensuring it’s fully heated before you start baking. Meanwhile, line a large baking sheet with parchment paper, which prevents sticking and promotes even browning. Having everything ready before you start cooking makes the process much smoother and less stressful.
Step 2: Create the Base
Pour the milk into a medium saucepan and add the butter and salt. Place the pan over medium heat, stirring occasionally as the butter melts into the milk. Watch carefully as the mixture heats—you want it to reach a gentle simmer where small bubbles form around the edges, but don’t let it come to a rolling boil.
Once you see those first bubbles, immediately remove the pan from the heat. This timing is crucial because overheating can affect the texture of your final puffs.
Step 3: Add the Flour
With the pan off the heat, dump in all the flour at once. I know it seems like a lot to add in one go, but trust the process! Using a wooden spoon, stir the mixture vigorously and continuously. At first, it’ll look messy and lumpy, but keep stirring. Within about a minute, the flour will absorb the liquid and transform into a smooth dough that pulls away from the sides of the pan, forming a cohesive ball.
Return the pan to low heat for about 30 seconds, stirring constantly. This brief cooking step helps dry out the dough slightly, which allows it to absorb more eggs later. Then, transfer the dough to a large mixing bowl and let it cool for 5 minutes—this prevents the eggs from scrambling when you add them.
Step 4: Incorporate the Eggs
Here’s where the transformation really happens. Crack one egg into the slightly cooled dough and beat it in with a wooden spoon or hand mixer on medium speed. Initially, the dough will look broken and curdled—don’t panic! Keep beating until the egg is fully incorporated and the dough becomes smooth again.
Repeat this process with the remaining three eggs, adding them one at a time and beating thoroughly after each addition. After the final egg, your dough should be smooth, glossy, and thick enough to hold its shape when dropped from a spoon. If it looks too stiff, you can beat in an extra tablespoon of milk.
Step 5: Add the Cheese
Fold in the grated cheese along with any optional seasonings you’re using. The cheese should be evenly distributed throughout the dough, creating little pockets of flavor in every bite. If you’re feeling creative, this is also the time to add garlic powder, paprika, or fresh herbs.
Step 6: Shape and Bake
Using two spoons or a small cookie scoop, drop heaping tablespoon-sized portions of dough onto your prepared baking sheet. Space them about 1.5 inches apart—they’ll puff up significantly, so they need room to expand without touching. For more uniform puffs, you can wet your finger and gently smooth any peaks on top.
Slide the baking sheet into your preheated oven and bake for 20-25 minutes without opening the oven door. Opening the door releases steam and can cause the puffs to collapse. You’ll know they’re done when they’ve doubled in size, turned a beautiful golden brown, and feel light when you pick one up. The bottoms should sound hollow when tapped.
Step 7: Cool and Serve
Once baked, transfer the puffs to a wire cooling rack. If you’re serving them warm (which I highly recommend), let them cool for just 5 minutes so they’re not too hot to handle. However, they’re also wonderful at room temperature, making them perfect for entertaining since you can bake them ahead.

Serving Suggestions
These versatile cheese puffs shine in countless serving scenarios. For a comforting lunch, pair them with creamy tomato soup or French onion soup for dipping. They also make an elegant addition to salad plates, especially alongside arugula with lemon vinaigrette or a Caesar salad.
As an appetizer, serve them on a wooden board with honey for drizzling, fig jam for spreading, or a selection of mustards for dipping. During the holidays, I love adding them to brunch spreads alongside smoked salmon and fresh fruit. They’re substantial enough to satisfy but light enough not to fill guests up before the main course.
Creative Variations to Try
Italian Herb Puffs
Replace the cheddar with Parmesan and add 1 tablespoon each of dried basil and oregano. These pair beautifully with marinara sauce for dipping.
Spicy Jalapeño Cheddar
Fold in ¼ cup finely diced pickled jalapeños and use pepper jack cheese instead of cheddar. Perfect for game day snacking!
Caramelized Onion and Gruyère
Sauté one small diced onion until golden and caramelized, then fold it into the dough along with Gruyère cheese. This creates a sophisticated, French-inspired version.
Everything Bagel Puffs
Before baking, brush the tops with melted butter and sprinkle with everything bagel seasoning. Serve with cream cheese for a fun breakfast twist.
Ham and Swiss Variation
Add ½ cup finely diced ham and use Swiss cheese instead of cheddar. These taste like little croque monsieur puffs and are absolutely divine.
Make-Ahead Tips
One of the best things about cheese puffs is how well they adapt to advance preparation. You can make the dough completely, then pipe or spoon it onto a parchment-lined baking sheet. Cover loosely with plastic wrap and refrigerate for up to 24 hours before baking. Just add 2-3 minutes to the baking time since you’re starting from cold.
Alternatively, portion the unbaked dough onto a baking sheet and freeze until solid, then transfer the frozen portions to a zip-top freezer bag. When you’re ready to bake, arrange them on a baking sheet and bake straight from frozen, adding about 5 minutes to the cooking time. This means you can have fresh, hot cheese puffs any time the craving strikes!
Notes
Cheese Selection: While sharp cheddar delivers classic flavor, don’t hesitate to experiment. Gruyère adds nutty sophistication, while a blend of cheddar and Parmesan creates incredible depth. For extra richness, try aged white cheddar or smoked gouda.
Temperature Matters: Using room-temperature eggs helps them incorporate more easily into the dough. If you forget to take them out ahead of time, place cold eggs in a bowl of warm water for 5 minutes.
Don’t Open the Oven: This is the cardinal rule of puff-making! Opening the oven door during baking releases the steam that makes the puffs rise. Keep that door closed until the minimum baking time has elapsed.
Texture Troubleshooting: If your puffs come out dense rather than airy, you likely added the eggs while the dough was still too hot, or you didn’t beat them in thoroughly enough. Make sure to let the dough cool and beat each egg until completely smooth before adding the next.
Reheating Tips: To restore crispiness to stored puffs, place them in a 350°F oven for 5-7 minutes. The microwave works in a pinch but tends to make them soggy.
Prep Time: 15 minutes
Cook Time: 25 minutes
Cooling Time: 5 minutes
Total Time: 45 minutes
Yield: 24-28 cheese puffs
Nutrition (Per Puff)
- Calories: 80-100
- Fat: 6-7g
- Saturated Fat: 3-4g
- Carbohydrates: 4-6g
- Protein: 3-4g
- Fiber: <1g
- Sugar: <1g
- Sodium: 120-180mg
Note: Nutritional values vary based on size and cheese selection
Storage Instructions
Cheese puffs store beautifully, which makes them a dream for meal prep or saving leftovers—if you can resist eating them all in one sitting!
At Room Temperature: Store cooled cheese puffs in an airtight container for up to 2 days. While they’ll lose some crispness, they remain delicious and can be refreshed in a warm oven.
In the Refrigerator: For longer storage, place them in an airtight container or zip-top bag and refrigerate for up to 5 days. Before serving, reheat in a 350°F oven for 5-7 minutes to restore that crispy exterior.
Freezer-Friendly: Cheese puffs freeze exceptionally well, making them perfect for entertaining prep. Once completely cooled, arrange them in a single layer on a baking sheet and freeze until solid (about 2 hours). Then, transfer to a zip-top freezer bag, removing as much air as possible, and freeze for up to 2 months. To reheat, place frozen puffs on a baking sheet and warm at 350°F for 8-10 minutes—no need to thaw first!

Frequently Asked Questions
Q: Can I use a different type of milk?
A: Whole milk produces the richest, most tender puffs, but you can use 2% milk in a pinch. Avoid skim milk, as the lack of fat affects both flavor and texture. For a dairy-free version, full-fat oat milk works surprisingly well.
Q: Why did my cheese puffs collapse after baking?
A: This usually happens when they’re underbaked. Even if they look golden on the outside, they need enough time in the oven to fully set the structure. Make sure to bake for the full 20-25 minutes without opening the door. They should feel light and crispy, not soft or doughy.
Q: Can I make mini cheese puffs for appetizers?
A: Absolutely! Use a smaller scoop or pipe the dough into bite-sized portions, then reduce the baking time to 15-18 minutes. These mini versions are perfect for passing at parties or adding to cheese boards.
Q: What’s the best way to grate cheese for this recipe?
A: Freshly grated cheese from a block melts better and has superior flavor compared to pre-shredded varieties, which contain anti-caking agents. Use the medium holes on a box grater or the grating disc of a food processor for quick work.
Q: Can I pipe the dough instead of scooping it?
A: Yes! Transfer the dough to a piping bag fitted with a large round tip and pipe mounds onto your baking sheet. This creates more uniform puffs and is actually the traditional French method. Just make sure the dough is smooth and not too stiff.
Q: My dough seems too thick. What should I do?
A: The dough should be thick but still fall slowly from a spoon. If it’s too stiff, beat in an extra tablespoon of milk. If it’s too runny, the puffs won’t hold their shape, so err on the side of slightly thicker.
Q: Are cheese puffs gluten-free?
A: This recipe isn’t naturally gluten-free, but you can experiment with a 1:1 gluten-free flour blend. The texture may be slightly different, but many readers have had success with this substitution.

