By Daen Lia | Get to know this Australian classic
Prep Time: 25 minutes | Cook Time: 8 minutes
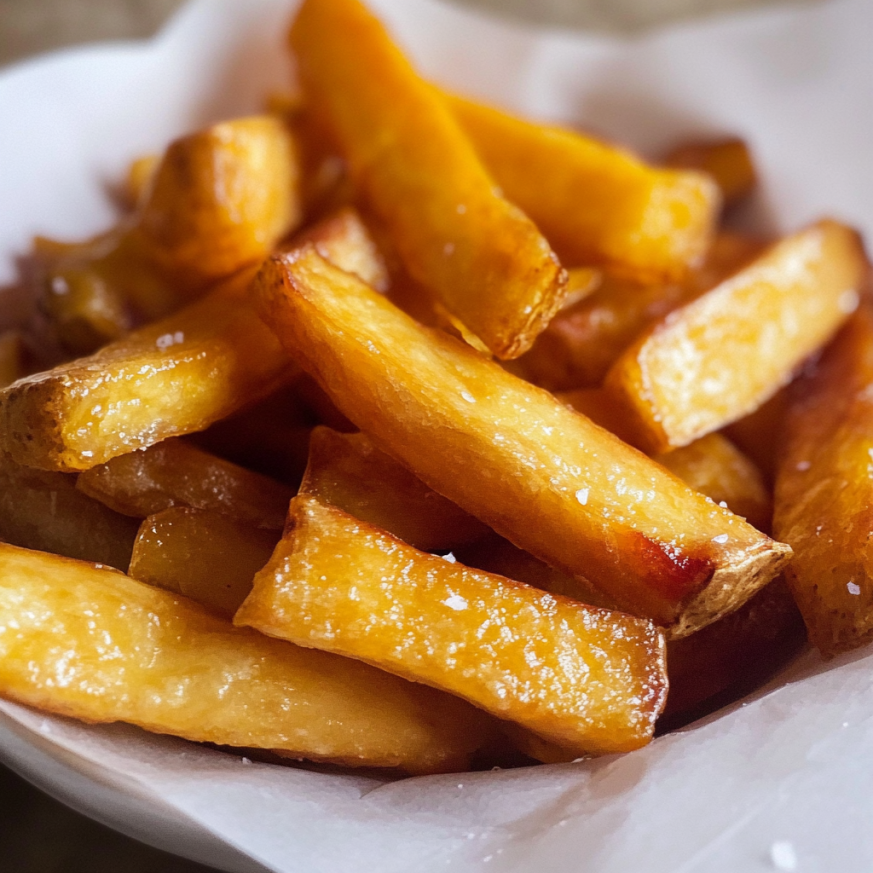
There’s nothing quite like the satisfying crunch of perfectly golden chips dusted with that magical blend of chicken salt. Growing up in Australia, Friday nights meant fish and chips from the local shop, and the generous sprinkle of chicken salt was always the highlight. Now, I’ve mastered the art of creating these crispy delights at home, bringing that nostalgic taste right to my kitchen.
Why You’ll Fall in Love with This Recipe
These aren’t just any ordinary chips – they’re a testament to the perfect balance of technique and flavor. The double-frying method ensures an impossibly crispy exterior while maintaining a fluffy, tender interior. Meanwhile, the homemade chicken salt adds that distinctive umami-packed seasoning that makes these chips absolutely irresistible.
Furthermore, making your own chicken salt means you can control the flavor intensity and avoid any artificial additives. The combination of chicken stock powder, garlic, onion, and a hint of brown sugar creates a complex seasoning that elevates simple potatoes into something extraordinary.
Essential Ingredients
Main Components
- 1.5 kg russet potatoes, peeled
- 2 L vegetable or grapeseed oil (for frying)
Chicken Salt Blend
- 3 tablespoons chicken stock/bouillon powder
- 1 tablespoon onion powder
- 1 tablespoon garlic powder
- 1 tablespoon salt
- 1 teaspoon white pepper
- 1 teaspoon brown sugar
Serving Suggestions
Consider pairing these chips with fresh fish, grilled chicken, or simply enjoy them on their own with a cold beverage. Additionally, they make an excellent side for backyard barbecues or casual dinner parties.
Step-by-Step Instructions
Preparing the Potatoes
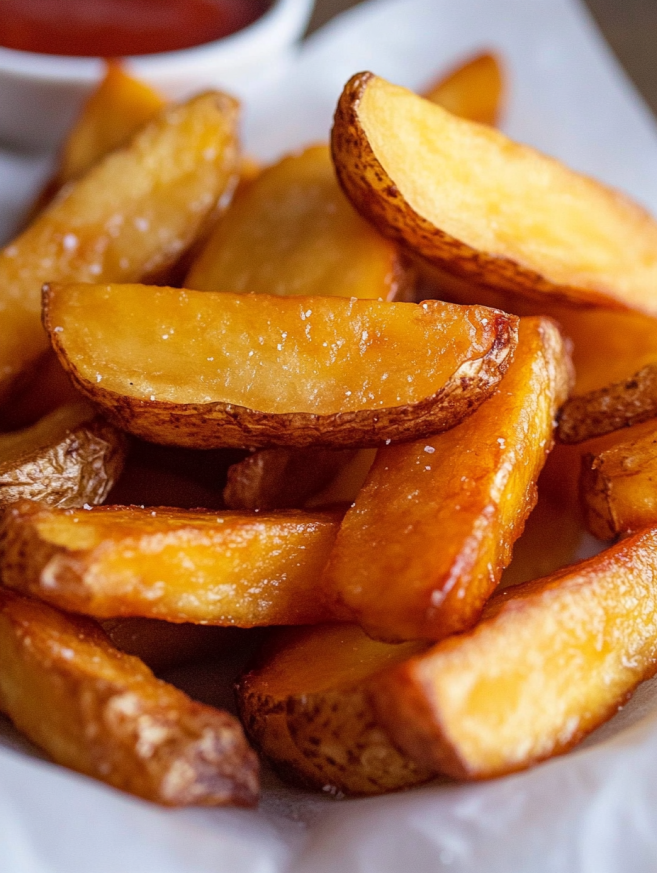
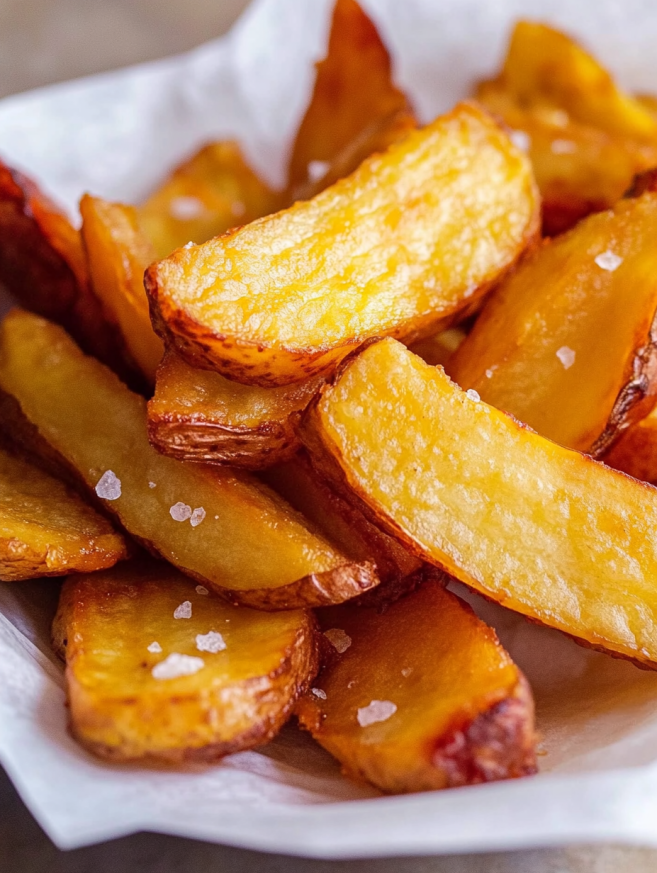
Begin by squaring off the potatoes, trimming the edges until you achieve a uniform square shape. Next, cut each potato into chip shapes roughly 2 x 6cm in size. This ensures even cooking and that perfect chip-shop appearance.
Place the cut chips into a bowl of cold water and rinse thoroughly until the water becomes cloudy. This cloudiness indicates you’re successfully removing excess starch, which is crucial for achieving maximum crispiness. Drain the chips in a colander, then rinse again under cold running water.
First Cooking Stage
Transfer the chips to a large pot and cover completely with cold water. Season generously with salt, then place the pot on high heat. Start your timer for 20 minutes immediately upon turning on the heat. Once the water reaches a rolling boil, reduce the heat to medium and continue cooking until the potatoes are fork-tender.
Carefully drain the chips and arrange them on a cooling rack to allow excess moisture to escape. Place the cooling rack in the freezer for 30 minutes or in the refrigerator for up to 2 hours, ensuring the chips are cold but not frozen.
Double-Frying Technique
Heat your oil to 140°C in a large, heavy-bottomed pot. Using a slotted spoon, carefully lower the cold chips into the hot oil and fry for exactly 8 minutes. This first fry cooks the interior while creating the foundation for crispiness.
Remove the chips using a slotted spoon and return them to the cooling rack. Once again, place them in the freezer or refrigerator until completely cold.
Creating the Perfect Chicken Salt
While the chips cool, combine all chicken salt ingredients in a bowl. Mix thoroughly until the blend is uniform, ensuring every sprinkle delivers consistent flavor.
Final Frying and Serving
For the second fry, increase the oil temperature to 180°C. Carefully add the cold chips back to the hot oil and fry for 4-6 minutes until they achieve a beautiful golden color and maximum crispiness.
Remove the chips immediately and place them on the cooling rack. Season generously with your homemade chicken salt while they’re still hot, allowing the seasoning to adhere perfectly.
Creative Serving Ideas
These chips shine as the star of any meal, but they’re particularly exceptional alongside beer-battered fish or grilled seafood. Alternatively, serve them as a sophisticated side dish with roasted chicken or lamb. For a modern twist, try them with aioli, gravy, or even as a base for loaded chip nachos.
Delicious Variations
Herb-Infused Version
Add dried rosemary or thyme to your chicken salt blend for an aromatic twist that pairs beautifully with roasted meats.
Spicy Kick
Incorporate a pinch of cayenne pepper or paprika into the seasoning mix for those who enjoy a little heat with their crunch.
Parmesan Enhancement
Mix grated parmesan cheese with the chicken salt for an indulgent, savory upgrade that takes these chips to restaurant quality.
Make-Ahead Tips
The beauty of this recipe lies in its flexibility. You can complete the first fry up to 24 hours in advance, storing the par-cooked chips in the refrigerator. This actually improves the final texture, as the extended cooling time allows for better moisture evaporation.
Similarly, your chicken salt blend can be prepared weeks ahead and stored in an airtight container. In fact, the flavors meld and intensify over time, making it even more delicious.
Important Notes
Temperature control is absolutely crucial for success. Invest in a reliable cooking thermometer to ensure your oil reaches the correct temperatures. Too low, and your chips will be greasy; too high, and they’ll burn before cooking through.
Moreover, never overcrowd the pot when frying. Work in batches if necessary, as too many chips at once will lower the oil temperature and result in soggy, unevenly cooked chips.
Frequently Asked Questions
Q: Can I use different types of potatoes? A: While russet potatoes are ideal due to their high starch content, you can substitute with other floury varieties like King Edward or Maris Piper. However, avoid waxy potatoes as they won’t achieve the same fluffy interior.
Q: How long does homemade chicken salt last? A: When stored in an airtight container in a cool, dry place, your chicken salt blend will maintain its flavor for up to 6 months. The key is keeping moisture out to prevent clumping.
Q: Can I bake these instead of frying? A: While you can bake them at 220°C for 25-30 minutes, you won’t achieve the same level of crispiness that double-frying provides. For the authentic experience, frying is definitely worth the extra effort.
Q: What’s the best oil for frying? A: Vegetable oil, grapeseed oil, or peanut oil work excellently due to their high smoke points and neutral flavors. Avoid olive oil, as it can’t handle the high temperatures required.
Q: Why is the double-frying method necessary? A: The first fry at lower temperature cooks the potato through, while the second fry at higher temperature creates the crispy exterior. This technique is the secret to achieving chip-shop quality results at home.


