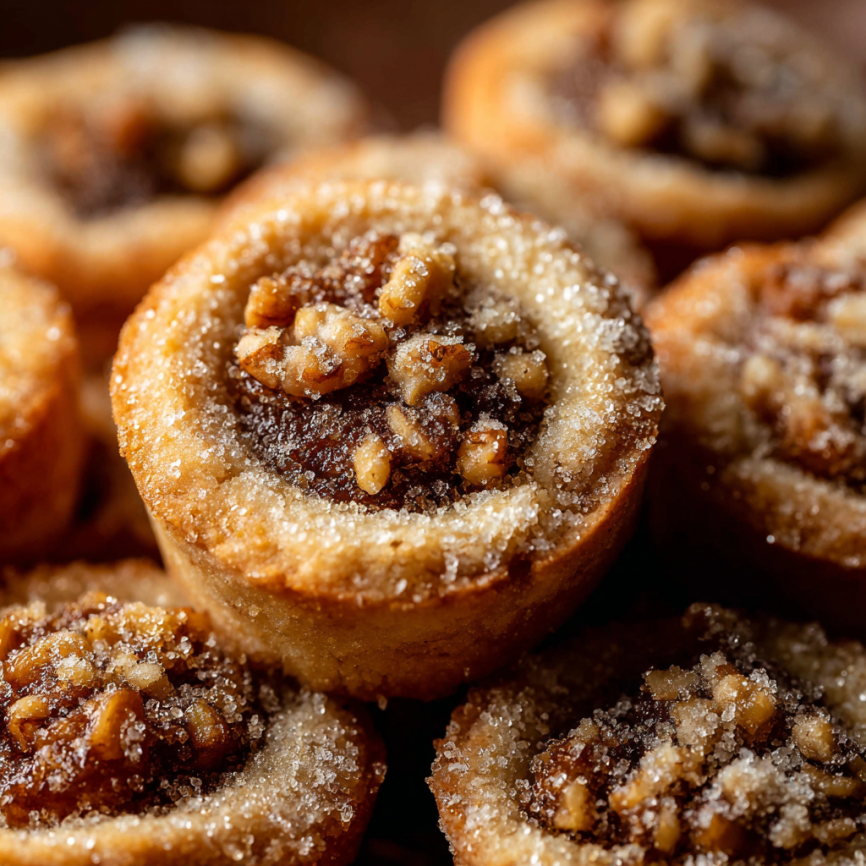
Growing up, my grandmother’s holiday cookie platters always featured these delicate little gems nestled among the bigger, showier cookies. At first glance, they seemed simple – just tiny pastry cups filled with what looked like miniature pecan pie filling. However, one bite revealed their true magic: tender cream cheese pastry cradling a perfectly balanced maple-walnut filling that somehow managed to be both gooey and set, sweet yet sophisticated.
Years later, when I finally convinced her to share the recipe, I discovered why these tassies had such a devoted following. The secret lies in the cream cheese dough, which creates an incredibly tender shell that practically melts in your mouth. Meanwhile, the maple syrup elevates the traditional brown sugar filling, transforming these from ordinary butter tarts into something truly special.
Why These Tassies Will Become Your New Favorite
Perfect Portion Control
Each tassie delivers maximum flavor in just two bites, making them ideal for parties, cookie exchanges, or when you want to sample multiple desserts without overindulging. Furthermore, their elegant size makes them perfect for formal gatherings where finger foods are preferred.
Make-Ahead Friendly
Unlike many delicate pastries, these tassies actually improve with time. The flavors meld beautifully overnight, and the filling sets to the perfect consistency. Additionally, both the dough and assembled tassies can be prepared days in advance, making them a stress-free option for entertaining.
Irresistible Texture Combination
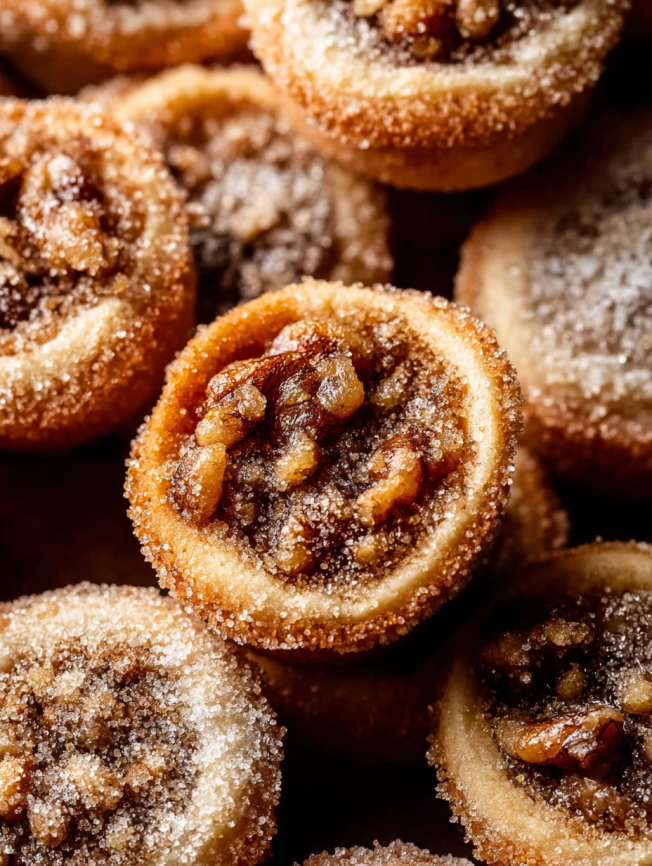
The contrast between the tender, buttery shell and the slightly chewy, nut-studded filling creates a textural experience that’s simply addictive. Each component complements the other perfectly, creating a harmonious balance that keeps you reaching for just one more.
Impressive Presentation
Despite their homemade charm, these tassies look professionally crafted when arranged on a serving platter. The golden shells peek out from beneath the rich filling, and a light dusting of powdered sugar adds an elegant finishing touch.
Essential Ingredients
For the Cream Cheese Dough
- 3 cups all-purpose flour (spooned and leveled for accuracy)
- ¼ cup granulated sugar (adds subtle sweetness to the shell)
- ½ teaspoon salt (enhances flavor balance)
- 8 ounces full-fat cream cheese (softened to room temperature)
- 1 cup unsalted butter (also softened to room temperature)
For the Maple-Walnut Filling
- 2 large eggs (cold eggs work fine for this recipe)
- 1 cup packed brown sugar (light or dark, depending on preference)
- ¼ cup pure maple syrup (the star flavor component)
- 2 tablespoons melted unsalted butter (adds richness)
- 1 teaspoon pure vanilla extract
- ¼ teaspoon ground cinnamon (warm spice accent)
- ¼ teaspoon salt (balances sweetness)
- 1¼ cups finely chopped walnuts (or pecans for traditional version)
Optional Enhancements
- ½ teaspoon maple extract (intensifies maple flavor)
- Confectioners’ sugar (for elegant dusting)
Step-by-Step Instructions
Creating the Perfect Dough
Begin by combining flour, granulated sugar, and salt in a food processor bowl. Pulse several times to ensure even distribution. Add the softened cream cheese and butter, then pulse until the mixture forms a cohesive dough.
If you don’t own a food processor, don’t worry – a stand mixer works equally well. Simply mix the dry ingredients first, then beat in the cream cheese and butter on medium speed until the dough comes together smoothly.
Essential Chilling Period
Divide the completed dough into two equal portions, each weighing approximately 430 grams. Shape each portion into a flat disc, then wrap tightly in plastic wrap. Refrigerate for at least 2 hours, though the dough can be stored for up to 3 days.
This chilling step is crucial for two reasons: it firms up the butter for easier handling, and it allows the flour to fully hydrate, resulting in a more tender final product.
Preparing the Tassie Shells
Lightly grease two 24-count mini muffin pans with nonstick cooking spray. If you only have one pan, you can work in batches without any issues.
Remove one disc of chilled dough from the refrigerator. Tear off portions of dough weighing approximately 18 grams each – this equals about a scant tablespoon. Roll each portion into a smooth ball, then place it in a muffin cup.
Shaping the Cups
Using your thumb, press firmly into the center of each dough ball to create a deep, wide indentation. The goal is to form small cups that will hold the filling without overflowing. Work systematically through all the dough balls, then refrigerate the shaped shells while you prepare the filling.
Crafting the Maple Filling
In a medium mixing bowl, whisk together eggs, brown sugar, maple syrup, melted butter, vanilla extract, cinnamon, and salt until the mixture is completely smooth. The consistency should be pourable but not too thin.
Fold in the finely chopped walnuts and maple extract (if using) until evenly distributed. The nuts should be well-coated with the liquid mixture, ensuring even distribution in each tassie.
Assembly and Baking
Preheat your oven to 375°F while you fill the tassie shells. Remove both pans from the refrigerator and use a teaspoon to carefully portion the filling into each shell. Fill them generously but avoid overfilling, as the mixture will bubble slightly during baking.
Achieving Perfect Results
Bake the tassies for 18-22 minutes, watching for lightly browned shell edges and set filling. The centers should no longer jiggle when the pan is gently shaken. Overbaking will result in tough shells, so keep a close eye during the final minutes.
Allow the tassies to cool in the pans for 10-20 minutes before attempting removal. This cooling period helps the filling set properly and prevents the delicate shells from breaking.
Serving Suggestions
Elegant Presentation
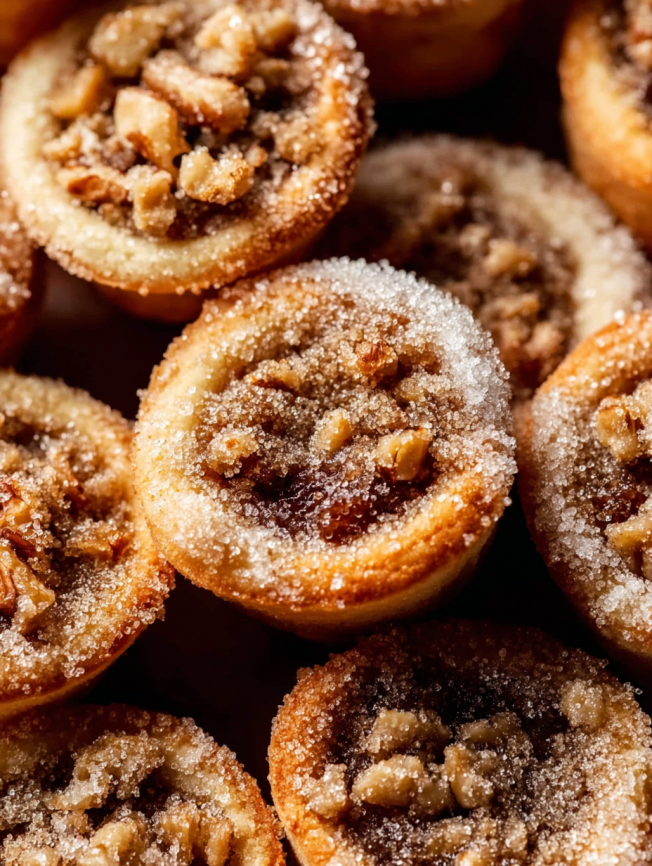
Arrange the cooled tassies on a tiered serving stand or decorative platter, leaving space between each one to showcase their individual beauty. Just before serving, dust lightly with confectioners’ sugar using a fine-mesh sieve for a professional finish.
Perfect Occasions
These versatile treats shine at holiday gatherings, brunch spreads, afternoon tea parties, or cookie exchanges. Their sophisticated flavor profile makes them equally appropriate for formal dinner parties and casual family gatherings.
Complementary Pairings
Serve alongside other small pastries, fresh fruit, or a selection of artisanal cheeses. They pair beautifully with coffee, black tea, or even a glass of dessert wine for special occasions.
Creative Variations
Nut Alternatives
While walnuts provide a lovely bitter contrast to the sweet filling, pecans are actually the traditional choice for tassies. Toasted hazelnuts or almonds also work beautifully, each bringing their own unique flavor profile to the mix.
Flavor Enhancements
Consider adding a pinch of nutmeg or cardamom to the filling for additional warmth. A few drops of rum extract can create an interesting flavor dimension, while orange zest adds a bright, citrusy note.
Seasonal Adaptations
During autumn, fold in a small amount of pumpkin spice blend along with the cinnamon. For winter holidays, try adding a touch of bourbon or whiskey extract to complement the maple flavors.
Make-Ahead Tips
Dough Storage Options
The cream cheese dough is remarkably forgiving and actually benefits from extended chilling. Store wrapped discs in the refrigerator for up to 3 days, or freeze for up to 3 months. Frozen dough should be thawed overnight in the refrigerator before use.
Advanced Assembly
Shaped tassie shells can be filled and refrigerated up to one day before baking. This advance preparation actually enhances the flavors and makes entertaining much more manageable. Simply cover the filled pans with plastic wrap until ready to bake.
Post-Baking Storage
Completely cooled tassies maintain their quality in airtight containers at room temperature for up to one week. For longer storage, freeze baked tassies for up to 3 months, then thaw at room temperature before serving.
Important Notes
Equipment Essentials
Success with this recipe depends on having mini muffin pans – there’s really no substitute that will create the proper shape and portion size. If you frequently bake small pastries, investing in two 24-count pans will streamline your process significantly.
Texture Considerations
The filling should have a consistency similar to pecan pie filling – thick enough to hold its shape but fluid enough to settle evenly in the shells. If your filling seems too thick, add an extra tablespoon of maple syrup or melted butter.
Temperature Tips
Both the cream cheese and butter should be genuinely soft to room temperature before mixing. Cold ingredients won’t blend properly and can result in a tough dough. Plan to remove them from the refrigerator about an hour before starting.
Maple Syrup Quality
Using pure maple syrup rather than pancake syrup makes a noticeable difference in flavor. The complex, nuanced sweetness of real maple syrup elevates these tassies from good to exceptional.
Frequently Asked Questions
Q: Can I substitute pecans for walnuts in this recipe? A: Absolutely! Pecans are actually the traditional nut for tassies and work beautifully in this recipe. Use the same amount of finely chopped pecans, and consider the classic pecan tassie your template for success.
Q: Is it possible to make these nut-free? A: Unfortunately, nuts are essential to the filling’s structure and flavor. Without them, the filling becomes too liquid and lacks the characteristic texture. For nut-free alternatives, consider other small cookies like shortbread bites or brown sugar cookies instead.
Q: What if I don’t have a food processor for the dough? A: No problem at all! Use a stand mixer or even a handheld mixer to combine the ingredients. Simply mix the dry ingredients first, then beat in the softened cream cheese and butter until a smooth dough forms.
Q: Can I make larger tassies in a regular muffin pan? A: While it’s possible, regular muffin cups are quite large for this delicate pastry. If you choose this route, increase the baking time to 28-30 minutes and expect a more substantial, less refined result.
Q: How do I know when the tassies are properly baked? A: Look for lightly golden shell edges and a filling that appears set rather than jiggly. The centers should be firm to gentle touch, and the entire tassie should feel stable when you lightly shake the pan.
Q: Can I halve this recipe for smaller batches? A: Certainly! Simply cut all ingredients in half, which will yield approximately 22-24 tassies. This smaller batch is perfect for testing the recipe or when you need fewer portions.
Q: Why is maple extract optional, and should I use it? A: Maple extract intensifies the maple flavor significantly. If you love pronounced maple taste, definitely include it. However, if you prefer subtler maple notes or don’t have extract available, the pure maple syrup provides plenty of flavor on its own.
Prep Time: 2 hours 45 minutes (includes chilling) | Cook Time: 20 minutes | Total Time: 3 hours 15 minutes | Yield: 44-48 tassies


