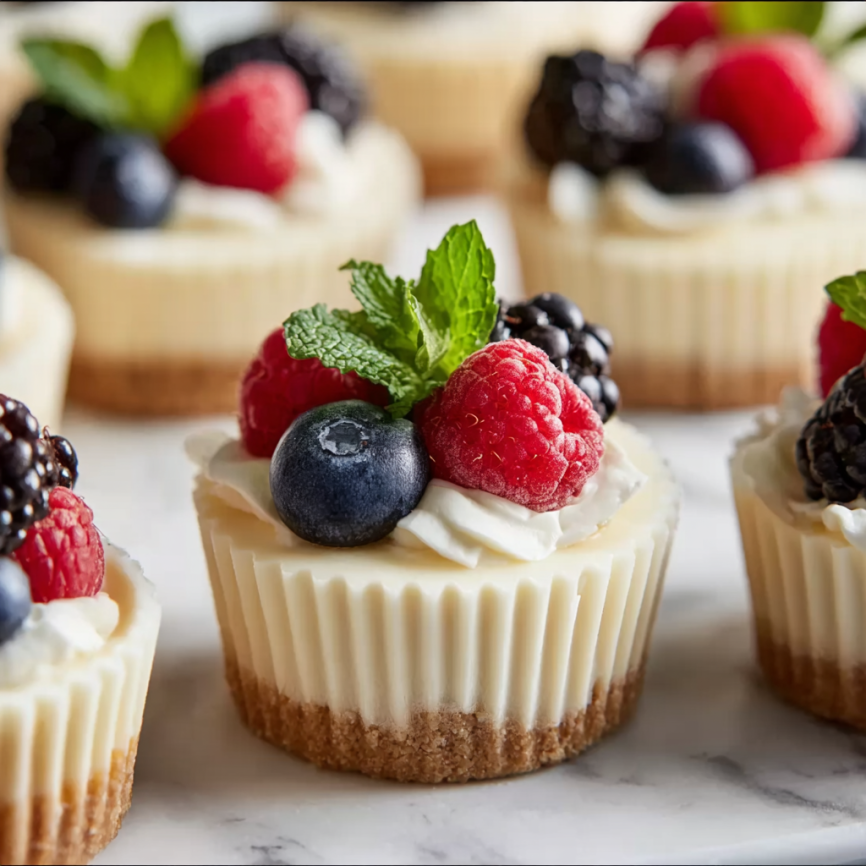
When I first discovered I could make individual cheesecakes in my trusty muffin pan, it felt like uncovering a baking secret that changed everything. No more worrying about cutting perfect slices from a large cheesecake, no more arguments over portion sizes, and certainly no more leftover temptation staring at me from the refrigerator. These miniature marvels deliver all the creamy, tangy perfection of traditional cheesecake in perfectly portioned individual servings. Whether you’re hosting a dinner party, preparing treats for a potluck, or simply want better portion control, these mini cheesecakes solve every cheesecake dilemma while looking absolutely adorable on any dessert table.
Prep Time: 20 minutes | Cook Time: 20 minutes | Total Time: 3 hours, 15 minutes | Yield: 12 mini cheesecakes
Why These Mini Cheesecakes Are Absolutely Brilliant
Perfect Portion Control
Each mini cheesecake provides just the right amount of indulgence without the guilt of cutting “just a small slice” that somehow turns into half a cake. These individual treats help you enjoy cheesecake mindfully while satisfying your sweet tooth completely.
Entertaining Made Easy
Hosting becomes effortless when dessert comes pre-portioned and beautifully presented. Guests can easily grab their own serving, and you’ll never have to worry about having enough plates or dealing with messy cutting situations during parties.
Faster Baking and Cooling
Unlike traditional cheesecakes that require hours of baking and overnight chilling, these mini versions bake in just 20 minutes and chill in a fraction of the time. This makes them perfect for last-minute dessert needs or when you’re craving cheesecake without the day-long commitment.
Endless Customization Possibilities
With a dozen individual canvases, you can create variety within a single batch. Try different toppings on each one, experiment with flavors, or cater to various dietary preferences all in one baking session.
Essential Ingredients
For the Graham Cracker Crust
- 1 cup (120g) graham cracker crumbs (about 8 full sheet graham crackers)
- 2 tablespoons (25g) granulated sugar
- 3 tablespoons (43g) unsalted butter, melted
For the Creamy Cheesecake Filling
- 16 ounces (452g) full-fat brick cream cheese, softened to room temperature
- ½ cup (100g) granulated sugar
- ¼ cup (60g) full-fat sour cream, at room temperature
- 1 teaspoon pure vanilla extract
- 1 teaspoon freshly squeezed lemon juice
- 2 large eggs, at room temperature
Step-by-Step Instructions
Setting Up for Success
Preheat your oven to 350°F (177°C) and line a standard 12-count muffin pan with cupcake liners. This preparation ensures easy removal and professional presentation of your finished cheesecakes.
Creating the Perfect Crust Base
In a medium bowl, combine the graham cracker crumbs, granulated sugar, and melted butter until the mixture resembles wet sand. The texture should hold together when pressed but remain crumbly.
Firmly press a heaping tablespoon of this crust mixture into each lined muffin cup, creating an even, compact base. Use the bottom of a measuring spoon or your fingers to ensure the crust is tightly packed and level.
Bake these crusts for 6 minutes until they’re lightly set but not browned. This pre-baking step prevents soggy bottoms and creates a sturdy foundation for your cheesecake filling.
Mastering the Creamy Filling
Using either a handheld or stand mixer fitted with paddle or whisk attachment, beat the softened cream cheese and granulated sugar together on medium-high speed. Continue mixing for about 2 minutes until the mixture becomes completely smooth and creamy with no lumps remaining.
Add the sour cream, vanilla extract, and fresh lemon juice to the cream cheese mixture. Beat until these ingredients are fully incorporated and the mixture maintains its smooth consistency.
With your mixer running on medium speed, add the eggs one at a time, beating just until each egg is combined before adding the next. This gradual incorporation prevents over-mixing, which can lead to cracked cheesecakes.
Assembling Your Mini Masterpieces
Divide the smooth cheesecake batter evenly among the muffin cups, filling each liner completely to the top. Don’t worry if the crusts are still slightly warm—the filling can be added immediately.
Optional Water Bath Technique
For professional-quality results with minimal sinking, create a steam bath by boiling water and placing a large metal baking or roasting pan on the bottom oven rack. Pour about 1 inch of boiling water into this pan, then immediately place your muffin pan on the center rack above it.
This unique method adds beneficial steam to the oven environment without the complicated setup of traditional water baths where the pan sits directly in water.
Baking to Perfection
Bake the cheesecakes for approximately 20 minutes, watching for edges that appear set while centers still have a slight jiggle when you gently tap the pan. Over-baking results in dry, cracked cheesecakes, so err on the side of slight under-baking.
Proper Cooling Process
Place the muffin pan on a cooling rack and allow the cheesecakes to cool at room temperature for 45 minutes. This gradual temperature change prevents sudden contractions that can cause cracking.
Transfer the cooled cheesecakes to the refrigerator and chill for at least 2 hours, though overnight chilling produces the best texture. For quicker results, place them in the freezer for 1 hour.
Final Decorating Touches
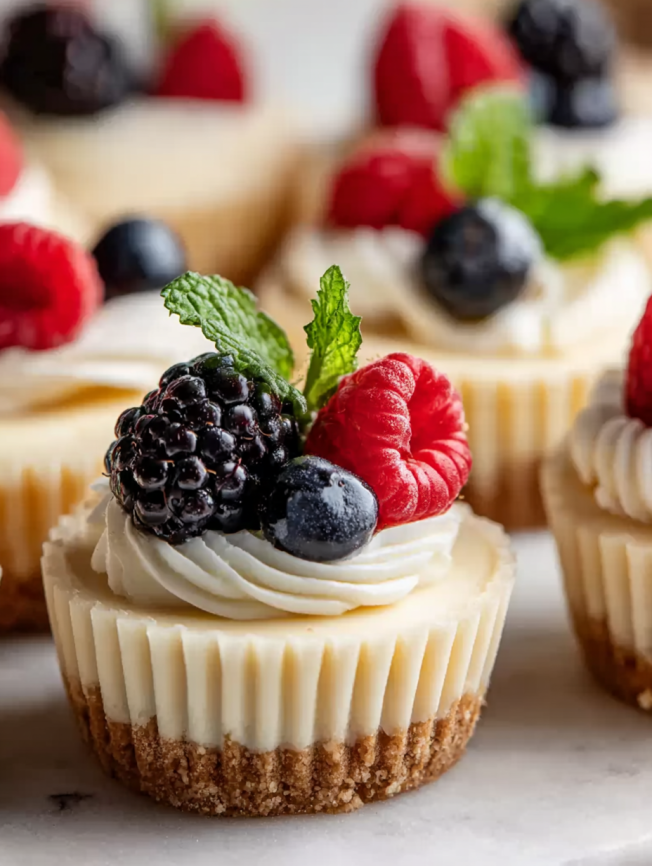
Once fully chilled, remove the cheesecakes from their liners and add your chosen toppings. Piped whipped cream, fresh berries, or drizzled sauces all create beautiful presentations that rival professional bakery offerings.
Serving Suggestions
Elegant Presentation Ideas
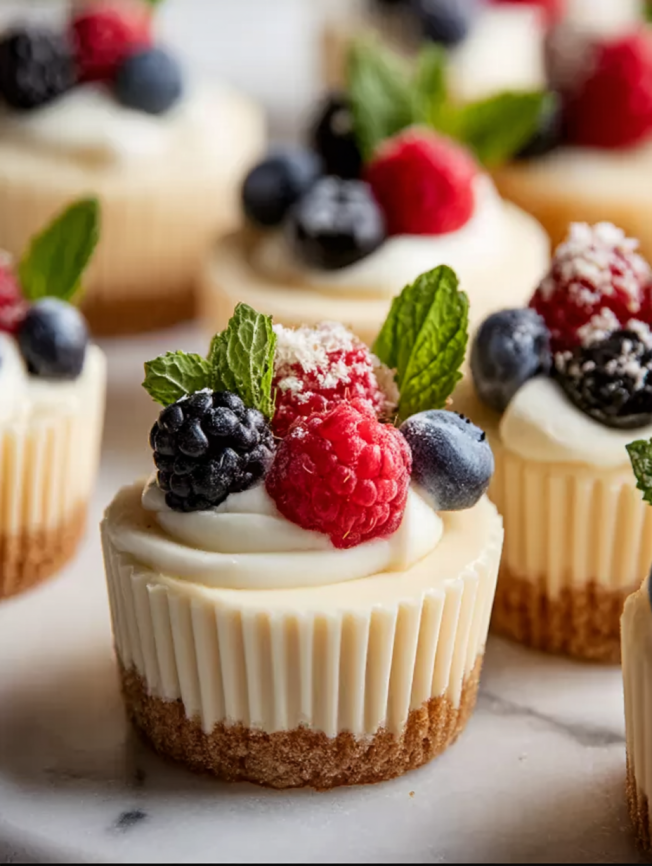
Arrange the mini cheesecakes on tiered serving stands for height variation, or place them on individual dessert plates with complementary garnishes. The small size makes them perfect for buffet-style serving where guests can easily manage their own portions.
Perfect Pairing Options
These rich, creamy treats pair beautifully with fresh berries, light fruit salsas, or crisp cookies for textural contrast. Coffee, dessert wines, or champagne complement the tangy sweetness perfectly.
Creative Variations
Chocolate Lover’s Version
Replace ¼ cup of the cream cheese with melted chocolate, or add 2 tablespoons of cocoa powder to the filling for decadent chocolate mini cheesecakes.
Citrus Burst Variation
Double the lemon juice and add 1 tablespoon of lemon zest for bright, sunny mini lemon cheesecakes that taste like summer in every bite.
Berry Swirl Beauty
Before baking, drop spoonfuls of berry jam on top of each cheesecake and use a toothpick to create marbled patterns for stunning visual appeal.
Make-Ahead Tips
Advance Preparation Strategy
Prepare the unbaked cheesecakes through the filling step up to 2-3 days ahead. Cover tightly and refrigerate until ready to bake, then proceed with the baking instructions for fresh-tasting results.
Freezing for Long-Term Storage
Individual baked cheesecakes freeze excellently for up to 3 months when properly wrapped. Thaw overnight in the refrigerator before serving, and they’ll taste as fresh as the day they were made.
Decoration Timing
Whipped cream and most toppings can be added up to 24 hours before serving without compromising quality. This makes them ideal for stress-free entertaining.
Important Notes
Equipment Essentials
A standard 12-count muffin pan works best for this recipe, though you can also create super mini versions using a 24-count mini muffin pan with adjusted baking times and measurements.
Temperature Matters
Ensure all dairy ingredients reach room temperature before mixing. Cold ingredients don’t blend smoothly and can result in lumpy filling that won’t achieve the desired creamy texture.
Storage Guidelines
Store finished cheesecakes covered in the refrigerator for up to 5 days. The flavors actually improve after the first day as they meld together beautifully.
Frequently Asked Questions
Can I make these without cupcake liners?
While liners ensure easy removal and neat presentation, you can grease the muffin cups thoroughly with butter or cooking spray. However, removal becomes trickier and presentation less polished.
What if I don’t have graham crackers?
International bakers can substitute digestive biscuits using 1 cup (105g) biscuit crumbs, 30g melted butter, and 2 tablespoons sugar. The preparation method remains identical.
How do I know when they’re properly baked?
Look for set edges with centers that barely jiggle when gently tapped. They’ll continue cooking slightly from residual heat, so slight under-baking is preferable to over-baking.
Can I make super mini versions?
Absolutely! Use a 24-count mini muffin pan with 2 teaspoons of crust per cup, pre-bake for 4 minutes, then bake filled cheesecakes for 10-11 minutes. This yields approximately 30 bite-sized treats.
Why did my cheesecakes crack?
Common causes include over-mixing the filling, over-baking, or rapid temperature changes. The optional water bath method helps prevent cracking by maintaining consistent oven moisture.
What’s the best way to remove them from liners?
Chill the cheesecakes completely before removing liners. Gently peel away the paper while supporting the bottom with your other hand for clean removal.
Can I use low-fat ingredients?
Full-fat cream cheese and sour cream are essential for proper texture and flavor. Low-fat alternatives often result in less creamy, more fragile cheesecakes that don’t set properly.
How long do these keep?
Properly stored mini cheesecakes maintain quality for up to 5 days refrigerated. They’re actually at their peak flavor and texture after 24 hours of chilling.


