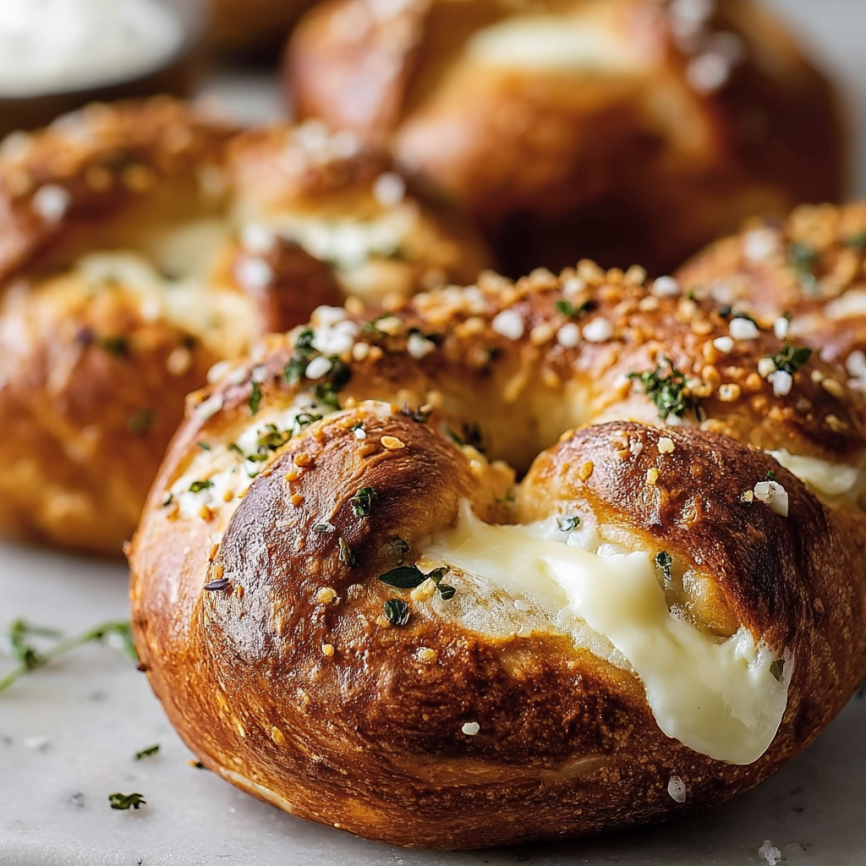
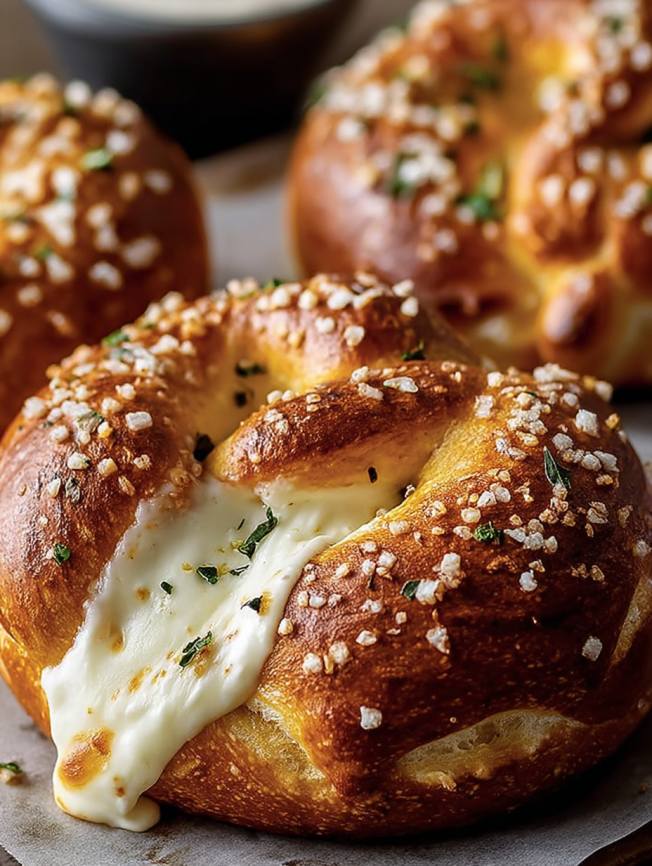
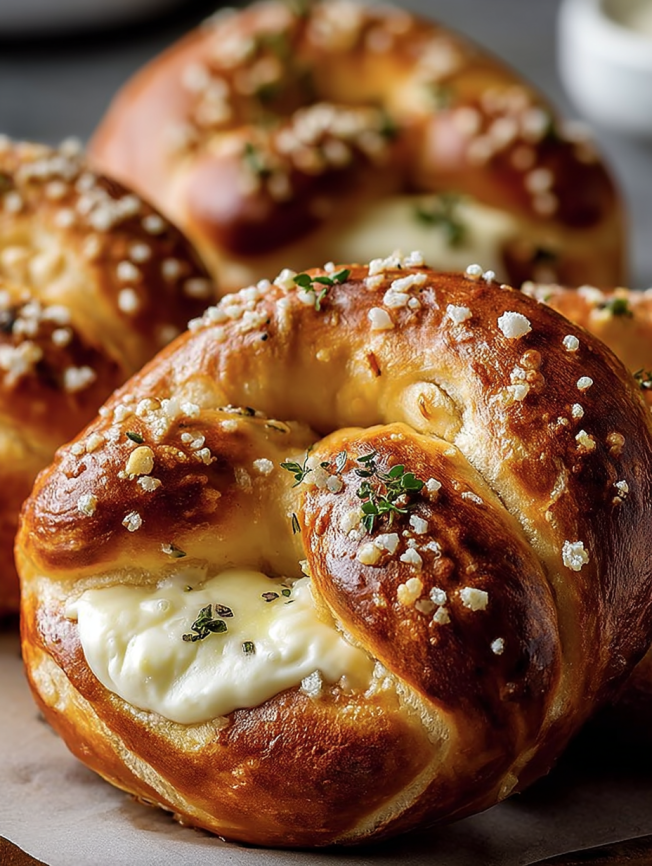
Last autumn, I visited a small German bakery in downtown Philadelphia, where the aroma of fresh-baked pretzels filled the entire street. While their traditional pretzels were incredible, I couldn’t stop thinking about how amazing they’d be with cheese tucked inside. After weeks of experimenting in my kitchen, I finally perfected these mozzarella-stuffed beauties that combine the best of soft pretzel tradition with that irresistible cheese pull we all crave.
The first bite is pure magic – the golden, chewy exterior gives way to stretchy, melted mozzarella that creates those Instagram-worthy cheese pulls. Furthermore, the contrast between the salty pretzel coating and the creamy cheese center makes every bite incredibly satisfying.
Why These Stuffed Pretzels Will Win Your Heart
Homemade Bakery Quality: These pretzels rival anything you’d find at a specialty pretzel shop, yet they’re completely achievable in your home kitchen. Moreover, the satisfaction of pulling apart warm, homemade pretzels filled with molten cheese is unmatched.
Perfect for Any Occasion: Whether you’re hosting game day, need an impressive appetizer, or want a special weekend treat, these pretzels fit the bill perfectly. Additionally, they’re substantial enough to serve as a light meal when paired with soup or salad.
Kid and Adult Approved: The combination of soft bread and gooey cheese appeals to every age group. Consequently, they’re perfect for family gatherings where you need something that pleases everyone.
Make-Ahead Friendly: You can prepare these earlier in the day and simply warm them before serving. Therefore, they’re ideal for entertaining when you want to minimize last-minute kitchen work.
Essential Ingredients Breakdown
For the Pretzel Dough
- 1½ cups warm water (110°F to 115°F) – Temperature is crucial for proper yeast activation
- 1 tablespoon granulated sugar – Feeds the yeast and adds subtle sweetness
- 2¼ teaspoons active dry yeast – Provides the rise and characteristic bread texture
- 4½ cups all-purpose flour – Creates the perfect chewy consistency
- ¼ cup unsalted butter, melted – Adds richness and helps create tender texture
- 2 teaspoons salt – Essential for flavor development
Boiling Solution Components
- ½ cup baking soda – Creates the distinctive pretzel flavor and golden color
- 10 cups water – Forms the alkaline bath that gives pretzels their unique characteristics
Stuffing and Finishing Elements
- 8 ounces mozzarella cheese, cut into 16 pieces – Choose whole milk mozzarella for best melting
- Coarse sea salt for sprinkling – Pretzel salt or kosher salt provides the classic finish
- ¼ cup melted butter for brushing – Creates that glossy, golden appearance
- Marinara sauce for serving – Optional but highly recommended for dipping
Serving Accompaniments
These pretzels shine when served with warm marinara sauce, spicy mustard, or beer cheese dip. Moreover, they pair beautifully with a crisp salad or hearty soup for a complete meal.
Step-by-Step Preparation Guide
Dough Development Phase
Step 1: Activate the Yeast In a large mixing bowl, combine the warm water, sugar, and yeast. Stir gently and let sit for 5-10 minutes until the mixture becomes foamy and fragrant. This foaming indicates that your yeast is active and ready to work.
Step 2: Form the Dough Add the flour, melted butter, and salt to the activated yeast mixture. Using a wooden spoon or your hands, stir until a shaggy dough forms. The mixture should come together but will still look somewhat rough at this stage.
Step 3: Knead to Perfection Transfer the dough to a lightly floured surface and knead for about 5 minutes. Work the dough until it becomes smooth, elastic, and slightly tacky but not sticky. Proper kneading develops the gluten structure that gives pretzels their characteristic chew.
Rising and Shaping Process
Step 4: First Rise Place the kneaded dough in a greased bowl, turning once to coat all surfaces. Cover with a clean kitchen towel and let rise in a warm, draft-free place for 1 hour, or until doubled in size.
Step 5: Prepare for Assembly While the dough rises, preheat your oven to 230°C (450°F) and line a large baking sheet with parchment paper. Cut the mozzarella into 16 evenly-sized pieces, roughly 1-inch cubes.
Step 6: Shape the Stuffed Pretzels Divide the risen dough into 16 equal portions using a kitchen scale for consistency. Working with one piece at a time, flatten each portion into a small rectangle about 3 inches wide.
Place one piece of mozzarella in the center of each rectangle. Carefully fold the dough over the cheese, pinching all edges firmly to create a tight seal. Roll gently between your palms to form smooth balls, ensuring no cheese is visible.
The Boiling Bath
Step 7: Prepare the Alkaline Solution In a large, wide pot, bring 10 cups of water and the baking soda to a rolling boil. This alkaline bath is what gives pretzels their distinctive flavor and beautiful mahogany color.
Step 8: Boil Each Pretzel Working in batches of 4-5 pretzels to avoid overcrowding, carefully drop each stuffed dough ball into the boiling solution. Boil for exactly 30 seconds, turning once if needed to ensure even exposure.
Using a slotted spoon, immediately transfer each boiled pretzel to your prepared baking sheet. The brief boiling creates that characteristic pretzel skin.
Baking to Golden Perfection
Step 9: Season and Bake Sprinkle each pretzel generously with coarse sea salt while the surface is still damp from boiling. Bake in the preheated oven for 12-15 minutes, until they achieve a deep golden-brown color.
Step 10: Final Finishing Remove from the oven and immediately brush each pretzel with melted butter. This adds flavor and creates an appealing glossy finish. Serve warm for the ultimate cheese-stretching experience.
Creative Serving Ideas
Game Day Presentation
Arrange the warm pretzels on a wooden board alongside small bowls of marinara sauce, beer cheese, and spicy mustard. Add some sliced pepperoni and olives for an Italian-inspired appetizer spread.
Family Movie Night
Serve these in individual baskets lined with checkered napkins, recreating that authentic pretzel stand experience at home. Provide different dipping sauces so everyone can customize their experience.
Elegant Appetizer Option
Slice each pretzel in half to showcase the melted cheese center and arrange on a platter with microgreens and a drizzle of basil oil for a more sophisticated presentation.
Delicious Variations to Try
Pepperoni Pizza Pretzels
Add a small piece of pepperoni along with the mozzarella for a pizza-inspired twist. Serve with warm marinara sauce for the complete pizza experience.
Jalapeño Popper Version
Mix cream cheese with diced jalapeños and use this mixture along with shredded cheddar instead of plain mozzarella. Perfect for those who love a spicy kick.
Herb-Infused Option
Add dried Italian herbs (basil, oregano, garlic powder) to the dough during mixing. This creates an aromatic pretzel that pairs beautifully with the cheese filling.
Sweet and Savory Twist
Try filling some pretzels with a mixture of mozzarella and a small amount of fig jam or caramelized onions for a gourmet flavor combination.
Make-Ahead Strategies
Day-Before Preparation
You can prepare the dough through the first rise, then cover and refrigerate overnight. Allow it to come to room temperature before shaping and stuffing the next day.
Freezer-Friendly Options
Shaped, stuffed pretzels can be frozen before the boiling step. Freeze on a tray, then transfer to freezer bags for up to three months. Boil and bake directly from frozen, adding 2-3 extra minutes to the baking time.
Partial Assembly
The dough can be made and shaped (without cheese) up to 4 hours ahead. Cover and keep at room temperature, then stuff with cheese just before boiling and baking.
Professional Tips for Success
Yeast Temperature Matters: Water that’s too hot will kill the yeast, while water that’s too cool won’t activate it properly. Use a thermometer to ensure accuracy, or test on your wrist – it should feel pleasantly warm, not hot.
Sealing is Critical: Take extra care when sealing the cheese inside the dough. Any gaps will allow cheese to leak out during boiling and baking, creating a mess and potentially burning.
Don’t Skip the Boiling: This step is essential for authentic pretzel flavor and texture. The baking soda creates an alkaline environment that gives pretzels their distinctive taste and color.
Serve Immediately: These pretzels are at their absolute best when served warm, while the cheese is still stretchy and the exterior maintains its ideal texture.
Essential Equipment List
- Large mixing bowl for dough preparation
- Kitchen scale for consistent portioning (recommended)
- Clean kitchen towel for covering dough
- Large, wide pot for boiling solution
- Long-handled slotted spoon for safe transfer
- Large baking sheet lined with parchment
- Pastry brush for butter application
- Instant-read thermometer for water temperature
Dietary Considerations
Allergen Information: Contains wheat (gluten) and dairy. Those with gluten sensitivities can experiment with gluten-free flour blends, though texture will differ from traditional pretzels.
Vegetarian-Friendly: This recipe is suitable for vegetarians who consume dairy products.
Nutritional Profile: Each serving provides approximately 210 calories with a moderate balance of carbohydrates (25g) and protein (7g) from the bread and cheese combination.
Frequently Asked Questions
Can I use different types of cheese for stuffing? Absolutely! Try sharp cheddar, pepper jack, or even cream cheese mixed with herbs. Just ensure the cheese melts well and won’t leak out during cooking.
What if my yeast doesn’t foam during activation? If the yeast doesn’t foam after 10 minutes, it’s likely dead or the water temperature was incorrect. Start over with fresh yeast and properly tempered water for best results.
How do I prevent the cheese from leaking out? Ensure you seal the dough edges completely and avoid overstuffing. Also, don’t skip the brief boiling step, as it helps set the exterior and contain the filling.
Can these be made without the boiling step? While you can skip boiling, you won’t achieve the authentic pretzel flavor and texture. The alkaline bath is what makes these true pretzels rather than just stuffed bread rolls.
How should I store leftover pretzels? Store cooled pretzels in an airtight container at room temperature for up to 2 days. Reheat in a 180°C oven for 5-7 minutes to restore warmth and texture.
Can I make these larger or smaller? Yes! Adjust the portions accordingly – smaller pretzels will need less baking time, while larger ones may need a few extra minutes. Watch for golden-brown color as your guide.
What’s the best way to reheat these pretzels? Oven reheating works best. Wrap in foil and heat at 180°C for 8-10 minutes, or until warmed through. Avoid microwaving, as this can make the texture chewy and unpleasant.
How can I tell when the dough has risen enough? The dough should roughly double in size and feel light and airy when gently poked. If you press two fingers into the dough and the indentations remain, it’s ready to shape.


