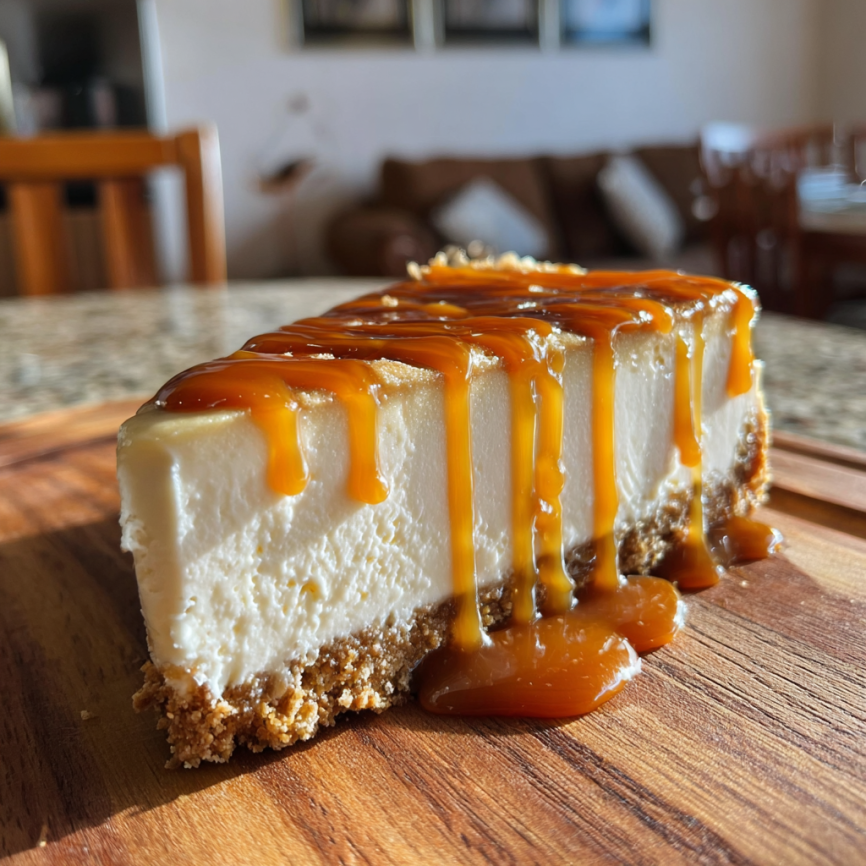
Last summer, during a particularly sweltering heatwave, I found myself craving something decadent yet refreshing. Traditional cheesecake seemed too heavy for the weather, and turning on the oven felt like torture. That’s when inspiration struck – why not create a no-bake version that captured all the richness of classic cheesecake without the heat?
After several delicious experiments, this salted caramel masterpiece emerged. The combination of creamy texture, buttery crust, and that perfect balance of sweet and salty flavors creates an irresistible dessert. Best of all, it requires just 20 minutes of active preparation time, making it perfect for last-minute entertaining or satisfying sudden dessert cravings.
Since perfecting this recipe, it has become my signature dessert for summer gatherings, potluck dinners, and any occasion where I want to impress without spending hours in the kitchen.
Why You’ll Fall in Love with This Cheesecake
Effortless Elegance: This dessert delivers restaurant-quality results with minimal effort. Furthermore, the no-bake method means you’ll never worry about cracks, overbaking, or complicated water baths.
Perfect Temperature Control: Unlike traditional cheesecakes that require precise oven temperatures, this recipe eliminates guesswork entirely. Additionally, you can prepare it even during the hottest summer days without heating up your kitchen.
Make-Ahead Marvel: The mandatory chilling time actually works in your favor for entertaining. Consequently, you can prepare this dessert hours or even a day ahead, leaving you free to focus on other preparations.
Flavor Complexity: The salted caramel component adds sophisticated depth that transforms a simple cheesecake into a gourmet experience. Moreover, the contrast between sweet and salty creates an addictive flavor profile that keeps people coming back for more.
Foolproof Success: Even novice bakers can achieve professional-looking results with this straightforward method. The simple techniques ensure consistent success every time you make it.
Essential Ingredients
Crust Foundation
- 200g digestive biscuits (graham crackers work excellently as substitute)
- 100g butter, melted (unsalted preferred for better flavor control)
Creamy Filling
- 400g cream cheese, room temperature (full-fat for optimal texture)
- 200ml heavy whipping cream (cold for best whipping results)
- 150g granulated sugar (adjust to taste preference)
- 100ml caramel syrup (store-bought or homemade)
- 1 teaspoon sea salt (flaky sea salt for finishing)
Garnish Options
- Extra caramel syrup for drizzling
- Crushed caramel candies for texture
- Toasted nuts for added crunch
- Fresh berries for color contrast
Step-by-Step Instructions
Creating the Perfect Crust
Step 1: Place the biscuits in a food processor and pulse until you achieve fine, even crumbs. Alternatively, place them in a sealed bag and crush with a rolling pin until uniformly ground.
Step 2: Melt the butter in a microwave-safe bowl, then pour it over the biscuit crumbs. Mix thoroughly until the mixture resembles wet sand and holds together when squeezed.
Step 3: Press the mixture firmly into the bottom of a 23cm springform pan, creating an even layer. Use the bottom of a glass to ensure uniform compaction, then refrigerate while preparing the filling.
Crafting the Silky Filling
Step 4: In a large bowl, whip the cold heavy cream using an electric mixer until stiff peaks form. Be careful not to overwhip, as this can lead to a grainy texture. Set aside in the refrigerator.
Step 5: In another bowl, beat the room-temperature cream cheese until smooth and creamy, about 2-3 minutes. Gradually add the sugar, beating until well combined and lump-free.
Step 6: Slowly incorporate the caramel syrup into the cream cheese mixture, beating until evenly distributed. The mixture should be smooth and glossy.
Final Assembly
Step 7: Gently fold the whipped cream into the cream cheese mixture using a spatula. Use a folding motion to preserve the airiness, working until no white streaks remain.
Step 8: Pour the filling over the prepared crust, spreading it evenly with an offset spatula. Smooth the top surface and tap the pan gently to release air bubbles.
Step 9: Cover with plastic wrap and refrigerate for at least 4 hours, though overnight chilling produces the best texture and flavor development.
Serving Suggestions
Classic Presentation
Remove the cheesecake from the refrigerator 15 minutes before serving to allow for easier slicing. Run a knife under warm water between cuts for clean, professional-looking slices.
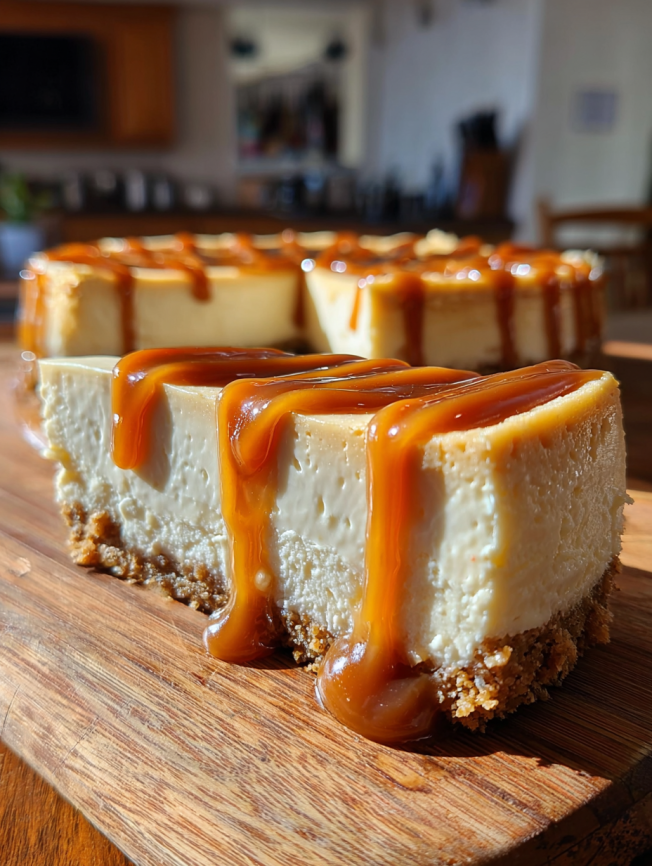
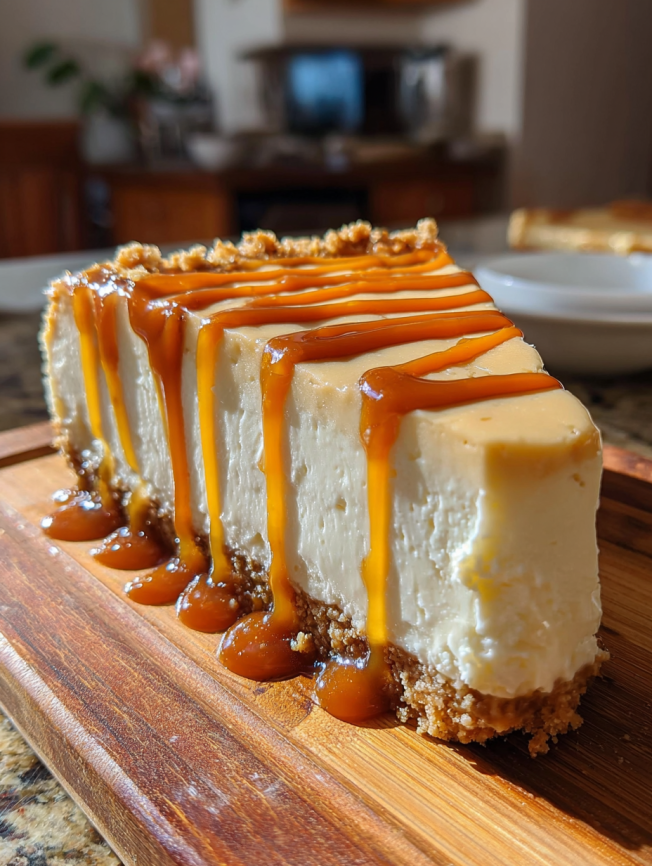
Elegant Plating: Place each slice on a chilled dessert plate and drizzle with additional caramel syrup in an artistic pattern. Finish with a delicate sprinkle of flaky sea salt and perhaps a few fresh berries.
Creative Variations
Deconstructed Style: Serve individual portions in glasses, layering crumbled crust, filling, and caramel for a modern twist. This presentation works beautifully for casual gatherings.
Garnish Ideas: Consider adding toasted coconut flakes, crushed toffee bits, or a dollop of whipped cream. Each addition brings its own textural element to complement the smooth cheesecake.
Recipe Variations
Flavor Transformations
Chocolate Salted Caramel: Add 2 tablespoons of cocoa powder to the cream cheese mixture for a rich chocolate variation. The result creates an indulgent triple-flavor combination.
Espresso Enhancement: Incorporate 1 tablespoon of instant espresso powder into the filling for coffee lovers. This addition pairs beautifully with the caramel and adds sophisticated depth.
Crust Alternatives
Nutty Foundation: Replace half the biscuits with crushed amaretti cookies or gingersnaps for different flavor profiles. Each option brings unique characteristics to the dessert.
Healthier Options: Use whole wheat digestive biscuits or oat cookies for added fiber. While the texture changes slightly, the nutritional benefits make it worthwhile.
Dietary Adaptations
Lighter Version: Substitute half the cream cheese with Greek yogurt and use light whipping cream. The texture remains creamy while reducing calories significantly.
Gluten-Free Option: Use gluten-free cookies for the crust base. Many brands offer excellent alternatives that work perfectly in this recipe.
Make-Ahead Tips
Preparation Timeline
Day Before: Complete the entire recipe and allow overnight chilling. This extended time actually improves the flavor as all components meld together beautifully.
Morning Prep: Assemble the cheesecake in the morning for evening service. The 8-hour chilling time ensures optimal texture and makes slicing effortless.
Storage Guidelines
Refrigerator Storage: Properly covered, this cheesecake maintains quality for up to 5 days. Keep it in the springform pan until ready to serve for best shape retention.
Freezer Option: The cheesecake freezes exceptionally well for up to 3 months. Thaw overnight in the refrigerator before serving, and the texture remains virtually unchanged.
Advance Preparation
Component Prep: The crust can be made and pressed up to 2 days ahead. Similarly, the filling can be prepared separately and assembled when convenient.
Important Notes
Ingredient Temperature
Room temperature cream cheese is crucial for smooth mixing. Cold cream cheese creates lumps that are difficult to eliminate, affecting the final texture significantly.
Whipping Cream Success
Use cold cream and chilled bowl for best whipping results. Overwhipped cream becomes grainy and can break when folded into the cheese mixture.
Caramel Quality
Choose high-quality caramel syrup for best flavor results. Homemade caramel provides superior taste, but good store-bought versions work excellently for convenience.
Salt Balance
Start with less salt and adjust to taste. The salted caramel should enhance, not overpower, the creamy sweetness of the cheesecake.
Chilling Time
Resist the temptation to serve too early. Proper chilling time ensures the filling sets correctly and develops the best flavor profile.
Frequently Asked Questions
Q: Can I use low-fat cream cheese instead of full-fat? A: While possible, full-fat cream cheese provides the best texture and flavor. Low-fat versions can make the filling less creamy and may affect the setting process.
Q: My filling seems too soft after chilling. What went wrong? A: This usually occurs when the cream cheese wasn’t at room temperature or the cream was overwhipped. Ensure proper temperatures and whipping stages for best results.
Q: Can I make individual portions instead of one large cheesecake? A: Absolutely! Divide the crust and filling among 8 individual glasses or ramekins. The chilling time remains the same, but presentation becomes more elegant.
Q: How do I prevent the crust from becoming soggy? A: Ensure the butter is properly incorporated and press the crust firmly. Additionally, the initial chilling while preparing the filling helps set the base properly.
Q: Can I substitute the caramel syrup with something else? A: Yes! Chocolate sauce, fruit coulis, or even maple syrup work wonderfully. Each creates a different flavor profile while maintaining the recipe’s structure.
Q: What’s the best way to remove the cheesecake from the springform pan? A: Run a thin knife around the edges before releasing the spring mechanism. For clean removal, place on a serving plate before releasing the bottom.
Q: How far in advance can I add the final caramel drizzle? A: Add the final drizzle and salt just before serving to prevent the caramel from soaking into the surface. This maintains the beautiful presentation and texture contrast.
Prep Time: 20 minutes | Chilling Time: 4 hours | Total Time: 4 hours 20 minutes
Serves: 8 | Cuisine: International | Diet: Vegetarian
Nutrition per serving: 350 calories | 30g carbs | 25g fat | 4g protein


