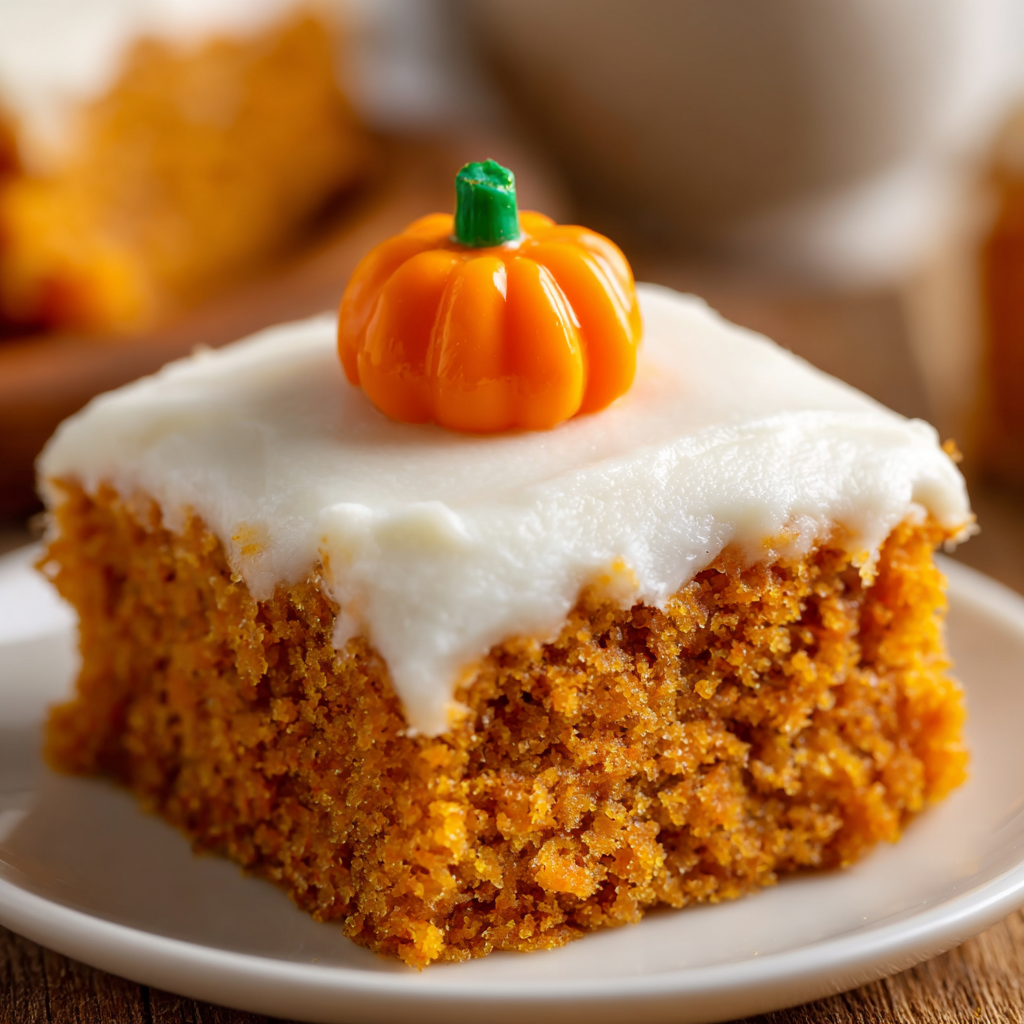
I’ll never forget the first time I brought these pumpkin bars to a potluck. Within twenty minutes, the entire pan was gone, and I had five people asking for the recipe. What started as a simple weeknight dessert has become my most-requested fall treat. There’s something magical about the way the moist, spiced pumpkin cake pairs with that tangy, sweet cream cheese frosting. Each bite literally melts in your mouth, creating a perfect harmony of flavors and textures that keeps people coming back for seconds (and thirds!).
Why You’ll Love This Recipe
These pumpkin bars are the epitome of effortless elegance. First, they require absolutely no mixer—just two bowls and a whisk, making cleanup a breeze. Despite their simplicity, the results are consistently impressive with a texture so soft and tender that they practically dissolve on your tongue.
Moreover, the spice blend of cinnamon and nutmeg creates that quintessential fall flavor without being overwhelming. The addition of maple syrup brings a subtle depth that elevates these beyond ordinary pumpkin desserts. Meanwhile, the cream cheese frosting provides the perfect tangy counterpoint to the sweet, spiced cake beneath.
What truly sets this recipe apart is its versatility and convenience. Whether you’re feeding a crowd at a holiday gathering or simply want something special for dessert tonight, these bars deliver. Plus, they actually improve after a day in the refrigerator as the flavors meld together beautifully.
Ingredients You’ll Need
For the Pumpkin Bars
- 2 cups all-purpose flour – provides structure for tender bars
- 2 tsp baking powder – helps create light, fluffy texture
- 2 tsp cinnamon – signature warm spice flavor
- 1 tsp salt – enhances all the flavors
- 1 tsp baking soda – ensures proper rise and browning
- ½ tsp nutmeg – adds aromatic, earthy notes
- 4 large eggs – binds ingredients and adds richness
- 1 ½ cups granulated sugar – sweetness and moisture
- 1 cup vegetable oil – creates incredibly moist texture
- 1 (15 oz) can pumpkin puree – the star ingredient (not pumpkin pie filling!)
- 2 tbsp maple syrup – subtle depth and authentic fall flavor
- 2 tsp vanilla extract – enhances all other flavors
For the Cream Cheese Frosting
- 8 oz cream cheese, softened – tangy, creamy base
- ½ cup (1 stick) unsalted butter, softened – richness and smooth texture
- 2 tsp vanilla extract – aromatic sweetness
- Pinch of salt – balances sweetness
- 3 to 4 cups powdered sugar – sweetness and desired consistency
Prep Time: 10 minutes
Cook Time: 30 minutes
Cooling Time: 20 minutes
Total Time: 1 hour
Servings: 15-18 bars
Calories: 424 kcal per serving
Step-by-Step Instructions
Preparing Your Baking Dish
Start by preheating your oven to 350°F. While the oven heats, thoroughly butter or grease a 9×13 inch baking dish, making sure to coat the corners and sides well. For extra insurance against sticking, you can also line the pan with parchment paper, leaving some overhang on two sides for easy lifting later. Set your prepared pan aside.
Combining the Dry Ingredients
Grab a medium-sized bowl and sift together the flour, baking powder, cinnamon, salt, baking soda, and nutmeg. Sifting isn’t just for show—it removes lumps and aerates the flour, resulting in lighter, more tender bars. Once sifted, give the mixture a quick whisk to ensure all the spices are evenly distributed throughout. The flour should have a lovely warm, cinnamon color. Set this bowl aside while you work on the wet ingredients.
Mixing the Wet Ingredients
In a large bowl, crack your eggs and whisk them briefly to break up the yolks. Add the granulated sugar and whisk vigorously for about 30 seconds until the mixture becomes slightly lighter in color. Pour in the vegetable oil and continue whisking until everything is well emulsified and smooth.
Next, add the pumpkin puree, maple syrup, and vanilla extract to the bowl. Whisk everything together until you achieve a completely uniform mixture with no streaks of pumpkin visible. The batter should be smooth, glossy, and smell absolutely amazing at this point.
Bringing It All Together
Pour the dry ingredient mixture into the bowl with your wet ingredients. Using a rubber spatula or wooden spoon, gently fold everything together. Stir just until you no longer see streaks of flour—the batter should look uniform but don’t overmix. A few tiny lumps are perfectly acceptable. Overmixing develops gluten, which would result in tough, chewy bars instead of the tender texture we’re after.
Baking to Perfection
Transfer the batter into your prepared pan, using your spatula to spread it evenly into all corners. The surface doesn’t need to be perfectly smooth. Place the pan in your preheated oven and bake for 30 to 35 minutes. Watch for visual cues: the bars should be lightly browned on top and pulling slightly away from the sides of the pan.
To test for doneness, insert a toothpick into the center of the bars. It should come out clean or with just a few moist crumbs attached—no wet batter. If the toothpick shows wet batter, continue baking and check every 3-5 minutes. Once done, remove the pan from the oven and place it on a wire rack to cool completely. This cooling step is crucial before frosting!
Creating the Cream Cheese Frosting
While your bars cool, it’s time to make the frosting. In a large bowl, combine the softened cream cheese and butter. Using a fork or wooden spoon (remember, no mixer needed!), mash and stir them together until completely smooth with no lumps remaining. This might take a minute or two of good arm work, but it’s worth it.
Add the vanilla extract and pinch of salt, stirring until incorporated. Now comes the powdered sugar. Add it gradually—about 1 cup at a time—stirring thoroughly between each addition. This prevents a powdered sugar cloud in your kitchen and ensures a smooth frosting.
After adding 3 cups of powdered sugar, beat the frosting vigorously for about a minute until it becomes light and fluffy. Test the consistency by lifting some with your spoon. If you prefer thicker frosting that holds its shape more firmly, beat in the remaining cup of powdered sugar. For a lighter, more spreadable consistency, stop at 3 cups.
Frosting and Serving
Once your pumpkin bars are completely cool to the touch, dollop the cream cheese frosting on top. Using an offset spatula or butter knife, spread it evenly across the entire surface, working it into the corners. For a rustic look, create swirls with the back of your spoon. For a smooth finish, use long, even strokes with your spatula.
Cut the bars into rectangles—I typically do 3 rows lengthwise and 5 or 6 rows across, yielding 15-18 bars depending on your preferred size. Wipe your knife clean between cuts for the neatest edges. Serve at room temperature for the best flavor and texture.
Serving Suggestions
These pumpkin bars are perfect for virtually any autumn occasion. For a casual weeknight dessert, serve them with a glass of cold milk or a mug of hot apple cider. The contrast between the cool, creamy frosting and warm cider is absolutely delightful.
At holiday gatherings, arrange the bars on a decorative platter and dust them lightly with additional cinnamon for an elegant presentation. They’re substantial enough to satisfy dessert cravings but not so heavy that guests feel overly full after a big meal. Additionally, they travel beautifully, making them ideal for potlucks, bake sales, or care packages.
For an extra-special treat, serve the bars slightly warmed (about 15 seconds in the microwave) with a scoop of vanilla ice cream on the side. The warm spiced pumpkin with cold ice cream and tangy frosting creates an incredible combination of temperatures and textures that feels truly indulgent.
Creative Recipe Variations
Chocolate Chip Addition
Fold 1 cup of semi-sweet or dark chocolate chips into the batter just before transferring it to the pan. The chocolate adds richness and creates a more decadent dessert that chocolate lovers will adore.
Spiced Cream Cheese Frosting
Add ½ teaspoon of cinnamon and a pinch of nutmeg to your cream cheese frosting for extra warmth and spice. This variation intensifies the fall flavors and creates beautiful harmony between the cake and frosting.
Maple Pecan Topping
After frosting the bars, sprinkle toasted, chopped pecans across the top and drizzle with additional maple syrup. This adds wonderful crunch and enhances the maple flavor already present in the bars.
Lighter Version
Replace half the vegetable oil with unsweetened applesauce to reduce calories and fat while maintaining moisture. The texture will be slightly less rich but still delicious.
Pumpkin Spice Latte Bars
Add 1 tablespoon of instant espresso powder to the dry ingredients and top the frosted bars with a light dusting of cinnamon. This variation captures that beloved coffee shop flavor in dessert form.
Mini Bar Bites
Bake the batter in a lined 9×13 inch pan, but cut into smaller 1-inch squares for bite-sized treats perfect for parties. You’ll get 40-50 mini bars that are ideal for serving a crowd.
Make-Ahead and Storage Tips
One of the best things about these pumpkin bars is how well they store and actually improve over time. For optimal freshness, keep them in an airtight container in the refrigerator for up to five days. I prefer storing the entire pan uncut, wrapped tightly with plastic wrap to minimize air exposure. This method keeps the bars incredibly fresh and moist.
When you’re ready to serve, remove the bars from the refrigerator about 15-20 minutes before eating. Allowing them to come to room temperature brings out the flavors and softens the frosting to that perfect creamy consistency. Alternatively, you can warm individual bars in the microwave for 10-15 seconds if you prefer them slightly warm.
For longer storage, freezing is an excellent option. Once the bars are fully frosted and set, cut them into individual portions. Place the bars in a single layer on a parchment-lined baking sheet and freeze until firm, about 2 hours. Then transfer them to a freezer-safe container or heavy-duty zip-top bag, separating layers with parchment paper. Properly stored, they’ll maintain their quality for up to three months.
To thaw frozen bars, transfer them to the refrigerator the night before you plan to serve them. This gradual thawing prevents condensation from making the frosting watery. For faster thawing, leave them at room temperature for 1-2 hours.
Important Notes
Always Use Pure Pumpkin Puree
This distinction is crucial—make sure you’re buying canned pumpkin puree, not pumpkin pie filling. Pie filling contains added sugars, spices, and thickeners that will completely throw off the recipe. The ingredient list should contain only one item: pumpkin.
Don’t Skip the Cooling Time
I know it’s tempting to frost these bars while they’re still warm, but patience is essential here. Warm bars will cause the cream cheese frosting to melt and slide right off, creating a mess. Allow at least 20 minutes for cooling, or better yet, let them cool completely to room temperature.
Properly Soften Your Dairy
For the smoothest frosting, your cream cheese and butter should be genuinely soft—not cold, not melted, but soft enough to leave an indentation when pressed. If you’re short on time, cut them into small cubes and let them sit at room temperature for 20-30 minutes.
Measure Oil Accurately
While these bars are incredibly forgiving, measuring the oil correctly ensures the perfect texture. Use a liquid measuring cup (not the kind for dry ingredients) and check at eye level for accuracy.
Prevent Sticking
Greasing your pan thoroughly prevents sticking and makes cutting easier. For foolproof removal, line your pan with parchment paper in addition to greasing, leaving some overhang that you can use as “handles” to lift the entire cake out before cutting.
Test Multiple Spots for Doneness
Since ovens can have hot spots, test for doneness in several places, not just the center. This ensures your bars are evenly baked throughout and prevents overbaking some sections while others are still underdone.
Frequently Asked Questions
Can I use fresh pumpkin instead of canned?
Yes, but there are some important considerations. Fresh pumpkin contains more water than canned puree, so you’ll need to strain it through cheesecloth to remove excess moisture. After cooking and pureeing your fresh pumpkin, let it drain for at least 30 minutes. You want a thick, paste-like consistency similar to what you’d find in canned puree.
Why are my bars dense instead of light?
Dense bars typically result from overmixing the batter once the flour is added. When you stir too vigorously or for too long, you develop the gluten in the flour, creating a tough, dense texture. Mix just until the flour disappears into the batter—no more.
My frosting is too runny. How do I fix it?
Runny frosting usually means your cream cheese or butter was too soft (almost melted) or you haven’t added enough powdered sugar. If this happens, refrigerate the frosting for 15-20 minutes, then beat in an additional ½ to 1 cup of powdered sugar. The chilling firms up the butter, and the extra sugar provides structure.
Can I make these bars ahead for a party?
Absolutely! These bars are actually better the next day as the flavors meld. You can bake them up to two days ahead, wrap tightly, and store in the refrigerator unfrosted. Frost them the day you plan to serve. Alternatively, frost them completely, then refrigerate overnight.
Can I halve this recipe?
Yes, you can cut the recipe in half and bake it in an 8×8 or 9×9 inch square pan. Start checking for doneness around 25 minutes, as the smaller pan may bake slightly faster.
What can I substitute for vegetable oil?
Melted coconut oil works beautifully and adds a subtle flavor. Canola oil or light olive oil also work well. For a richer flavor, you can use melted butter, though the bars will be slightly denser.
How do I get clean cuts?
Use a large, sharp knife and wipe it clean with a damp towel between each cut. For the cleanest cuts, refrigerate the frosted bars for 30 minutes before slicing—the cold frosting firms up and cuts more cleanly.
Can I make these gluten-free?
Yes, substitute a 1:1 gluten-free flour blend for the all-purpose flour. Make sure your blend contains xanthan gum for proper structure. The texture will be very similar to the original recipe.
My bars stuck to the pan. How can I prevent this?
Thorough greasing is key. Use softened butter or cooking spray, making sure to get into all corners. Lining the pan with parchment paper provides extra insurance—cut it to fit the bottom and up two sides with overhang for easy lifting.
Can I freeze these bars with the frosting on?
Yes! The cream cheese frosting freezes beautifully. Just make sure the bars are completely frozen before stacking or storing to prevent the frosting from smudging.
Nutrition Information (per serving):
Calories: 424 kcal | Carbohydrates: 52g | Protein: 4g | Fat: 23g | Saturated Fat: 8g | Polyunsaturated Fat: 8g | Monounsaturated Fat: 6g | Trans Fat: 0.3g | Cholesterol: 68mg | Sodium: 296mg | Potassium: 105mg | Fiber: 1g | Sugar: 39g | Vitamin A: 4071 IU | Vitamin C: 1mg | Calcium: 60mg | Iron: 1mg


