Nothing quite captures the nostalgia of childhood summers like the taste of s’mores around a crackling campfire. However, recreating that perfect combination of toasted marshmallows, melted chocolate, and graham crackers doesn’t require a fire pit or camping trip. These innovative S’mores Rice Krispie Treats transform the beloved campfire classic into an easy-to-make, portable dessert that delivers all the gooey goodness without the outdoor setup.
My inspiration for this recipe came during a rainy camping weekend when outdoor s’mores were impossible. Determined to satisfy our s’mores craving, I began experimenting with ways to capture those familiar flavors in a kitchen-friendly format. After several attempts, this combination of crispy rice cereal, toasted marshmallows, chocolate chunks, and graham cracker pieces emerged as the perfect solution – delivering authentic s’mores taste in every bite.
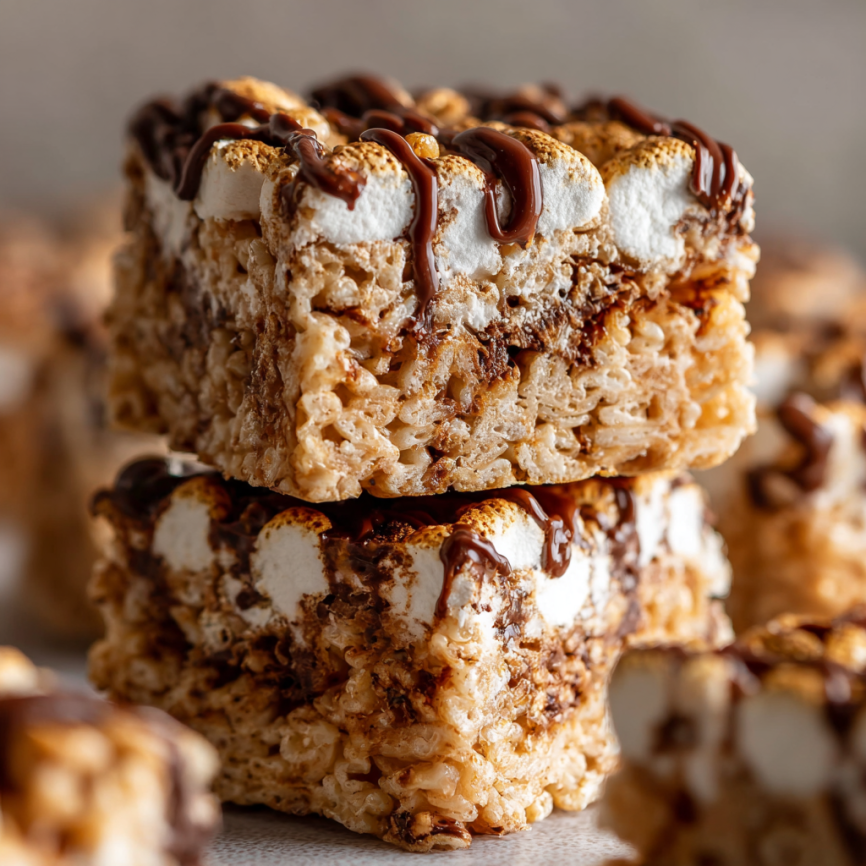
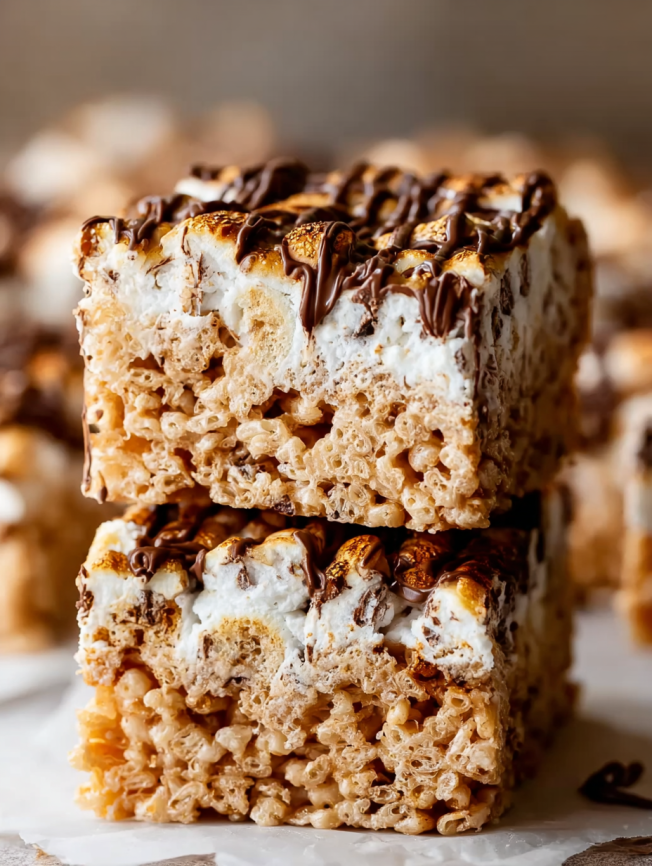
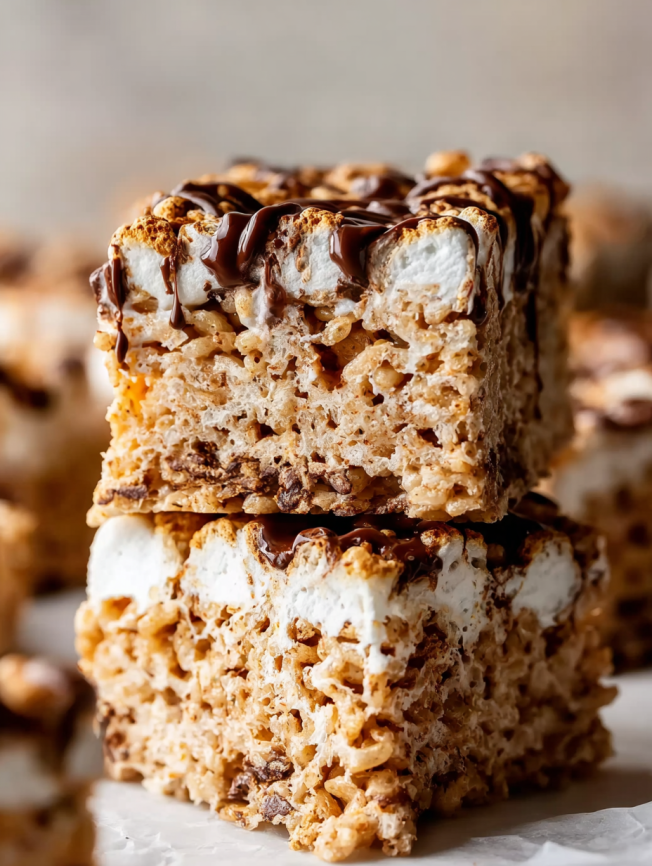
What makes these treats truly special is the technique of actually toasting half the marshmallows under the broiler. This extra step adds genuine campfire flavor and creates those golden-brown, slightly caramelized notes that make s’mores so irresistible. Combined with chunks of real Hershey’s chocolate and crunchy graham cracker pieces, each square becomes a miniature s’mores experience.
Why These S’mores Rice Krispie Treats Will Become Your New Favorite
Authentic Campfire Flavor: Unlike other s’mores-inspired desserts that merely combine the ingredients, these treats feature genuinely toasted marshmallows that provide the smoky, caramelized taste essential to true s’mores character.
Kid-Friendly Preparation: Children love helping with these treats since there’s no baking required and the assembly process is both fun and forgiving. It’s an ideal recipe for family bonding and teaching basic kitchen skills.
Perfect for Any Occasion: Whether you need a quick dessert for potlucks, school events, or casual gatherings, these treats travel well and appeal to all ages. They’re also fantastic for themed parties or summer celebrations.
Customizable Components: While the classic combination is delicious, you can easily adapt the recipe by using different chocolate varieties, flavored marshmallows, or even adding extra mix-ins like mini chocolate chips or crushed cookies.
No Special Equipment Needed: Unlike traditional s’mores that require fire and roasting sticks, these treats use standard kitchen tools and techniques, making them accessible year-round regardless of weather or location.
Essential Ingredients
For the Base Treats
- Nonstick cooking spray for easy removal
- Two 10-ounce bags (566g) miniature marshmallows, divided for toasting and mixing
- ½ cup (113g) unsalted butter
- 1 teaspoon pure vanilla extract
- Small pinch of salt (slightly less than ⅛ teaspoon)
- 7 cups (190g) crispy rice cereal
- 1½ cups graham crackers, broken into small pieces (about 6 crackers or 90g)
- 3 Hershey’s milk chocolate bars, broken into pieces (1 heaping cup or 129g)
For Optional Finishing Touch
- 1-2 Hershey’s milk chocolate bars, melted for drizzling
Serving Enhancement: These treats pair beautifully with cold milk, hot chocolate, or even vanilla ice cream for an extra indulgent experience.
Step-by-Step Instructions
Creating the Signature Toasted Marshmallows
Prepare your broiler by preheating it on high for approximately 5 minutes. This intense heat will quickly create the golden-brown exterior that gives these treats their authentic s’mores flavor.
Set up for toasting by lining a baking sheet with aluminum foil and spraying it generously with nonstick cooking spray. This prevents the marshmallows from sticking and makes cleanup effortless.
Toast the marshmallows by spreading half of the miniature marshmallows (one entire 10-ounce bag) in a single layer on the prepared baking sheet. Broil for just a couple of minutes until the tops turn golden-brown and slightly caramelized. Watch carefully during this process, as marshmallows can go from perfectly toasted to burnt very quickly.
Cool and set aside the toasted marshmallows while you prepare the remaining components. These will be folded in at the end to maintain their texture and prevent over-melting.
Preparing the Base Mixture
Prepare your pan by lining a 9×13-inch baking pan with parchment paper and lightly greasing it with nonstick spray. This dual preparation ensures easy removal and clean cuts later.
Melt the butter in a very large pot over medium heat. Using a pot larger than you think you need will make stirring much easier once all ingredients are added.
Add the fresh marshmallows (the remaining 10-ounce bag) to the melted butter and stir continuously with a rubber spatula until completely melted and smooth. This creates the binding agent that holds everything together.
Incorporate flavor enhancers by immediately removing the pot from heat and stirring in vanilla extract and salt. These additions elevate the overall flavor profile beyond basic sweetness.
Assembly and Final Steps
Combine dry ingredients by folding in the crispy rice cereal and graham cracker pieces until mostly incorporated. Allow the mixture to cool slightly for 1-2 minutes – this prevents the chocolate from completely melting when added.
Add the star ingredients by gently folding in the chocolate pieces and toasted marshmallows. Work carefully to maintain the integrity of both components while ensuring even distribution throughout the mixture.
Transfer to the prepared pan using a rubber spatula, which can be lightly greased to prevent sticking. Spread the mixture evenly without packing it down too firmly – gentle pressure maintains the treats’ light, airy texture.
Set properly by allowing the treats to rest at room temperature for at least 1 hour, though they can sit up to 24 hours if covered. This resting period allows the marshmallow base to firm up for clean cutting.
Optional Chocolate Finishing
Create the chocolate drizzle by melting 1-2 additional Hershey’s bars and drizzling over the cooled treats for extra visual appeal and chocolate intensity.
Set the chocolate by refrigerating for 15-20 minutes – avoid longer chilling times as the treats become too firm to cut easily.
Cut and serve by lifting the entire sheet from the pan using parchment paper edges, then cutting into neat squares with a sharp knife.
Creative Serving Suggestions
Campfire Theme Party: Present these treats on rustic wooden boards alongside other camping-inspired snacks for an authentic outdoor experience indoors.
Summer Picnic Perfect: Pack individual squares in parchment paper for mess-free outdoor eating that won’t melt in warm weather like traditional s’mores.
Ice Cream Sandwich Base: Use larger squares as the foundation for ice cream sandwiches, pressing vanilla ice cream between two pieces for an elevated dessert.
Gift Presentation: Wrap individual treats in cellophane bags tied with ribbon for thoughtful homemade gifts that showcase your baking skills.
Delicious Variations to Try
Flavor Combinations
Dark Chocolate Sophistication: Replace milk chocolate with dark chocolate bars for a more grown-up flavor profile that balances the sweet marshmallows perfectly.
Peanut Butter Paradise: Add ¼ cup of peanut butter to the melted marshmallow mixture and use chocolate peanut butter cups instead of plain chocolate bars.
Cookies and Cream: Substitute crushed chocolate sandwich cookies for graham crackers and use white chocolate pieces for a completely different but equally delicious experience.
Seasonal Adaptations
Holiday Spice: Add ½ teaspoon of cinnamon and a pinch of nutmeg to the mixture, plus use cinnamon graham crackers for a winter-inspired version.
Strawberry Summer: Incorporate freeze-dried strawberries and use strawberry-flavored marshmallows for a fruity twist on the classic.
Mint Chocolate: Use mint chocolate pieces and add a few drops of peppermint extract for a refreshing variation perfect for spring.
Make-Ahead and Storage Strategies
Optimal Storage: Store finished treats at room temperature in an airtight container for up to 3 days, layering with parchment or wax paper to prevent sticking.
Preparation Timeline: These treats can be made a full day ahead of serving, making them perfect for party planning and busy schedules.
Component Preparation: Toast marshmallows and break up chocolate and graham crackers the day before final assembly to streamline the process.
Freezer Guidelines: While texture changes slightly, treats can be frozen for up to 2 months between parchment layers in freezer-safe containers. Thaw completely at room temperature before serving.
Professional Tips for Perfect Results
Temperature Control: Allow the marshmallow mixture to cool slightly before adding chocolate pieces – this prevents complete melting while still creating some gooey pockets.
Cutting Technique: Use a sharp knife wiped clean between cuts, or try kitchen shears for especially clean edges that showcase the colorful interior.
Texture Balance: Don’t over-pack the mixture in the pan – gentle pressing maintains the light, airy quality that makes these treats special.
Ingredient Quality: Use real Hershey’s chocolate bars rather than generic alternatives for authentic s’mores flavor that everyone will recognize and love.
Troubleshooting Common Issues
Mixture Too Sticky: If the mixture seems overly sticky during assembly, lightly grease your hands and spatula to make handling easier.
Uneven Distribution: Take time to fold ingredients thoroughly but gently – rushing this step can result in bites with missing components.
Cutting Difficulties: If treats are too soft to cut cleanly, refrigerate for 15-20 minutes to firm up slightly before attempting to slice.
Storage Concerns: In humid conditions, treats may become softer – store with a piece of bread in the container to absorb excess moisture.
Frequently Asked Questions
Q: Can I use regular-sized marshmallows instead of miniature ones? A: While miniature marshmallows work best due to their faster melting time and easier distribution, you can use regular marshmallows cut into smaller pieces. Adjust melting time accordingly.
Q: What if I don’t have a broiler for toasting marshmallows? A: You can toast marshmallows in a dry skillet over medium heat, stirring constantly until golden, or use a kitchen torch for small batches. The broiler method is most efficient for the full quantity.
Q: Can I substitute different types of chocolate? A: Absolutely! Semi-sweet, dark chocolate, or even white chocolate work well. Chocolate chips can replace chocolate bars, though bars provide better chunk distribution.
Q: Why do my treats fall apart when cutting? A: This usually indicates insufficient setting time or over-mixing that broke down the marshmallow binding. Ensure at least 1 hour of setting time and handle the mixture gently during assembly.
Q: How do I prevent the treats from being too hard? A: Avoid over-pressing when transferring to the pan, and don’t refrigerate longer than necessary for chocolate setting. Room temperature storage maintains optimal texture.
Q: Can I make these in advance for a party? A: Yes! These treats actually improve after sitting for several hours as flavors meld. Make them up to 24 hours ahead and store covered at room temperature.
Recipe Details:
- Prep Time: 15 minutes
- Cook Time: 5 minutes
- Total Time: 45 minutes (including setting time)
- Yield: 24 squares


