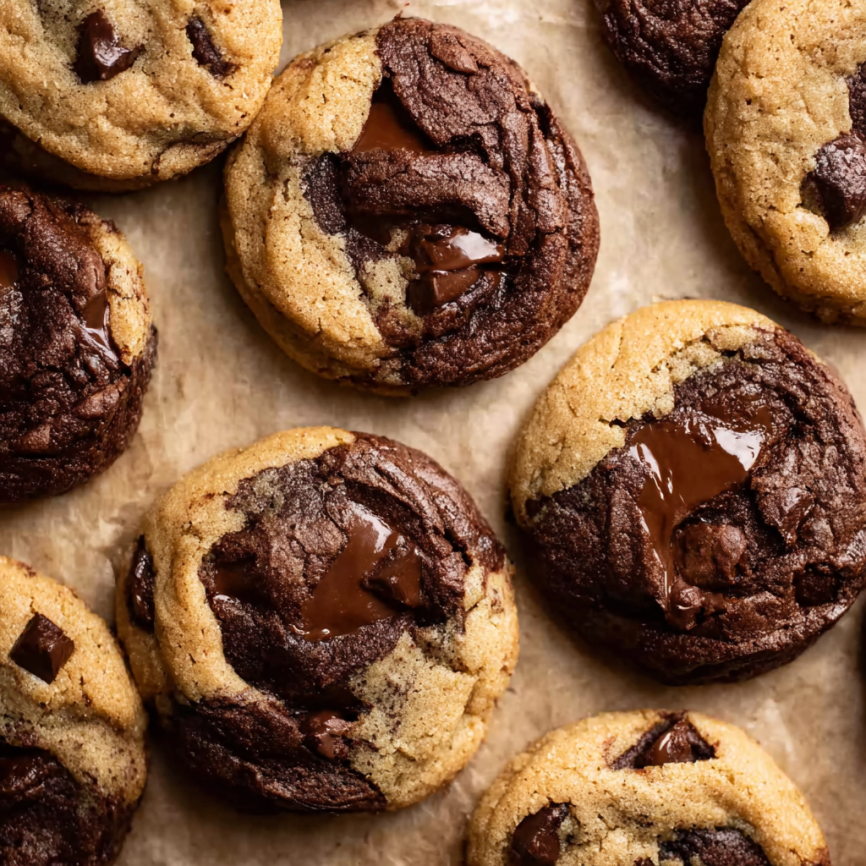
Have you ever stood in front of a cookie display, completely torn between choosing peanut butter or chocolate cookies? I used to face this dilemma every single time I visited my favorite bakery. That’s when inspiration struck – why not combine both flavors into one spectacular cookie? These soft-baked peanut butter chocolate swirl cookies are my solution to cookie indecision, delivering the perfect marriage of rich chocolate and creamy peanut butter in every single bite.
The beauty of these cookies lies in their dual personality. Each cookie is literally two cookies rolled into one, creating beautiful swirls and an incredible flavor experience that changes with every bite. Moreover, the extended chilling time ensures these cookies maintain their thick, bakery-style texture without spreading too thin.
Why These Swirl Cookies Will Become Your New Obsession
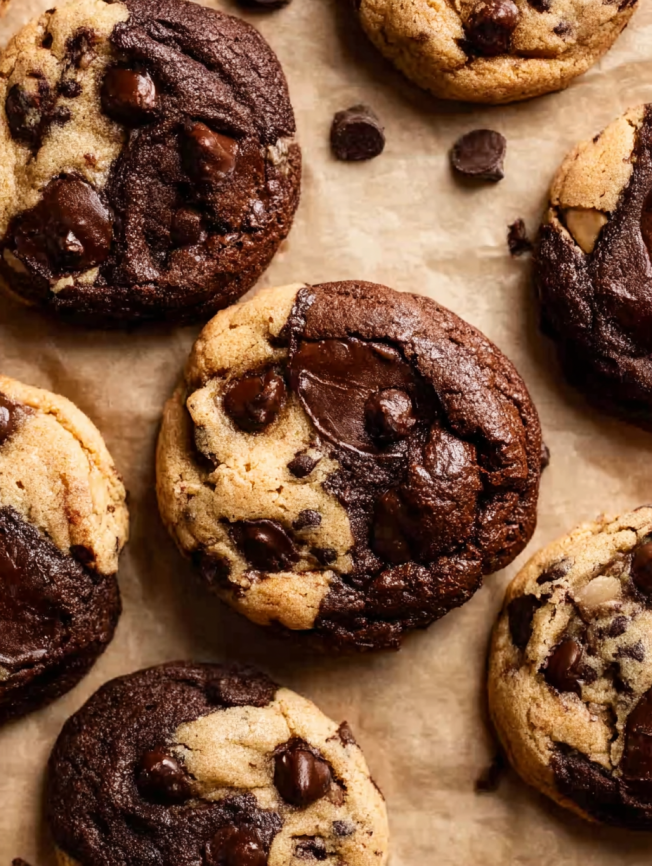
Two cookies in one bite. Instead of choosing between flavors, you get both chocolate and peanut butter perfectly balanced in each cookie. Furthermore, the swirl pattern creates visual appeal that’s almost too pretty to eat.
Incredibly soft and thick. The extended chilling time and careful technique result in cookies that are pillowy soft with perfectly chewy edges. Additionally, they maintain their thickness rather than spreading into thin, crispy cookies.
Impressive presentation. These cookies look like they came from a high-end bakery, making them perfect for special occasions or gifts. Even better, the marbled appearance makes each cookie unique.
Surprisingly manageable technique. While they look complex, the process is quite straightforward – you’re essentially making two simple cookie doughs and combining them. Plus, the make-ahead nature means you can prep the dough days in advance.
Essential Ingredients & Timing Information
Prep Time: 3 hours, 30 minutes (includes essential chilling time)
Cook Time: 14 minutes
Total Time: 3 hours, 45 minutes
Yield: 24 beautiful swirl cookies
For the Chocolate Cookie Dough
Base ingredients:
- ½ cup (113g) unsalted butter, softened to room temperature
- ½ cup (100g) granulated sugar
- ½ cup (100g) packed brown sugar (light or dark)
- 1 large egg, at room temperature
- 1 teaspoon pure vanilla extract
Dry components:
- 1 cup (125g) all-purpose flour, spooned and leveled
- ⅔ cup (55g) natural unsweetened cocoa powder
- 1 teaspoon baking soda
- ⅛ teaspoon salt
Final additions:
- 1 tablespoon milk (any type, dairy or non-dairy)
- 1 cup (180g) semi-sweet chocolate chips, plus extra for topping
For the Peanut Butter Cookie Dough
Base ingredients:
- ½ cup (113g) unsalted butter, softened to room temperature
- ½ cup (100g) packed brown sugar (light or dark)
- ¼ cup (50g) granulated sugar
- 1 large egg, at room temperature
- ¾ cup (185g) creamy peanut butter
- 1 teaspoon pure vanilla extract
Dry components:
- 1¼ cups (156g) all-purpose flour, spooned and leveled
- ½ teaspoon baking soda
- ¼ teaspoon salt
- 1 cup (180g) semi-sweet chocolate chips
Serving Suggestions
These substantial cookies are perfect with a tall glass of cold milk or a warm cup of coffee. They also make an elegant dessert when served slightly warm with a scoop of vanilla ice cream.
Step-by-Step Instructions
Creating the Chocolate Cookie Dough
Begin by creaming the butter and both sugars using either a handheld or stand mixer fitted with a paddle attachment. Beat on medium-high speed until the mixture becomes light and fluffy, approximately 3 minutes. This creaming process is crucial for achieving the proper texture.
Next, add the egg and vanilla extract, then beat on high speed until everything is well combined. Remember to scrape down the sides and bottom of the bowl as needed to ensure even mixing.
In a separate bowl, whisk together the flour, cocoa powder, baking soda, and salt. With the mixer running on low speed, gradually add this dry mixture to the wet ingredients. Beat just until combined, then switch to high speed briefly to incorporate the milk. Finally, fold in the chocolate chips. The resulting dough will be sticky and tacky – this is exactly what you want.
Preparing the Peanut Butter Cookie Dough
Using the same mixing technique, cream the butter and both sugars on medium-high speed until light and fluffy, about 3 minutes. Add the egg and beat on high speed until combined, scraping the bowl as necessary.
Incorporate the peanut butter and vanilla extract, beating until the mixture is smooth and well combined. With the mixer on low speed, gradually add the flour, baking soda, and salt. Once the dry ingredients are incorporated, fold in the chocolate chips.
The Critical Chilling Phase
Cover both doughs tightly and refrigerate for at least 3 hours, though up to 3 days is perfectly fine. This chilling step is absolutely essential for several reasons: it makes the doughs much easier to handle, prevents excessive spreading during baking, and helps achieve that perfect thick, bakery-style texture.
Shaping the Swirl Cookies
Preheat your oven to 350°F (177°C) and line large baking sheets with parchment paper or silicone baking mats. This lining is particularly important for these cookies to prevent sticking.
Measure approximately 2 tablespoons (40g) of chocolate cookie dough and roll it into a ball. The recipe yields slightly more peanut butter dough, so use slightly less of that – about 2 tablespoons (40g) as well. Roll the peanut butter dough into a ball.
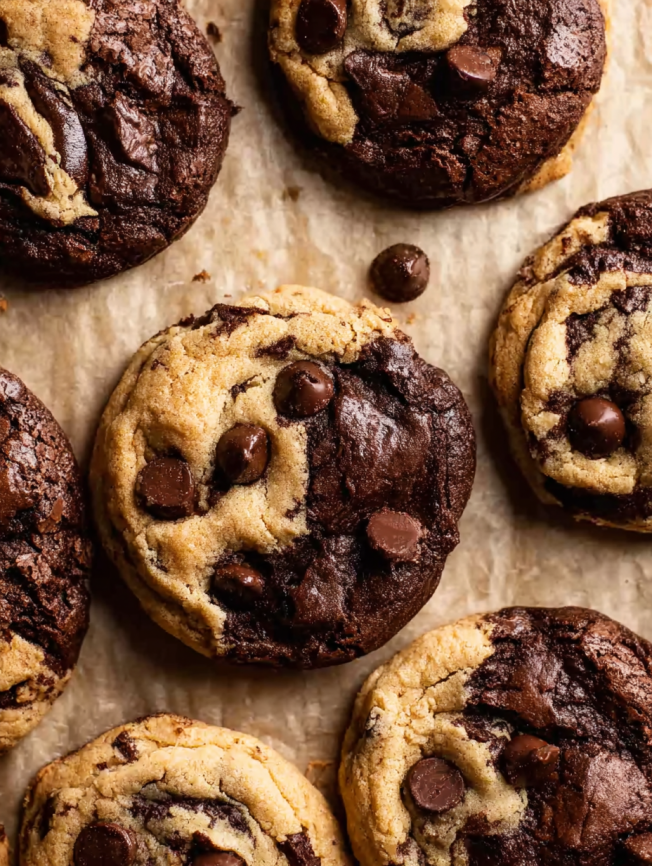
Press the two balls together between your palms and roll them into one large, marbled ball. The chocolate dough can be quite sticky, so wipe your hands clean every few cookies to maintain clean swirls. Repeat this process for all cookies.
Baking to Perfection
Bake the cookies for 12-14 minutes, watching for edges that appear set while centers still look soft. Here’s a professional tip: if the cookies aren’t spreading much by minute 9, remove the baking sheet and gently bang it on the counter 2-3 times. This technique helps initiate the perfect spread, then return the sheet to the oven to finish baking.
Allow cookies to cool on the baking sheet for 5 minutes before transferring to a wire rack. During this cooling time, you can press additional chocolate chips into the warm tops for enhanced appearance – though this step is purely optional.
Creative Serving Ideas
Warm cookie sundae: Serve slightly warm cookies topped with vanilla ice cream and a drizzle of hot fudge for an indulgent dessert.
Cookie ice cream sandwiches: Let cookies cool completely, then sandwich your favorite ice cream between two cookies for an epic treat.
Gift presentation: Package these beautiful cookies in clear cellophane bags tied with ribbon – their marbled appearance makes them look incredibly professional.
Delicious Recipe Variations
White Chocolate Peanut Butter Swirl
Replace the chocolate chips in the peanut butter dough with white chocolate chips for a different flavor profile and visual contrast.
Double Chocolate Swirl
Add ¼ cup of mini chocolate chips to the chocolate dough along with the regular chips for extra chocolate intensity.
Almond Butter Chocolate Swirl
Substitute almond butter for the peanut butter, and consider adding sliced almonds to the peanut butter dough for extra crunch.
Salted Caramel Addition
Press a small piece of salted caramel into the center of each combined dough ball before baking for a gooey surprise.
Make-Ahead Tips
Extended dough storage: Both cookie doughs can be prepared and stored in the refrigerator for up to 3 days. This extended storage actually improves the flavors as they meld together.
Freezing shaped cookies: After shaping the swirl balls, freeze them on a baking sheet until solid, then transfer to freezer bags. These can be stored for up to 3 months and baked directly from frozen with just one extra minute of baking time.
Freezing baked cookies: Completely cooled cookies freeze beautifully for up to 3 months when stored in airtight containers with parchment paper between layers.
Important Notes
Temperature matters: Ensure all ingredients are at room temperature before beginning. Cold eggs and butter don’t cream properly, which affects the final texture.
Chilling is non-negotiable: The 3-hour minimum chilling time isn’t just a suggestion – it’s essential for proper texture and preventing overly thin cookies.
Storage: Keep baked cookies in an airtight container at room temperature for up to one week. They actually improve slightly after the first day as the flavors meld.
Frequently Asked Questions
Q: Can I reduce the chilling time if I’m in a hurry? A: Unfortunately, no. The extended chilling time is crucial for achieving the proper texture and preventing the cookies from spreading too thin. However, you can make the dough up to 3 days ahead.
Q: Why are my cookies spreading too much despite chilling? A: This usually indicates that the butter was too warm when mixing, the dough wasn’t chilled long enough, or your oven temperature is too low. Make sure your oven is properly preheated and calibrated.
Q: Can I make these cookies smaller? A: Absolutely! Use about 1 tablespoon of each dough type and reduce the baking time to 10-12 minutes. You’ll get approximately 36 smaller cookies instead of 24 large ones.
Q: The chocolate dough seems much stickier than the peanut butter dough. Is this normal? A: Yes, this is completely normal due to the cocoa powder and milk in the chocolate dough. This is why frequent hand cleaning is recommended during the shaping process.
Q: Can I use natural peanut butter instead of processed? A: While possible, processed peanut butter (like Jif or Skippy) works best for consistent results. Natural nut butters can make the cookies more crumbly and affect the final texture.
Q: How do I know when the cookies are perfectly done? A: Look for edges that appear set and slightly firm, while the centers still look soft and slightly underdone. They’ll continue cooking on the hot baking sheet after removal from the oven.
Q: Can I add other mix-ins besides chocolate chips? A: Certainly! Try chopped nuts, butterscotch chips, or even mini marshmallows. Just keep the total add-in amount consistent with the recipe for best results.


