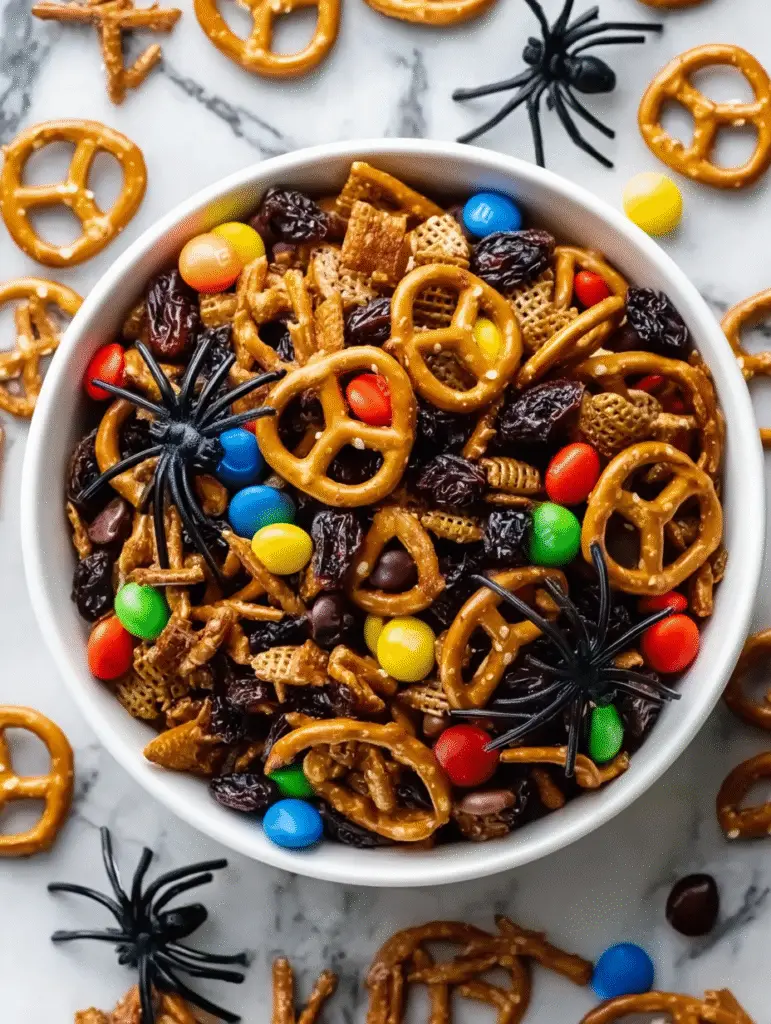
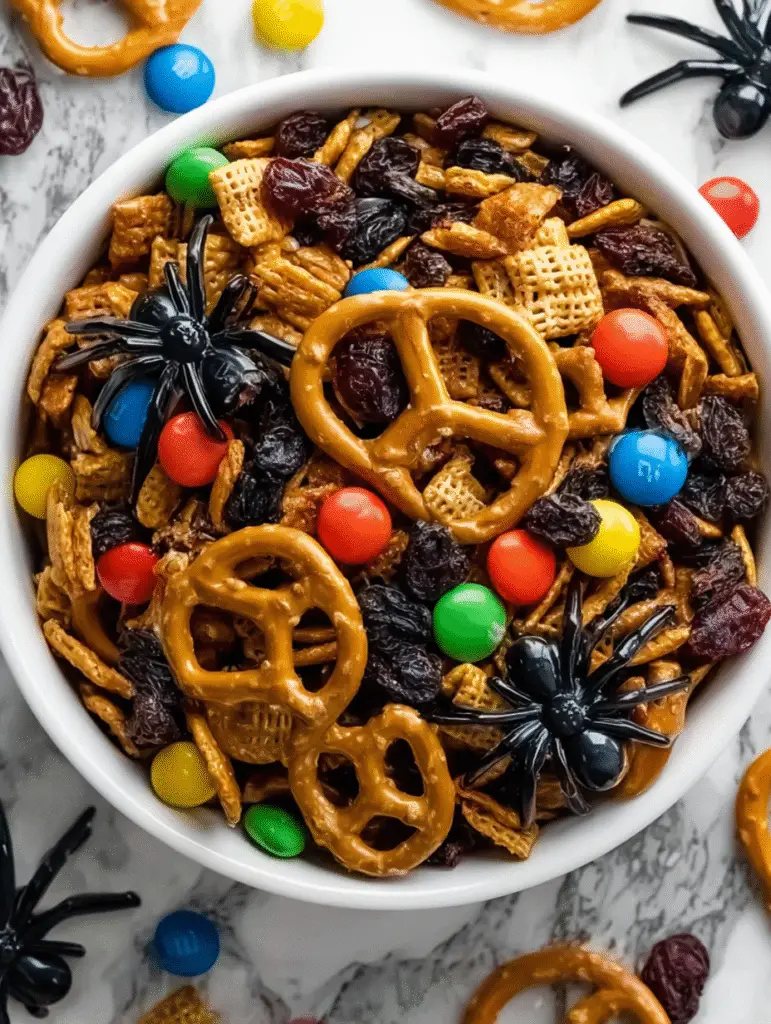
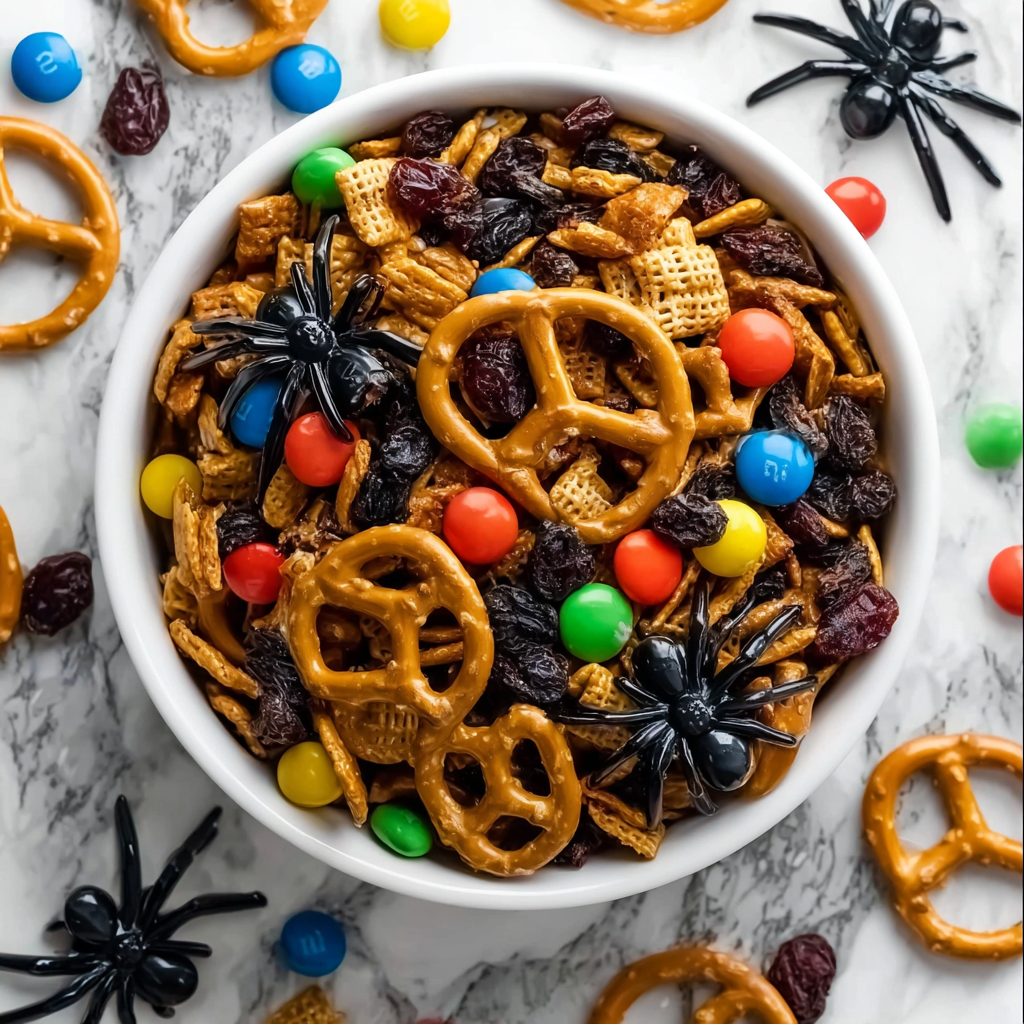
Nothing gets me more excited about Halloween than watching my guests’ reactions when they first spot our infamous Spiderweb Trail Mix on the snack table. Last Halloween, my neighbor actually jumped back when she noticed the realistic edible spiders perched atop the dark, mysterious mixture – and then immediately reached for a handful because it looked too delicious to resist.
This recipe was born from my desire to create something that looked genuinely spooky but tasted absolutely incredible. After experimenting with various combinations, I discovered that dark chocolate chips paired with sweet raisins create the perfect “dirt and debris” backdrop for our eight-legged friends. The mini pretzels add an essential crunch that mimics the sound of stepping on fallen autumn leaves.
What started as a Halloween experiment has become our most photographed party snack, with guests constantly asking for the recipe and begging me to make it for their own spooky celebrations.
Why This Creepy Trail Mix Will Become Your Halloween Signature
Maximum Scare Factor: The realistic edible spiders transform an ordinary snack into something that genuinely startles and delights guests. Furthermore, the dark color palette creates an authentically eerie atmosphere that perfectly captures Halloween’s essence.
Sophisticated Flavor Profile: Unlike overly sweet Halloween treats, this mix offers complex flavors with the rich bitterness of dark chocolate balancing the natural sweetness of raisins. Meanwhile, the candy-coated chocolates provide bursts of color and familiar comfort.
Instagram-Worthy Presentation: This trail mix photographs beautifully and creates memorable moments when guests discover those sneaky spiders. Additionally, the contrast between the dark base and colorful candy pieces makes for stunning party photos.
Versatile Spook Appeal: While designed for Halloween, this mix works wonderfully for any autumn gathering where you want to add a touch of playful spookiness. Moreover, removing the spider decorations transforms it into an elegant fall snack mix.
Essential Ingredients and Serving Information
Serves: 10 frightfully generous portions
Prep Time: 7 minutes
Scare Factor: Maximum
Storage: Up to 2 weeks in sealed container (spiders may settle)
Core Spooky Components
- 2 cups mini pretzels (twisted shape resembles tiny branches)
- 1 cup dark chocolate chips (creates the perfect shadowy base)
- 1 cup raisins (adds natural sweetness and “bug-like” texture)
- 1 cup candy-coated chocolates (M&Ms in dark colors work best)
- Edible spider decorations (available at baking supply stores or online)
Presentation Essentials
- Black or dark purple serving bowl
- Dim lighting for maximum spook effect
- Clear treat bags with Halloween labels
- Small scoops disguised as “digging tools”
Step-by-Step Haunting Instructions
Creating the Base Web
Step 1: Select your most atmospheric mixing bowl – something large enough to accommodate all ingredients with room for dramatic mixing. Then, ensure your edible spiders are nearby but separate, as they’ll crown your creation at the very end.
Step 2: Begin building your spooky foundation by adding the mini pretzels to the bowl. These twisted shapes will create the illusion of a tangled web base that spiders would naturally inhabit.
Layering the Darkness
Step 3: Carefully pour in the dark chocolate chips, allowing them to settle naturally among the pretzel “branches.” Next, add the raisins, which will provide both sweetness and the appearance of small insects caught in your web.
Step 4: Incorporate the candy-coated chocolates last among the base ingredients, distributing them evenly to create colorful spots of light within the dark mixture. Mix everything together gently to avoid crushing the delicate pretzels.
The Grand Spider Finale
Step 5: Once your base mixture is perfectly combined, strategically place the edible spiders on top of the mix. Position them as if they’re crawling across their web, with some partially hidden and others boldly displayed for maximum surprise factor.
Step 6: Step back and admire your creepy creation before presenting it to unsuspecting guests who are about to get the fright of their snacking lives.

Spine-Chilling Serving Suggestions
Haunted House Display: Present your mix in a large black cauldron or dark wooden bowl, surrounded by fake spider webs and dim lighting. Place it at eye level where guests will encounter those spiders unexpectedly.
Individual Scare Bags: Fill clear bags with the mix, then tape a plastic spider to the outside of each bag. This creates personal “spider encounters” that guests can take home as memorable party favors.
Progressive Fright Experience: Start with the spider-free mix visible, then dramatically add the spiders in front of your guests for maximum theatrical effect. This approach guarantees shocked gasps and delighted laughter.
Photo Booth Integration: Position the mix near your Halloween photo area – guests love taking pictures with spooky snacks, and those spiders create perfect conversation starters.
Wickedly Creative Variations
Gourmet Haunted Mix
Upgrade to premium dark chocolate chunks and add dried cranberries instead of raisins. Furthermore, include a handful of candied orange peel pieces for sophisticated flavor complexity that adult guests will appreciate.
Kids’ Friendly Fright
Replace dark chocolate with milk chocolate chips and use colorful Halloween M&Ms instead of dark ones. This version maintains the spooky appearance while offering flavors that appeal to younger trick-or-treaters.
Protein-Packed Web
Add 1/2 cup of roasted pumpkin seeds and 1/4 cup of sunflower seeds for extra nutrition and crunch. These additions also enhance the “outdoor debris” aesthetic that makes the spider placement more believable.
Extreme Spook Edition
Include a few drops of black food coloring mixed with the raisins to make them appear even more bug-like. Additionally, use black candy melts instead of regular chocolate chips for an intensely dark, mysterious appearance.
Masterful Make-Ahead Strategies
Timeline Planning: This mix benefits from being made 1-2 days ahead, allowing flavors to meld while maintaining optimal texture. However, add the spider decorations just before serving to prevent them from settling into the mix.
Storage Secrets: Keep in airtight containers away from humidity, which can make chocolate chips sticky and pretzels soggy. Layer the mix carefully to prevent the delicate spiders from getting crushed by heavier ingredients.
Transportation Tips: For parties at other locations, transport the base mix and spiders separately, then assemble at the destination. This prevents the decorative spiders from disappearing into the mixture during travel.
Refreshing Method: If ingredients lose crispness, spread on a baking sheet and warm in a 200°F oven for 5 minutes, then cool completely before adding fresh spiders.
Expert Tips for Maximum Impact
Spider Selection Strategy: Choose edible spiders of varying sizes for the most realistic effect. Larger spiders create initial shock value, while smaller ones provide ongoing surprises as guests continue snacking.
Color Coordination: Stick to dark-colored M&Ms (black, brown, dark red) to maintain the spooky aesthetic. Bright colors can break the haunting illusion you’ve worked so hard to create.
Lighting Considerations: This mix looks most effective under dim or colored lighting that enhances shadows and makes the spiders more mysterious. Bright fluorescent lights can diminish the spooky effect significantly.
Guest Preparation: Warn guests about the edible spiders to prevent anyone from thinking they’re real and having a genuine panic attack. The goal is delightful surprise, not actual terror.

Frequently Asked Questions
Q: Where can I find edible spider decorations? A: Most craft stores with baking sections carry them, especially during Halloween season. Online retailers also offer year-round availability with various sizes and styles. Alternatively, you can make your own using chocolate and small candies.
Q: Are the spiders actually edible or just decorative? A: Most commercial edible spiders are made from chocolate, sugar, or candy materials and are completely safe to eat. Always check the packaging to confirm they’re food-safe rather than craft decorations, which may contain non-edible materials.
Q: Can I make this mix less scary for younger children? A: Absolutely! Replace the edible spiders with Halloween-themed gummy candies or small plastic spiders that kids can remove before eating. You can also use cartoon-style spider decorations that look more playful than realistic.
Q: How do I prevent the dark chocolate from overpowering other flavors? A: Use high-quality dark chocolate chips rather than baking chocolate, as they’re formulated to be less bitter. Additionally, ensure your ratio of sweet elements (raisins and candy-coated chocolates) balances the dark chocolate’s intensity.
Q: What should I do if guests are genuinely frightened by the spiders? A: Have a spider-free portion of the mix available in a separate bowl for guests who prefer to avoid the creepy decorations. This ensures everyone can enjoy the delicious flavors without the scare factor.
Q: Can I use fresh grapes instead of raisins? A: While fresh grapes won’t compromise the flavor, they don’t store as well and can make the mix soggy over time. If using grapes, serve immediately and warn guests about the moisture content to prevent disappointment.
Q: How do I make the spiders stay on top instead of sinking into the mix? A: Add spiders just before serving, and consider placing them on slightly elevated pieces like pretzel clusters. You can also create small “spider perches” by strategically positioning larger pretzel pieces throughout the surface area.


