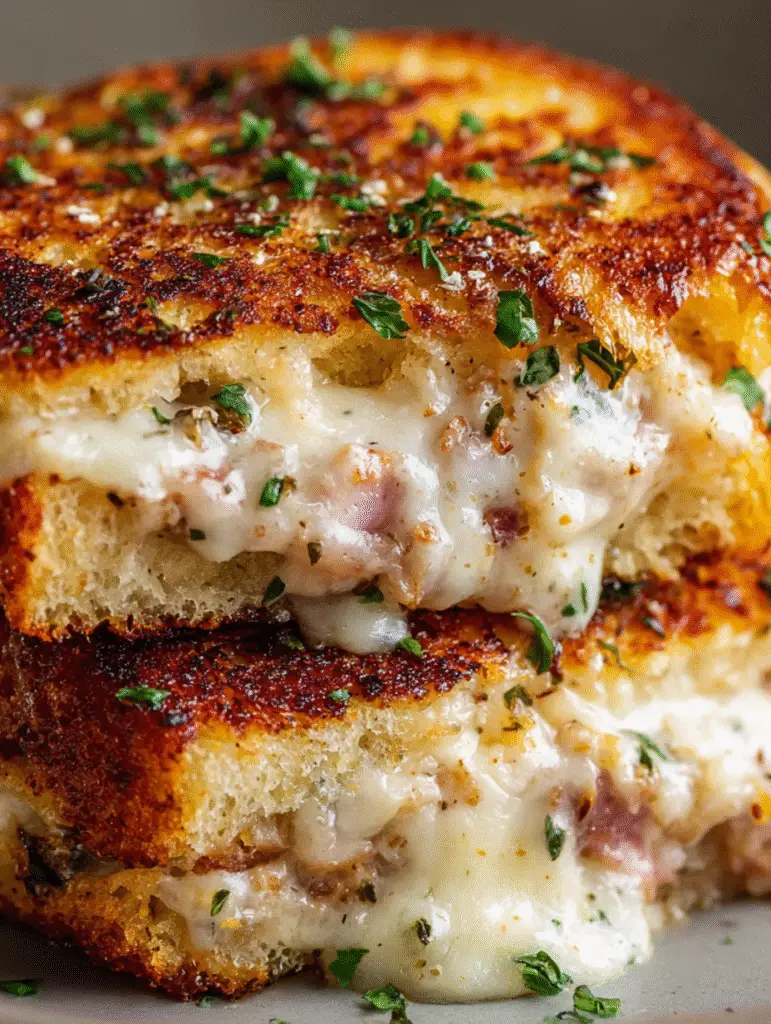
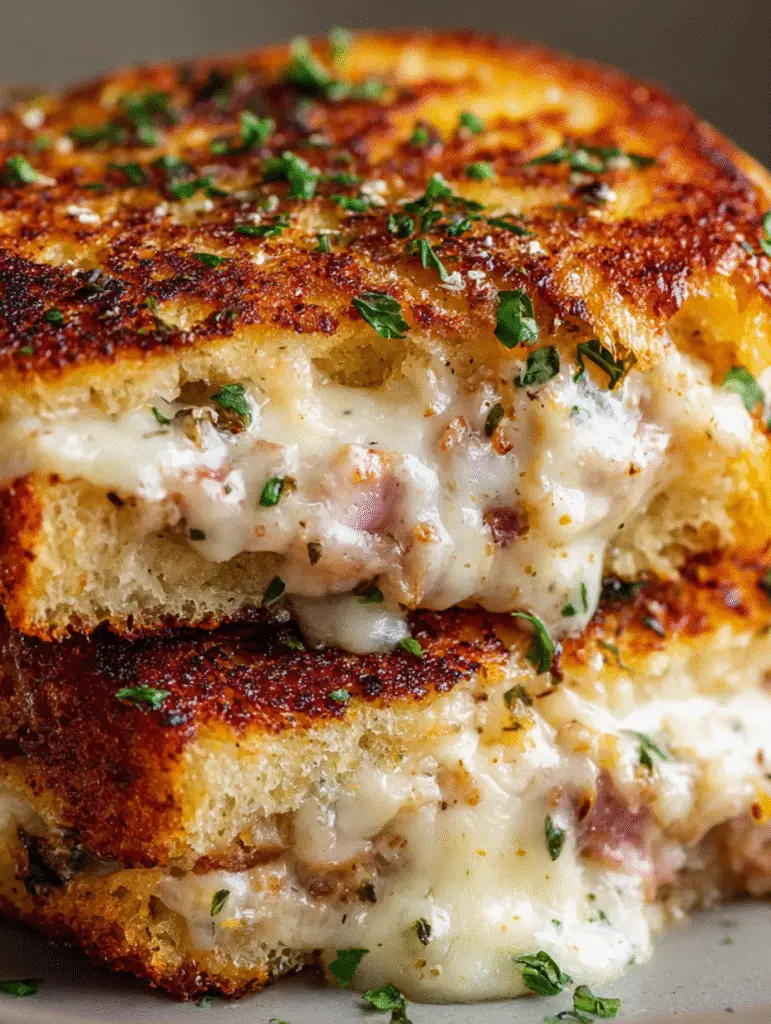
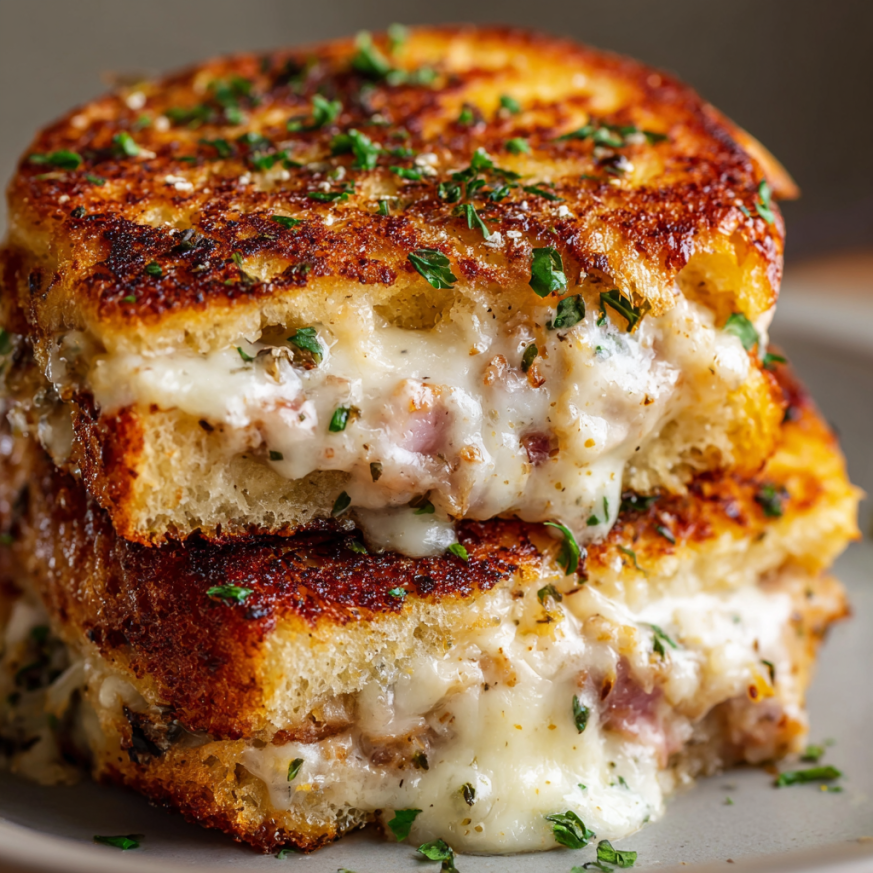
Growing up, tuna melts were a staple in our house—crispy bread, gooey cheese, and that comforting tuna filling. One busy weeknight, I decided to skip the bread entirely and transform the classic into handheld patties. The result? Pure magic. These Tuna Melt Patties deliver all the nostalgic flavors of a classic tuna melt but with a delightfully crispy exterior and a melty, cheesy center that’s absolutely irresistible.
Total Time: 18 minutes
Prep Time: 10 minutes
Cook Time: 8 minutes
Yield: 4-5 patties
Calories: 210 per patty
Why You’ll Love These Tuna Melt Patties
These patties are a game-changer for busy weeknights when you need something quick but don’t want to sacrifice flavor. Using simple pantry staples like canned tuna and breadcrumbs, you can whip up a satisfying meal in under 20 minutes. There’s no need for elaborate grocery shopping or expensive ingredients—just open your pantry and get cooking.
What truly sets these patties apart is their incredible texture. The outside gets beautifully golden and crispy, while the inside stays tender and packed with melty cheese. Each bite offers that perfect contrast that keeps you reaching for more. Unlike traditional tuna melts that require careful bread-toasting and assembly, these patties are foolproof and mess-free.
Beyond their convenience, these patties are incredibly versatile. Serve them as the star of your dinner plate, tuck them into a sandwich, or slice them over a fresh salad. They’re budget-friendly enough for everyday meals yet impressive enough to serve guests. Plus, kids absolutely love them, making mealtime battles a thing of the past.
Ingredients You’ll Need
Main Components
- 2 cans (5 oz each) tuna, drained – The protein-packed foundation of these patties; use your favorite variety
- ½ cup breadcrumbs – Binds everything together and adds structure to the patties
- ¼ cup mayonnaise – Keeps the patties moist and adds rich, creamy flavor
- 1 egg – Acts as the binder to hold all ingredients together
- 1 teaspoon Dijon mustard – Adds a subtle tangy kick that elevates the flavor
- ½ teaspoon garlic powder – Brings savory depth without overpowering other ingredients
- ½ teaspoon onion powder – Provides aromatic sweetness and complexity
- ½ teaspoon salt – Enhances all the flavors in the mixture
- ¼ teaspoon black pepper – Adds a gentle hint of spice
- ½ cup shredded cheddar cheese (or Swiss) – The melty, gooey star that makes these patties special
- 2 tablespoons green onions, chopped – Adds freshness and a mild onion flavor
- 1 tablespoon butter (for cooking) – Creates that golden, crispy exterior
Step-by-Step Instructions
Prepare the Tuna Mixture
Start by draining your canned tuna thoroughly—excess liquid will make your patties too wet and difficult to form. Transfer the drained tuna to a large mixing bowl. Add the breadcrumbs, mayonnaise, egg, Dijon mustard, garlic powder, onion powder, salt, and black pepper to the bowl. Using a fork or your hands, mix everything together until well combined. The mixture should hold together when pressed but still feel slightly moist.
Add Cheese and Shape the Patties
Now it’s time to add the star ingredients that make these tuna melts shine. Fold in the shredded cheddar cheese and chopped green onions, distributing them evenly throughout the mixture. Once everything is incorporated, divide the mixture into 4-5 equal portions. Using your hands, shape each portion into a patty about ½ inch thick. Make sure they’re compact and hold together well—this prevents them from falling apart during cooking.
Cook Until Golden and Crispy
Heat the butter in a large skillet over medium heat, allowing it to melt and coat the pan evenly. Once the butter is hot and beginning to bubble, carefully place your patties in the skillet. Avoid overcrowding the pan; work in batches if necessary to ensure proper browning. Cook each patty for 3-4 minutes on the first side without moving them—this creates that beautiful golden crust.
Flip the patties gently using a spatula and cook for another 3-4 minutes on the second side. You’ll know they’re ready when both sides are golden brown and crispy, and the cheese inside has melted into gooey perfection. The patties should feel firm to the touch and hold their shape nicely.
Serve and Enjoy
Remove the cooked patties from the skillet and let them rest for a minute before serving. This brief resting period allows the cheese to set slightly, making them easier to handle. For an extra indulgent touch, top each patty with additional cheese and place them under the broiler for about a minute until the cheese melts and bubbles beautifully.
Serving Suggestions
These versatile patties shine in numerous serving scenarios. The classic approach is to place them on toasted bread or English muffins, creating an open-faced sandwich that’s both hearty and satisfying. Add lettuce, tomato, and a smear of mayo for a complete meal that rivals any diner creation.
For a lighter option, serve the patties over a bed of mixed greens with your favorite salad dressing. The warm, crispy patties contrast beautifully with cool, crisp vegetables. Cherry tomatoes, cucumber slices, and avocado make excellent accompaniments that complement the rich tuna flavor.
Consider pairing them with classic sides like sweet potato fries, coleslaw, or a simple cucumber salad. During warmer months, they’re fantastic alongside fresh fruit or a chilled pasta salad. The patties also work wonderfully in meal prep—make a batch and enjoy them throughout the week in different ways.

Creative Recipe Variations
Cheese Options
While cheddar cheese delivers classic flavor, don’t hesitate to experiment with other varieties. Swiss cheese offers a nutty, mild taste that pairs beautifully with tuna. Mozzarella creates an ultra-gooey center with a more subtle flavor profile. For those who enjoy a kick, Pepper Jack cheese adds spicy notes that transform these patties into something exciting and bold.
Texture Modifications
Swap regular breadcrumbs for panko to achieve maximum crispiness—the larger flakes create an even crunchier exterior. Alternatively, use crushed crackers like Ritz or saltines for a different flavor dimension. Crushed cornflakes are another fantastic option that adds both crunch and a subtle sweetness.
Flavor Enhancements
Elevate your patties by adding finely diced celery for extra crunch and freshness. A tablespoon of fresh dill or parsley brings brightness and color. For heat lovers, stir in some sriracha, hot sauce, or red pepper flakes. Capers add a briny, sophisticated note that pairs wonderfully with the tuna.
Protein Alternatives
Though made with tuna, this recipe adapts beautifully to other canned fish. Try canned salmon for a richer, more robust flavor. Canned crab creates an upscale version that’s perfect for special occasions. Even canned chicken works in a pinch, though you’ll lose that distinctive seafood character.
Make-Ahead Tips
These patties are excellent candidates for meal prep and advance preparation. Shape the uncooked patties and place them on a parchment-lined baking sheet. Freeze them for about an hour until solid, then transfer to a freezer-safe container or bag. They’ll keep frozen for up to three months, ready whenever you need a quick meal.
When you’re ready to cook frozen patties, there’s no need to thaw them first. Simply add an extra 2-3 minutes to the cooking time on each side. They’ll cook through perfectly while developing that same golden, crispy exterior.
Cooked patties also refrigerate well for up to three days in an airtight container. Reheat them in a skillet over medium heat for best results, as this restores their crispy texture. Microwaving works in a pinch but won’t maintain that delightful crunch. For meal prep, keep the patties separate from any bread or buns to prevent sogginess.
Important Notes
The consistency of your tuna mixture is crucial for success. If your mixture feels too wet and won’t hold its shape, gradually add more breadcrumbs, one tablespoon at a time, until it reaches the right consistency. Conversely, if the mixture seems too dry and crumbly, add an extra teaspoon of mayonnaise to add moisture and help everything bind together.
When cooking, maintain medium heat throughout the process. High heat will burn the exterior before the inside heats through and the cheese melts properly. Lower heat ensures even cooking and prevents the patties from falling apart when you flip them.
Don’t skip draining the tuna thoroughly—this step is essential for achieving the proper texture. Press the tuna with a fork or paper towels to remove as much liquid as possible before mixing it with other ingredients.
Storage Tips
Store leftover cooked patties in an airtight container in the refrigerator for up to three days. Layer parchment paper between patties to prevent them from sticking together. This makes it easy to grab just one or two for quick lunches or snacks throughout the week.
For the best texture when reheating, use a skillet rather than the microwave. Heat a small amount of butter or oil in the pan and warm the patties over medium heat for 2-3 minutes per side. This method revives that crispy exterior while warming the inside thoroughly.
If you’ve made a large batch, consider freezing some for future meals. Wrap each cooked patty individually in plastic wrap, then place them all in a freezer bag. This allows you to thaw and reheat just what you need without defrosting an entire batch.

Frequently Asked Questions
Can I bake these patties instead of pan-frying them?
Absolutely! Preheat your oven to 400°F and place the patties on a parchment-lined baking sheet. Lightly spray or brush them with oil, then bake for 15-18 minutes, flipping halfway through. While they won’t be quite as crispy as pan-fried versions, they’ll still be delicious and require less active cooking time.
What if I don’t have Dijon mustard?
Yellow mustard works perfectly as a substitute, though it provides a slightly different flavor profile. You can also use whole grain mustard for added texture. In a pinch, a small splash of lemon juice or pickle juice adds the tangy element that mustard provides.
Can I make these patties gluten-free?
Yes! Simply substitute gluten-free breadcrumbs or crushed gluten-free crackers for the regular breadcrumbs. Ensure your Dijon mustard is labeled gluten-free, as some brands may contain gluten. Everything else in the recipe is naturally gluten-free.
Why are my patties falling apart?
This usually happens when there’s too much moisture in the mixture or not enough binder. Make sure your tuna is very well drained, and consider adding an extra tablespoon of breadcrumbs. Also, avoid flipping them too early—let them develop a good crust on the first side before turning.
Can I use fresh tuna instead of canned?
While possible, fresh tuna requires different handling. Cook and flake the fresh tuna first, then let it cool completely before mixing with other ingredients. Canned tuna works best for this recipe because it’s already the right texture and consistency for forming patties.
What’s the best type of canned tuna to use?
Both tuna in water and tuna in oil work well, though tuna in water is lighter and healthier. Chunk light tuna or albacore (white) tuna both produce excellent results. Choose whichever variety you prefer or have on hand—the recipe is forgiving and delicious either way.
How do I know when the patties are fully cooked?
The patties should be golden brown on both sides and feel firm when gently pressed with a spatula. Since tuna is already cooked when canned, you’re mainly cooking the egg and heating everything through, which takes about 6-8 minutes total. If you’re concerned, the internal temperature should reach 145°F.
Can I add vegetables to the patties?
Certainly! Finely diced bell peppers, celery, or carrots make excellent additions. Just make sure to dice them very small and consider sautéing them first to remove excess moisture. Too much vegetable content can make the patties harder to hold together, so keep additions to about ¼ cup total.
Nutrition Information
Per Patty:
- Calories: 210
- Protein: 22g
- Fat: 10g
- Saturated Fat: 3g
- Carbohydrates: 4g
- Fiber: 0g
- Sugar: 1g
- Sodium: 520mg
Category: Main Course
Method: Pan-Frying
Cuisine: American
These Tuna Melt Patties prove that comfort food doesn’t have to be complicated or time-consuming. With simple ingredients, straightforward preparation, and incredible flavor, they’re destined to become a regular rotation in your meal planning. Whether you’re feeding picky eaters, looking for budget-friendly protein, or simply craving something deliciously nostalgic, these crispy, cheesy patties deliver satisfaction in every single bite.

