Prep Time: 15 minutes
Cook Time: 15 minutes
Total Time: 30 minutes
Servings: 4 burgers
Last summer, I stood in my kitchen staring at leftover feta from Greek salad night, wondering how I could elevate our usual burger routine. That’s when inspiration struck—what if I whipped that tangy cheese into something creamy and luxurious? The result was these incredible smash burgers that quickly became our family’s Friday night staple. My teenage son, who once claimed burgers “didn’t need fancy stuff,” now specifically requests these every weekend.
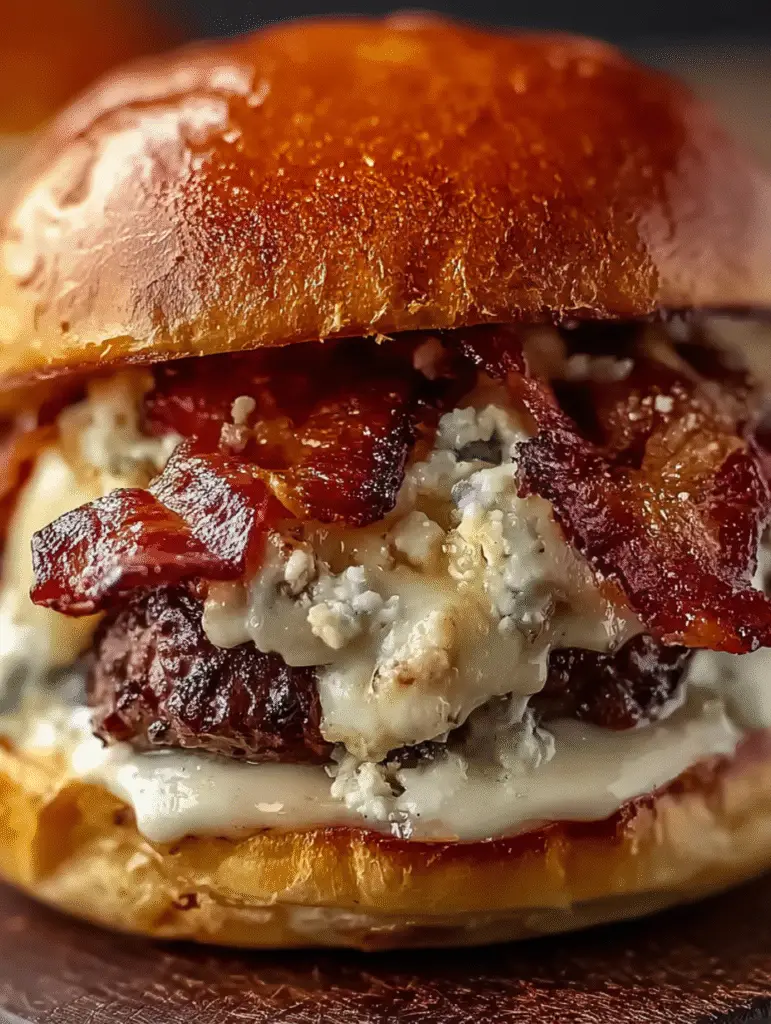
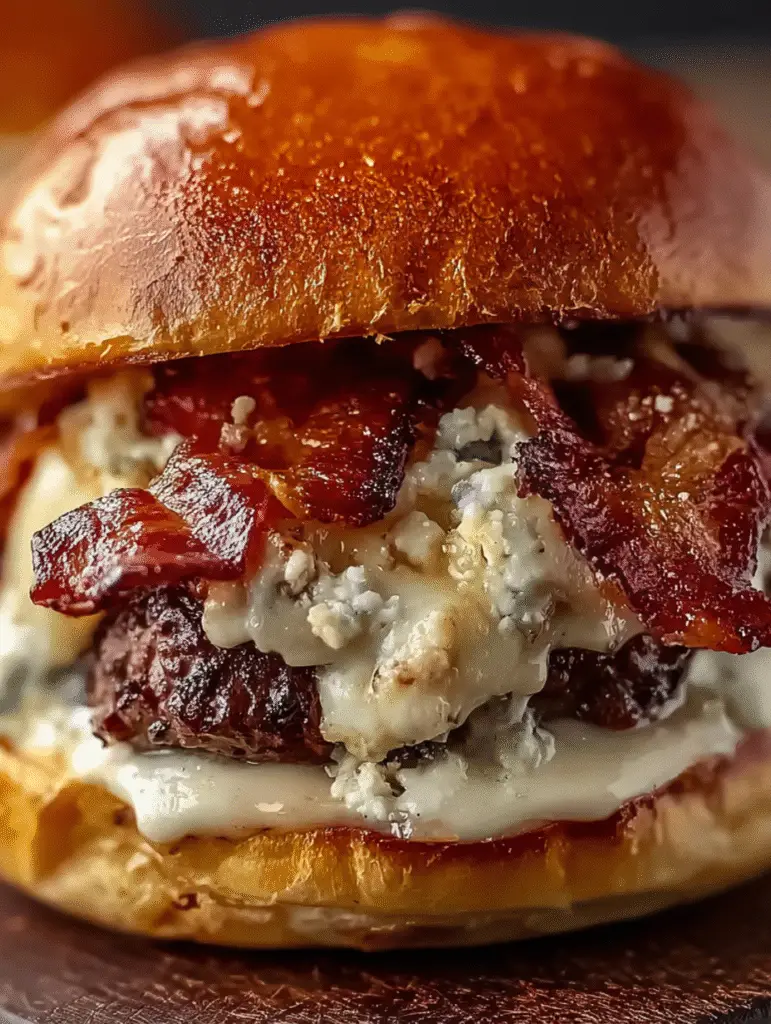
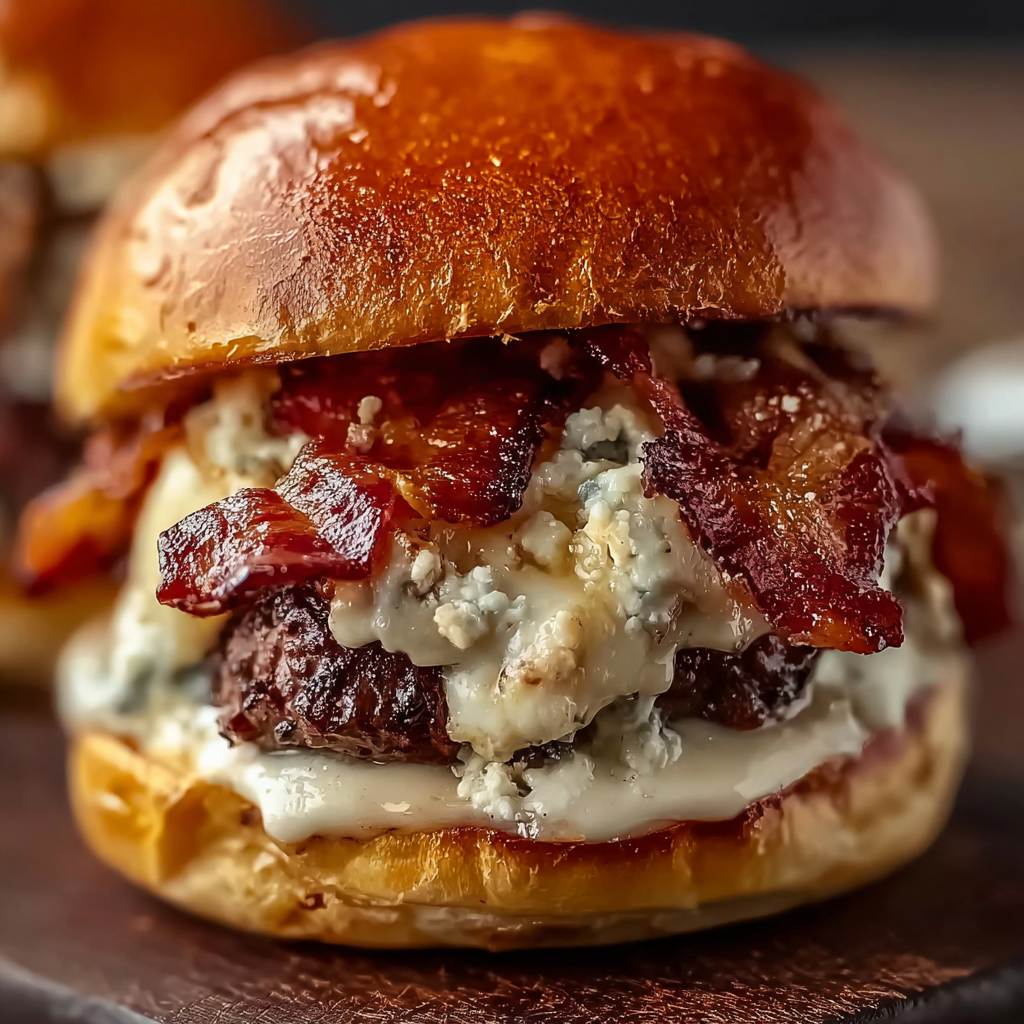
The beauty of this recipe lies in its perfect balance of flavors and textures. Crispy-edged beef patties meet silky whipped feta, while smoky bacon adds crunch and garlic butter brings everything together with rich, aromatic notes. Each bite delivers that satisfying contrast between the charred exterior of the smash burger and the cool, creamy spread underneath.
Why You’ll Love These Gourmet Burgers
The whipped feta spread is a game-changer that transforms ordinary burgers into restaurant-quality creations. Unlike regular cheese slices that simply melt, whipped feta provides a tangy, creamy base that clings to every surface of the patty. The garlic infusion adds depth without overwhelming the other flavors, creating a sophisticated twist on classic burger toppings.
Smash burger technique guarantees maximum flavor through the Maillard reaction—that beautiful caramelization that happens when beef hits a scorching hot surface. By smashing the patties thin, you create more surface area for crispy, brown edges while keeping the interior juicy. This method takes less time than traditional thick burgers and delivers superior texture in every bite.
Bacon cooked in the same skillet means you’re building layers of flavor with every step. The rendered bacon fat becomes part of your cooking medium, infusing the garlic butter and eventually the burger patties themselves with smoky richness. Nothing goes to waste, and every element contributes to the final masterpiece.
Quick 30-minute meal makes this perfect for busy weeknights when you want something special without spending hours in the kitchen. The whipped feta can be prepared while your bacon cooks, and the burgers themselves take just minutes per batch. From start to finish, you’ll have dinner on the table faster than ordering takeout.
Impressive enough for guests yet simple enough for family dinners, these burgers walk that perfect line between casual and elevated. I’ve served them at backyard barbecues where they disappeared faster than any other dish, with guests asking for the recipe before they’d even finished eating. The presentation looks fancy, but the execution is surprisingly straightforward.
Ingredients You’ll Need
For the Burgers
- 1 lb ground beef (80/20 blend) – The ideal fat ratio for juicy, flavorful patties
- 4 slices thick-cut bacon – Provides smoky crunch and flavorful cooking fat
- 4 brioche burger buns – Soft, slightly sweet buns that complement the savory toppings
- 1 tbsp olive oil – Helps prevent sticking and adds subtle flavor
- 2 tbsp unsalted butter – Creates the rich garlic butter base
- Salt and pepper to taste – Essential for properly seasoned beef
For the Whipped Feta
- 1 cup crumbled feta cheese – The star ingredient that brings tangy creaminess
- 1/4 cup cream cheese – Adds smoothness and helps achieve whipped texture
- 1 clove garlic, minced – Provides aromatic depth to the spread
Optional Garnishes
- Lettuce – Adds fresh crunch and color
- Tomato slices – Brings acidity and juiciness
- Red onion slices – Offers sharp, fresh bite
Step-by-Step Instructions
Prepare the Whipped Feta Spread
Begin by adding the crumbled feta, cream cheese, and minced garlic to a small mixing bowl. Using a hand mixer or food processor, whip the mixture for 2-3 minutes until it becomes completely smooth and creamy. The texture should resemble thick Greek yogurt or cream cheese frosting—no lumps should remain. Set this aside at room temperature while you prepare the other components, as cold feta won’t spread as easily on your finished burgers.
Cook the Bacon to Crispy Perfection
Place your bacon slices in a cold skillet, then turn the heat to medium. This gradual heating method renders the fat more evenly and results in crispier bacon. Cook for 6-8 minutes, flipping occasionally, until the bacon reaches your desired level of crispness. Transfer the cooked bacon to a paper towel-lined plate to drain excess grease. Crucially, don’t discard that bacon fat—you’ll use it to cook your burgers and infuse them with smoky flavor.
Create the Garlic Butter Base
Without cleaning the skillet (you want all those bacon bits!), add the olive oil and butter to the bacon grease. Reduce the heat to medium and allow the butter to melt completely, swirling the pan to combine everything into a fragrant cooking medium. The bacon bits left in the pan will crisp up further and add textural interest to your patties.
Form and Season Your Patties
Divide the ground beef into four equal portions, each weighing approximately 4 ounces. Gently form each portion into a loose ball—don’t overwork the meat or compress it too much, as this can result in tough burgers. Season both sides generously with salt and freshly cracked black pepper. The key word here is “loose”—you want the beef to remain tender and ready to smash.
Master the Smash Burger Technique
Increase your heat to medium-high and ensure the skillet is very hot before proceeding. Place one beef ball in the center of the skillet, then immediately press down hard with a sturdy metal spatula, using your other hand to apply pressure from the top. Hold for about 3-5 seconds until you hear that satisfying sizzle and see the patty spread to about 1/4 inch thick. Resist the urge to move or press it again—let it develop that gorgeous brown crust for 2-3 minutes.
Flip and Finish
When you see the edges turning dark and crispy, carefully slide your spatula under the patty and flip it in one smooth motion. Cook the second side for just 1-2 minutes—you want it cooked through but still juicy. The thinner patty means faster cooking time, so watch carefully to avoid overcooking. Remove to a plate and repeat with the remaining beef balls, working in batches if necessary to avoid crowding the pan.
Toast Your Buns
In the same skillet (sensing a theme here?), place your brioche buns cut-side down and toast for 1-2 minutes until golden brown. The residual garlic butter and beef drippings will create the most incredible flavor on these buns. Alternatively, you can toast them under the broiler for 30-60 seconds if your stovetop is getting too crowded.
Assemble Your Masterpiece
Spread a generous layer of whipped feta on the bottom bun—don’t be shy here, as this is the foundation of flavor. Place your hot smash burger patty on top of the feta, then layer on the crispy bacon strips. If using, add fresh lettuce, ripe tomato slices, and thin red onion rings for color and crunch. Crown it with the top bun and serve immediately while everything is at the perfect temperature.

Serving Suggestions
These burgers pair beautifully with crispy sweet potato fries or classic shoestring fries for a complete meal. The sweet element of the fries complements the tangy feta, while their crunch matches the textural variety already present in the burger. For a lighter option, serve alongside a simple arugula salad dressed with lemon vinaigrette—the peppery greens cut through the richness perfectly.
Consider setting up a build-your-own burger bar for casual gatherings. Prepare the components separately and let guests assemble their own burgers with varying amounts of each topping. This works particularly well when feeding a crowd with different taste preferences or dietary restrictions.
A cold craft beer or crisp white wine makes an excellent beverage pairing. The carbonation in beer helps cleanse the palate between bites, while a chilled Sauvignon Blanc or Pinot Grigio complements the Mediterranean flavors of the feta. For non-alcoholic options, try sparkling lemonade or iced tea with fresh mint.
Serve these at summer cookouts by preparing the whipped feta and cooking the bacon ahead of time. When guests arrive, you can focus solely on smashing and assembling burgers, making you look like an effortless host. The visual appeal of the white feta against the dark burger creates Instagram-worthy plates that’ll have everyone reaching for their phones.
Creative Variations to Explore
Mediterranean Lamb Version
Replace the ground beef with ground lamb for a more distinctly Mediterranean flavor profile. Add fresh oregano and a pinch of cinnamon to the whipped feta, then top with cucumber slices and kalamata olives. This variation transforms the burger into something that tastes like it came from a Greek taverna.
Spicy Harissa Kick
Mix harissa paste into your whipped feta for a North African-inspired twist. The chili heat pairs wonderfully with the cooling feta, creating a complex flavor profile. Top with pickled red onions and fresh cilantro instead of the standard garnishes for an even bolder presentation.
Breakfast Burger Style
Add a fried egg on top of each burger and replace the bacon with breakfast sausage patties. The runny yolk mixes with the whipped feta to create an incredibly rich sauce. Serve on English muffins instead of brioche buns for a true brunch-worthy creation.
Blue Cheese Substitute
If feta isn’t your style, substitute blue cheese for an equally tangy but more pungent spread. Reduce the amount of cream cheese slightly, as blue cheese tends to be creamier on its own. This version appeals to those who love bold, assertive flavors.
Veggie Burger Adaptation
Use plant-based burger patties and swap the bacon for crispy fried halloumi cheese. The halloumi provides that salty, squeaky texture while keeping the Mediterranean theme intact. Ensure your feta substitute is also plant-based if serving to vegan guests.
Make-Ahead Tips for Easy Entertaining
The whipped feta spread can be prepared up to three days in advance and stored in an airtight container in the refrigerator. Before serving, let it sit at room temperature for 20-30 minutes to soften, making it easier to spread. The garlic flavor actually intensifies over time, creating an even more pronounced taste.
Cook your bacon up to 24 hours ahead and store it in the refrigerator between layers of paper towels. When ready to serve, reheat it in a 350°F oven for 3-4 minutes until warmed through and crispy again. This method maintains the texture better than microwave reheating.
Pre-portion your ground beef into balls the morning of serving, then cover and refrigerate them on a plate. Cold beef actually smashes better than room-temperature meat, creating thinner, crispier edges. Season the portions just before cooking to prevent the salt from drawing out moisture prematurely.
Toast your burger buns up to 2 hours before serving, then wrap them in foil to keep them soft and warm. If entertaining outdoors, place the foil-wrapped buns in a small cooler (without ice) to maintain their temperature. This frees up stovetop space for cooking the actual patties when guests arrive.
Important Cooking Notes
Using a cast-iron skillet is highly recommended for achieving that perfect sear on your smash burgers. Cast iron retains and distributes heat more evenly than stainless steel or non-stick pans, creating those coveted crispy edges. If you don’t own cast iron, a heavy-bottomed stainless steel pan works as the second-best option.
The 80/20 ground beef ratio is crucial for juicy burgers that won’t dry out despite being cooked thin. Leaner meat (90/10 or 93/7) lacks sufficient fat to stay moist during high-heat cooking and can result in tough, dry patties. Trust me on this one—the extra fat makes all the difference.
For enhanced flavor, consider adding smoked paprika to your whipped feta mixture. Start with just 1/4 teaspoon, as it can overpower the delicate feta if you’re too generous. The smoky notes echo the bacon while adding depth to the overall flavor profile.
A splash of lemon juice brightens the feta if you prefer a tangier spread. Add just 1 teaspoon of fresh lemon juice to the whipped mixture and taste before adding more. The acidity cuts through the richness of the beef and bacon, creating better balance.
Don’t press the patties after the initial smash, tempting as it may be. Each time you press down, you squeeze out precious juices that should stay inside the meat. The initial smash is the only pressing you need—after that, just let physics and heat work their magic.

Frequently Asked Questions
Can I use pre-crumbled feta from the store?
Absolutely! Pre-crumbled feta works perfectly fine for this recipe and saves preparation time. However, if you’re buying feta in brine and crumbling it yourself, make sure to drain and pat it dry before whipping. Excess moisture will make your spread too thin and watery.
What if I don’t have a food processor or hand mixer?
You can whip the feta by hand using a fork and some elbow grease, though it requires more effort and time. Alternatively, use a potato masher to break down the feta, then vigorously stir with a wooden spoon until relatively smooth. The texture won’t be quite as silky, but it’ll still taste delicious.
How do I prevent my burgers from sticking to the pan?
Make sure your skillet is properly heated before adding the beef—it should be hot enough that a drop of water sizzles immediately. The bacon fat, oil, and butter mixture provides plenty of fat to prevent sticking. Also, resist the urge to move the patty before it’s ready; it will naturally release once a good crust forms.
Can I make these burgers on a griddle or outdoor grill?
Yes, but indoor cooking in a skillet produces better results for smash burgers. A flat griddle works wonderfully and allows you to cook multiple patties simultaneously. Traditional outdoor grills with grates are less ideal because the thin patties can fall apart or stick to the grates.
What’s the best way to reheat leftover burgers?
Honestly, smash burgers are best enjoyed fresh due to their thin, crispy nature. However, if you have leftovers, reheat the patties in a skillet over medium heat for 1-2 minutes per side. Store the whipped feta separately and add it to the reheated burger. Don’t reheat assembled burgers, as the buns will become soggy.
Can I freeze the whipped feta?
While technically possible, freezing affects the texture of the feta mixture, making it grainy when thawed. If you must freeze it, use it within one month and expect to re-whip it after thawing. Fresh or refrigerated feta spread maintains the best texture and flavor.
How thin should I really smash these patties?
Aim for about 1/4 inch thickness, which is roughly the width of two pennies stacked. Thinner than this and you risk overcooking; thicker and you lose that signature crispy edge that defines a proper smash burger. Don’t worry about making perfect circles—irregular edges get extra crispy and taste amazing.
Is there a dairy-free alternative to the whipped feta?
For a dairy-free version, try whipping cashew cream cheese with nutritional yeast and a splash of white wine vinegar to mimic the tangy feta flavor. Alternatively, some brands make plant-based feta that can be whipped with vegan cream cheese. The texture and taste won’t be identical, but it creates a satisfying alternative.
Pro Tips for Perfect Results:
- Let your beef come to room temperature for 15-20 minutes before cooking for more even heat distribution
- Use a heavy metal spatula for maximum smashing power—plastic spatulas won’t apply enough pressure
- Cook your burgers in batches rather than crowding the pan to maintain consistent heat
- Press fresh cracked pepper into the raw patties for extra flavor and visual appeal

