There’s something absolutely magical about the combination of rich red velvet and creamy white chocolate that instantly transports me back to my grandmother’s kitchen during the holidays. She would spend hours perfecting her red velvet cake, and watching her work inspired my love for this classic flavor combination. These cookies capture all that nostalgic charm while being infinitely more portable and shareable than a full cake.
Prep Time: 2 hours, 10 minutes
Cook Time: 12 minutes
Total Time: 3 hours (includes cooling)
Yield: 20 cookies
Why You’ll Fall in Love with This Recipe
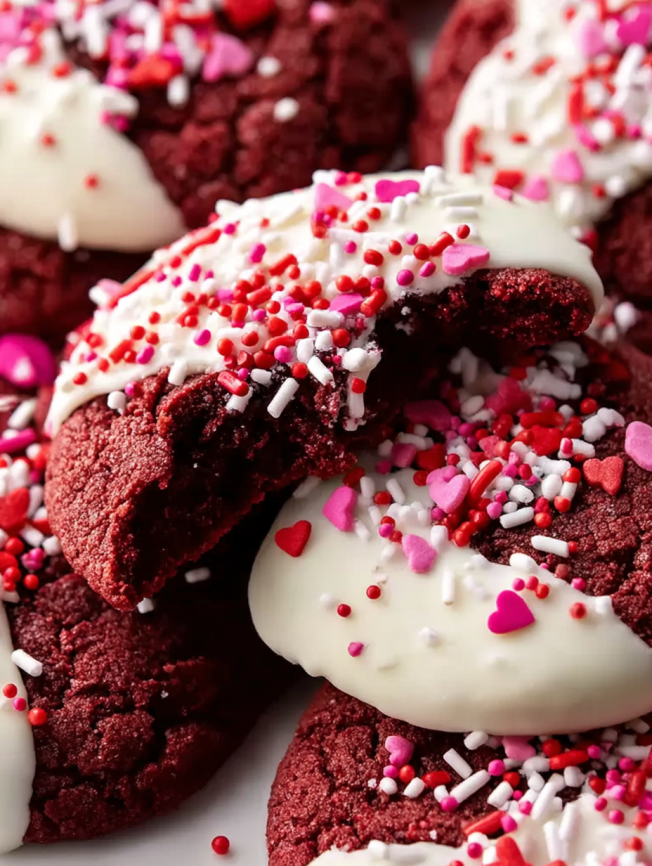
These aren’t just ordinary cookies – they’re a celebration of texture and flavor that brings together the best of both worlds. First, the soft and chewy texture creates the perfect base that melts in your mouth with every bite. Additionally, the subtle cocoa flavor provides a rich foundation that complements rather than overwhelms the classic red velvet taste.
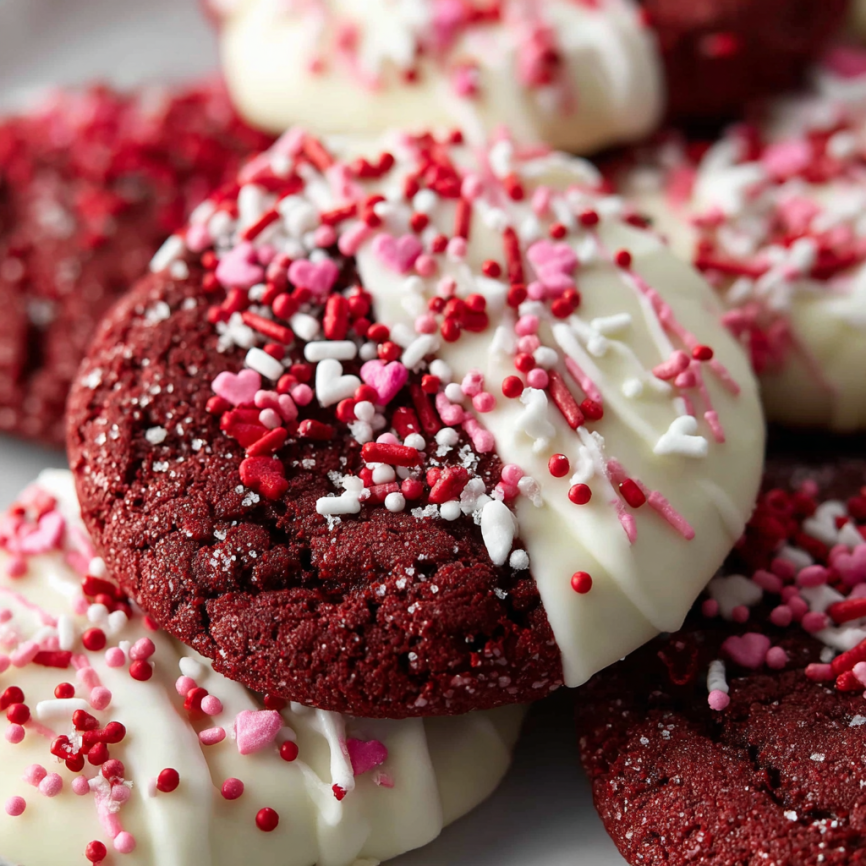
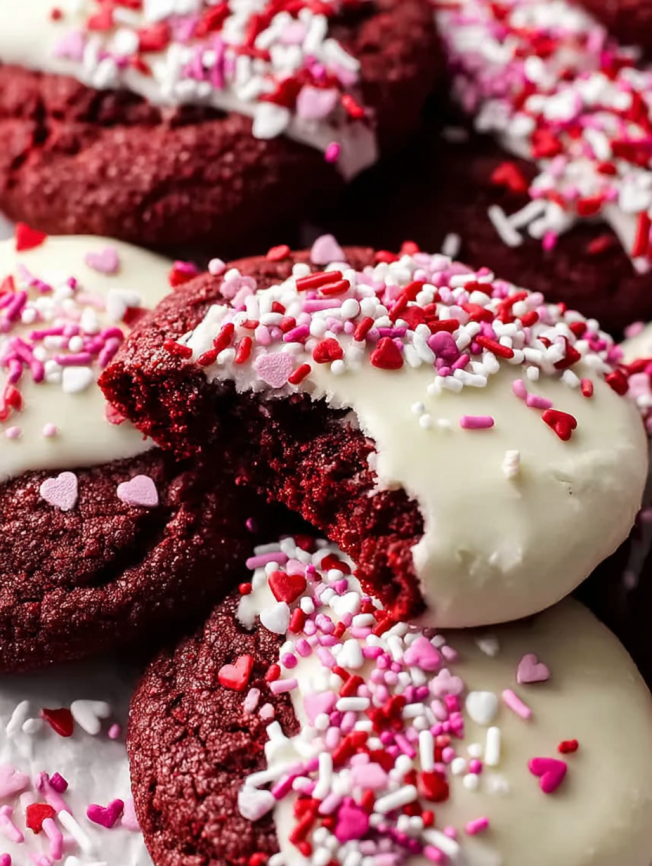
Moreover, the white chocolate coating adds an elegant finishing touch that transforms these from everyday treats into something truly special. The contrast between the deep red interior and pristine white exterior makes them visually stunning for any occasion. Furthermore, the festive sprinkles provide a delightful crunch that elevates each bite.
What sets these cookies apart is their incredible versatility – they’re equally at home at a casual family gathering or an elegant holiday party. Best of all, they maintain their soft texture for days, making them perfect for gift-giving or meal prep.
Essential Ingredients & Serving Components
Main Cookie Base
- 1⅔ cups (210g) all-purpose flour (spooned & leveled)
- ¼ cup (21g) unsweetened natural cocoa powder
- 1 teaspoon baking soda
- ¼ teaspoon salt
- ½ cup (8 Tbsp; 113g) unsalted butter, softened to room temperature
- ¾ cup (150g) packed light or dark brown sugar
- ¼ cup (50g) granulated sugar
- 1 large egg, at room temperature
- 1 tablespoon (15ml) milk (buttermilk preferred)
- 2 teaspoons pure vanilla extract
- ¾ teaspoon gel red food coloring
White Chocolate Coating & Decoration
- Two 4-ounce bars (226g) white chocolate, coarsely chopped
- 2-3 tablespoons festive sprinkles
Perfect Serving Suggestions
These cookies pair beautifully with a tall glass of cold milk or a steaming cup of coffee. For special occasions, serve them alongside vanilla ice cream or incorporate them into a dessert charcuterie board with other holiday treats.
Step-by-Step Instructions
Preparing the Dough
Begin by whisking the flour, cocoa powder, baking soda, and salt together in a medium bowl, then set this dry mixture aside for later use.
Next, using either a hand mixer or stand mixer fitted with a paddle attachment, beat the softened butter, brown sugar, and granulated sugar together on medium speed until the mixture becomes light and creamy, approximately 2 minutes. Subsequently, add the egg and vanilla extract, mixing on high speed until everything is well combined, about 1 minute. Remember to scrape down the sides and bottom of the bowl as needed to ensure even mixing.
Combining and Chilling
Pour the prepared dry ingredients into the wet mixture, then add the milk and food coloring. Mix everything on low speed until just combined – the resulting dough will have a slightly sticky consistency. If you prefer a more vibrant red hue, gradually beat in additional food coloring a little at a time until you achieve your desired shade.
Cover the bowl and chill the dough in the refrigerator for at least 2 hours, though it can be stored for up to 3 days. However, if you’re chilling for longer than a few hours, allow the dough to sit at room temperature for at least 15 minutes before rolling and baking, as it will become quite firm.
Baking Process
Preheat your oven to 350°F (177°C) while lining large baking sheets with parchment paper or silicone baking mats.
Using a medium cookie scoop or spoon, portion out approximately 1.5 tablespoons of dough for each cookie, rolling them into balls and arranging them on the prepared baking sheets about 3 inches apart. Bake for 11-13 minutes, or until the edges appear set while the centers still look soft.
Remove the cookies from the oven and allow them to cool for 5 minutes on the baking sheets before transferring to a wire rack to cool completely.
White Chocolate Coating
In a microwave-safe bowl, melt the white chocolate in 15-second increments, stirring after each interval until perfectly smooth. If the chocolate seems too thick for dipping, stir in 1 teaspoon of vegetable oil to achieve the proper consistency.
Dip half of each cooled cookie into the melted white chocolate, then immediately garnish the white chocolate with sprinkles while it’s still wet. Allow the chocolate to set completely at room temperature or place in the refrigerator to speed up the process.
Creative Serving Suggestions
These elegant cookies shine in various presentation styles. For casual gatherings, arrange them on a simple platter alongside other homemade treats. During the holidays, display them in decorative gift boxes or clear containers tied with festive ribbons.
Consider creating a dessert bar where guests can customize their own cookies with different sprinkle options. Alternatively, crumble them over vanilla ice cream for an indulgent sundae, or use them as a stunning garnish for red velvet cake or cheesecake.
Delicious Recipe Variations
Flavor Variations
Transform these cookies by experimenting with different extracts – almond extract creates a sophisticated twist, while cream cheese extract enhances the traditional red velvet flavor profile. For chocolate lovers, try dipping in dark chocolate instead of white, or create a marbled effect using both.
Seasonal Adaptations
During Valentine’s Day, use heart-shaped sprinkles and pink food coloring for a romantic touch. For Christmas, incorporate green food coloring and festive red and green sprinkles. Halloween calls for orange coloring with black sprinkles for a spooky twist.
Texture Modifications
Add mini white chocolate chips to the dough for extra richness, or incorporate chopped pecans for a delightful crunch. For an adult version, brush the cookies with a light cream cheese glaze before applying the white chocolate coating.
Make-Ahead Tips
These cookies are incredibly freezer-friendly and perfect for advance preparation. The cookie dough balls can be frozen for up to 2-3 months – simply bake them directly from frozen, adding 1-2 extra minutes to the baking time without thawing first.
Fully baked cookies, with or without the chocolate coating, freeze beautifully for 2-3 months. When ready to enjoy, thaw them overnight in the refrigerator for best results. For optimal texture, apply the white chocolate coating after thawing rather than before freezing.
Store completed cookies at room temperature for up to 3 days in an airtight container, or refrigerate for up to 1 week. Layer them between parchment paper to prevent the chocolate coating from sticking together.
Important Notes
Food Coloring Guidelines
Gel food coloring produces the most vibrant results with minimal impact on dough consistency. Americolor’s “Red Red” or “Super Red” varieties work exceptionally well. While liquid food coloring can be substituted, you’ll need approximately 1 tablespoon to achieve similar color intensity.
For those seeking natural alternatives, 2 teaspoons of beet powder creates a lovely red hue without artificial additives. Surprisingly, the beet powder doesn’t impart any earthy flavor – the color appears more vibrant in cookie dough than in traditional cake batter.
White Chocolate Selection
Quality matters significantly when it comes to the coating. Use pure white chocolate bars (such as Ghirardelli or Baker’s brands) found in the baking aisle rather than white chocolate chips. Chips contain stabilizers that prevent proper melting, resulting in a grainy, unworkable coating.
Essential Equipment
A medium cookie scoop ensures uniform size and professional appearance. Digital kitchen scales provide accuracy for consistent results, while silicone baking mats promote even browning and easy release.
Frequently Asked Questions
Q: Can I make these cookies without food coloring? A: Absolutely! The food coloring is purely aesthetic and doesn’t affect the flavor. Without it, you’ll have delicious chocolate cookies with white chocolate coating – still perfectly delightful.
Q: Why is chilling the dough so important? A: Chilling serves multiple purposes: it prevents excessive spreading during baking, helps achieve the perfect chewy texture, and makes the dough much easier to handle when shaping. Don’t skip this crucial step!
Q: Can I use milk chocolate instead of white chocolate? A: Certainly! Dark, milk, or even colored candy melts work beautifully. Each creates a different flavor profile and visual appeal, so choose based on your preferences and occasion.
Q: How do I know when the cookies are properly baked? A: Look for set edges while the centers still appear slightly underbaked and soft. They’ll continue cooking slightly on the hot pan after removal, resulting in that perfect chewy texture.
Q: What’s the best way to melt white chocolate without burning it? A: Use short 15-second microwave intervals, stirring thoroughly between each session. Alternatively, use a double boiler method with simmering water for more controlled heating. Never rush the melting process, as overheated chocolate becomes grainy and unusable.


