Sunday mornings during October have always been special in our house, but nothing compared to the morning my youngest daughter announced she wanted to be a “breakfast witch” for Halloween. Puzzled but intrigued, I watched as she arranged her regular waffle pieces into triangular shapes on her plate. “Look, Mommy – witch hats!” she declared with pure delight.
That moment of childhood creativity sparked what has become our most beloved Halloween morning tradition. These Witch Hat Waffles transform an ordinary breakfast into pure magic, combining the rich satisfaction of chocolate waffles with the whimsical presentation that makes Halloween mornings truly special. Even my pickiest eater can’t resist the charm of wearing an imaginary witch hat while devouring these enchanting treats.
The best part? Watching the entire family’s faces light up when they realize breakfast has been transformed into edible art that tastes as amazing as it looks.
Why These Witch Hat Waffles Will Bewitch Your Family
Interactive Breakfast Theater
Children become breakfast artists as they arrange waffle pieces and apply decorations. Moreover, the hands-on assembly process keeps kids engaged and excited about eating, turning mealtime into an entertaining family activity that creates lasting memories.
Rich Chocolate Satisfaction
These aren’t just novelty waffles – they’re genuinely delicious chocolate treats that satisfy morning cravings. Additionally, the cocoa powder creates a deep, rich flavor that appeals to both children and adults who appreciate quality breakfast indulgences.
Flexible Presentation Options
Each family member can customize their witch hat creation with different toppings and decorative elements. Furthermore, the basic waffle recipe serves as a versatile canvas for creativity, accommodating various dietary preferences and artistic visions.
Photo-Worthy Halloween Moments
These waffles create Instagram-worthy breakfast scenes that capture Halloween morning magic perfectly. Similarly, they provide wonderful opportunities for family photos that become treasured seasonal memories year after year.
Essential Ingredients for Magical Results
Waffle Foundation (Serves 4)
- 1 cup all-purpose flour (provides structure and tender crumb)
- ¼ cup unsweetened cocoa powder (creates rich chocolate flavor and dark color)
- 1 tablespoon granulated sugar (balances cocoa’s slight bitterness)
- 1 teaspoon baking powder (ensures light, fluffy texture)
- ¼ teaspoon baking soda (works with cocoa for proper rise)
- ¼ teaspoon fine salt (enhances all flavors and balances sweetness)
Wet Ingredients for Perfect Texture
- 1 cup whole milk (creates tender, moist waffles)
- 1 large egg (binds ingredients and adds richness)
- 2 tablespoons melted butter (contributes flavor and prevents sticking)
- 1 teaspoon pure vanilla extract (rounds out chocolate flavors beautifully)
Enchanting Decoration Arsenal
Gather whipped cream for fluffy clouds, dark chocolate syrup for dramatic drizzles, and colorful sprinkles for magical sparkle. Consider adding mini chocolate chips, orange sugar crystals, or edible glitter for extra enchantment.
Step-by-Step Instructions for Waffle Wizardry
Preparing Your Magical Batter
Step 1: Create the Dry Foundation In a large mixing bowl, whisk together flour, cocoa powder, sugar, baking powder, baking soda, and salt until completely combined. This thorough mixing prevents cocoa lumps and ensures even chocolate distribution throughout your waffles.
Step 2: Combine Wet Ingredients In a separate bowl, whisk milk, egg, melted butter, and vanilla extract until smooth and well blended. The butter should be melted but not hot enough to cook the egg when combined.
Step 3: Unite for Perfect Batter Pour wet ingredients into dry ingredients and stir gently until just combined. Small lumps are perfectly acceptable – overmixing creates tough, dense waffles instead of the light, fluffy texture we’re seeking.
Waffle Iron Magic
Step 4: Preheat Your Equipment Heat waffle iron according to manufacturer’s instructions, typically until the indicator light signals readiness. A properly heated iron ensures crispy exteriors and prevents sticking disasters.
Step 5: Cook to Perfection Pour appropriate amount of batter into waffle iron, typically ½ to ¾ cup depending on your iron’s size. Cook until steam stops rising and waffles are set, usually 3-5 minutes depending on your equipment.
Transforming Waffles into Witch Hats
Step 6: Create Triangular Magic Cut each waffle diagonally to create triangular “hat” shapes. Use a sharp knife for clean cuts that maintain the waffle’s structural integrity while creating the distinctive pointed hat silhouette.
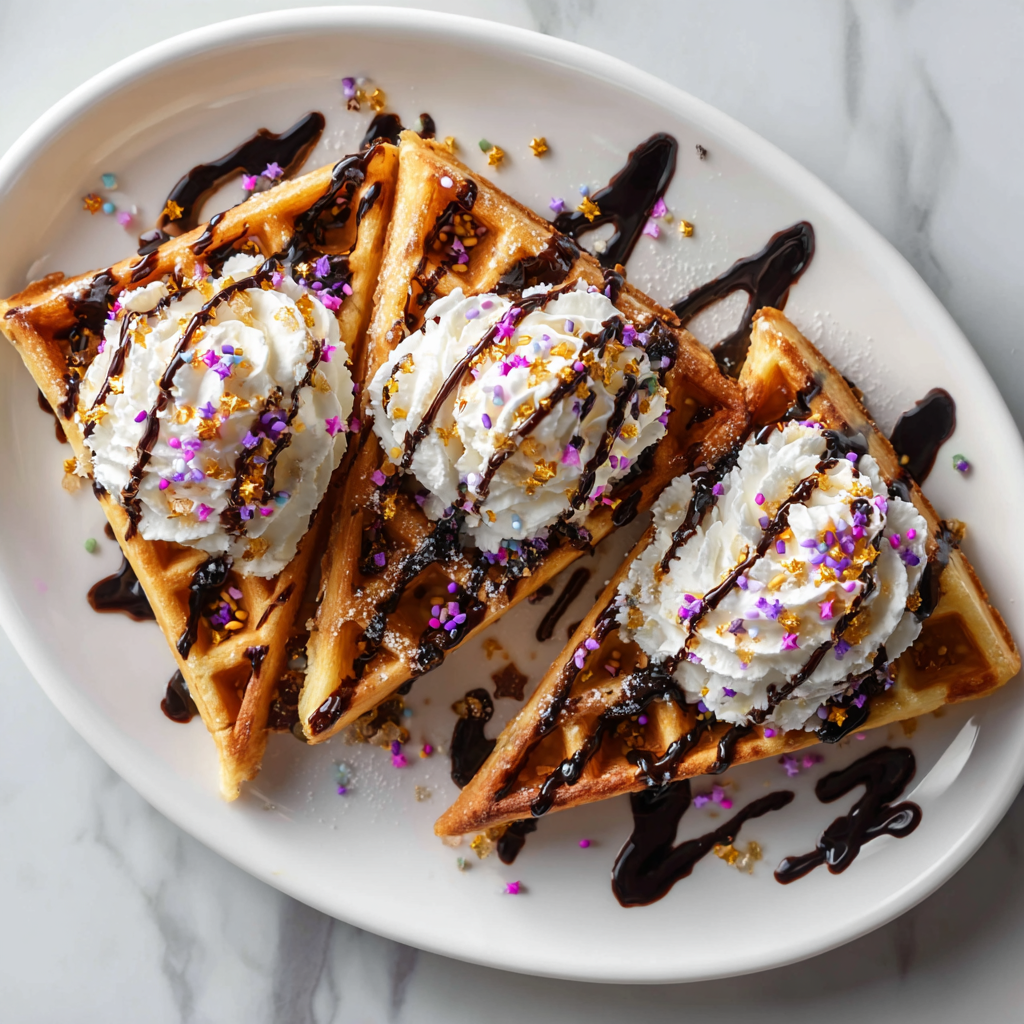
Step 7: Artistic Assembly Place triangular waffle pieces on plates with the pointed end up, resembling classic witch hats. Then, let creativity flow as family members add whipped cream “trim,” chocolate syrup “ribbons,” and sprinkle “magic dust.”
Creative Serving Suggestions
Themed Presentation Ideas
Arrange witch hats on black plates with orange napkins for maximum Halloween impact. Additionally, create a “potion station” with various syrups, whipped cream, and toppings in small cauldron-shaped bowls for interactive decorating fun.
Complementary Beverages
Serve with “witch’s brew” (hot chocolate with marshmallows), “magic potion” (orange juice with dry ice effect), or simple milk in Halloween-themed glasses. These beverages enhance the magical breakfast experience while providing nutritional balance.
Delicious Recipe Variations
Double Chocolate Witch Hats
Add ½ cup mini chocolate chips to the batter for extra chocolate intensity. This variation creates pockets of melted chocolate throughout each bite, satisfying even the most devoted chocolate lovers in your family.
Pumpkin Spice Witch Hats
Replace 2 tablespoons of flour with pumpkin puree and add ½ teaspoon pumpkin pie spice. This autumnal twist maintains the witch hat shape while incorporating classic fall flavors that complement Halloween themes beautifully.
Gluten-Free Magic Hats
Substitute gluten-free flour blend for regular flour, ensuring it contains xanthan gum for proper texture. Most families won’t notice the difference, making these accessible for guests with gluten sensitivities.
Vegan Witch Hat Waffles
Replace milk with plant-based alternative, use flax egg (1 tablespoon ground flaxseed mixed with 3 tablespoons water), and substitute melted coconut oil for butter. These modifications create equally delicious results while accommodating dietary restrictions.
Make-Ahead Tips for Stress-Free Mornings
Batter Preparation Strategy
Mix dry ingredients the evening before and store in an airtight container. Then, combine wet ingredients in the morning and blend with dry mixture for fresh waffles without early morning measuring chaos.
Freezer-Friendly Options
Cook extra waffles and freeze them in freezer bags with parchment paper between layers. Toast directly from frozen for quick Halloween morning breakfasts throughout the entire month of October.
Topping Station Setup
Prepare decoration stations the night before with bowls of toppings covered and ready. This organization allows children to focus on creative assembly rather than searching for supplies during busy morning routines.
Important Notes for Waffle Success
Never overmix waffle batter, as this develops gluten and creates tough, chewy results instead of tender, fluffy waffles. Additionally, let the batter rest for 2-3 minutes before cooking, allowing the leavening agents to activate properly.
Ensure your waffle iron is adequately heated before adding batter – underheated irons create pale, soggy waffles that won’t hold their triangular shape when cut. Moreover, avoid opening the iron too early, which can cause waffles to split or stick.
If cocoa powder creates lumps despite whisking, sift dry ingredients together for ultra-smooth batter. Furthermore, Dutch-processed cocoa powder creates darker color and milder flavor compared to natural cocoa powder.
Frequently Asked Questions
Can I make these waffles without a waffle iron? Yes! Pour batter into a greased skillet to create thick chocolate pancakes, then cut into triangular shapes. While the texture differs slightly, the witch hat presentation and delicious chocolate flavor remain intact.
How do I prevent my waffles from sticking to the iron? Ensure your waffle iron is properly preheated and lightly greased if needed. Additionally, avoid opening the iron too early – wait until steam stops rising and the waffle feels set when gently tested.
Can I reduce the sugar content? The sugar amount is already minimal and necessary to balance cocoa’s natural bitterness. However, you can substitute with honey or maple syrup, reducing liquid ingredients slightly to maintain proper batter consistency.
What if my family prefers sweeter waffles? Increase sugar to 2 tablespoons or add chocolate chips to the batter. Alternatively, encourage generous topping applications – whipped cream and syrup naturally add sweetness while maintaining the decorative Halloween theme.
How do I store leftover waffles? Cool completely before storing in airtight containers in the refrigerator for up to 3 days. Reheat in a toaster or toaster oven to restore crispiness, avoiding microwaving which creates soggy results.
Can I prepare the batter the night before? While possible, fresh batter produces better results because leavening agents lose potency over time. If you must prepare ahead, store in the refrigerator and gently stir before using, though waffles may be slightly less fluffy.


